Configuring Vendor and User classes
Configuring classes in Microsoft DHCP
Configuring classes in Microsoft DHCP allows administrators to apply specific configurations to different groups of DHCP clients based on criteria such as user classes or vendor classes.
Vendor and User Classes in Microsoft DHCP allow for the customization and segmentation of DHCP configurations to meet specific needs of different types of clients. This enables a more granular and tailored approach to managing network configurations. This is particularly useful in environments with diverse devices and users requiring different network configurations.
Vendor Classes: These allow DHCP servers to assign configurations in the form of options to be tailored for devices from specific manufacturers or vendors
User Classes: User classes in DHCP allow administrators to apply specific DHCP options to clients that identify themselves as members of a particular class.
Uses
-
Vendor Classes:
Device-Specific Configuration: Tailor DHCP settings for devices from specific vendors, such as IP phones, printers, or specialized hardware.
Enhanced Control: Apply specific options like TFTP server addresses for VoIP phones or custom boot file names for PXE clients.
-
User Classes:
User Group Configuration: Apply different DHCP options based on user groups, such as different DNS servers or default gateways for various departments.
Policy Enforcement: Enforce network policies by delivering appropriate configuration settings to specific user classes.
Configuring Vendor and User Classes in DDI Central
To configure classes in DDI Central:

- Get into the DHCP module
- Select the Config menu. On the Configurations page, navigate to the Class tab.
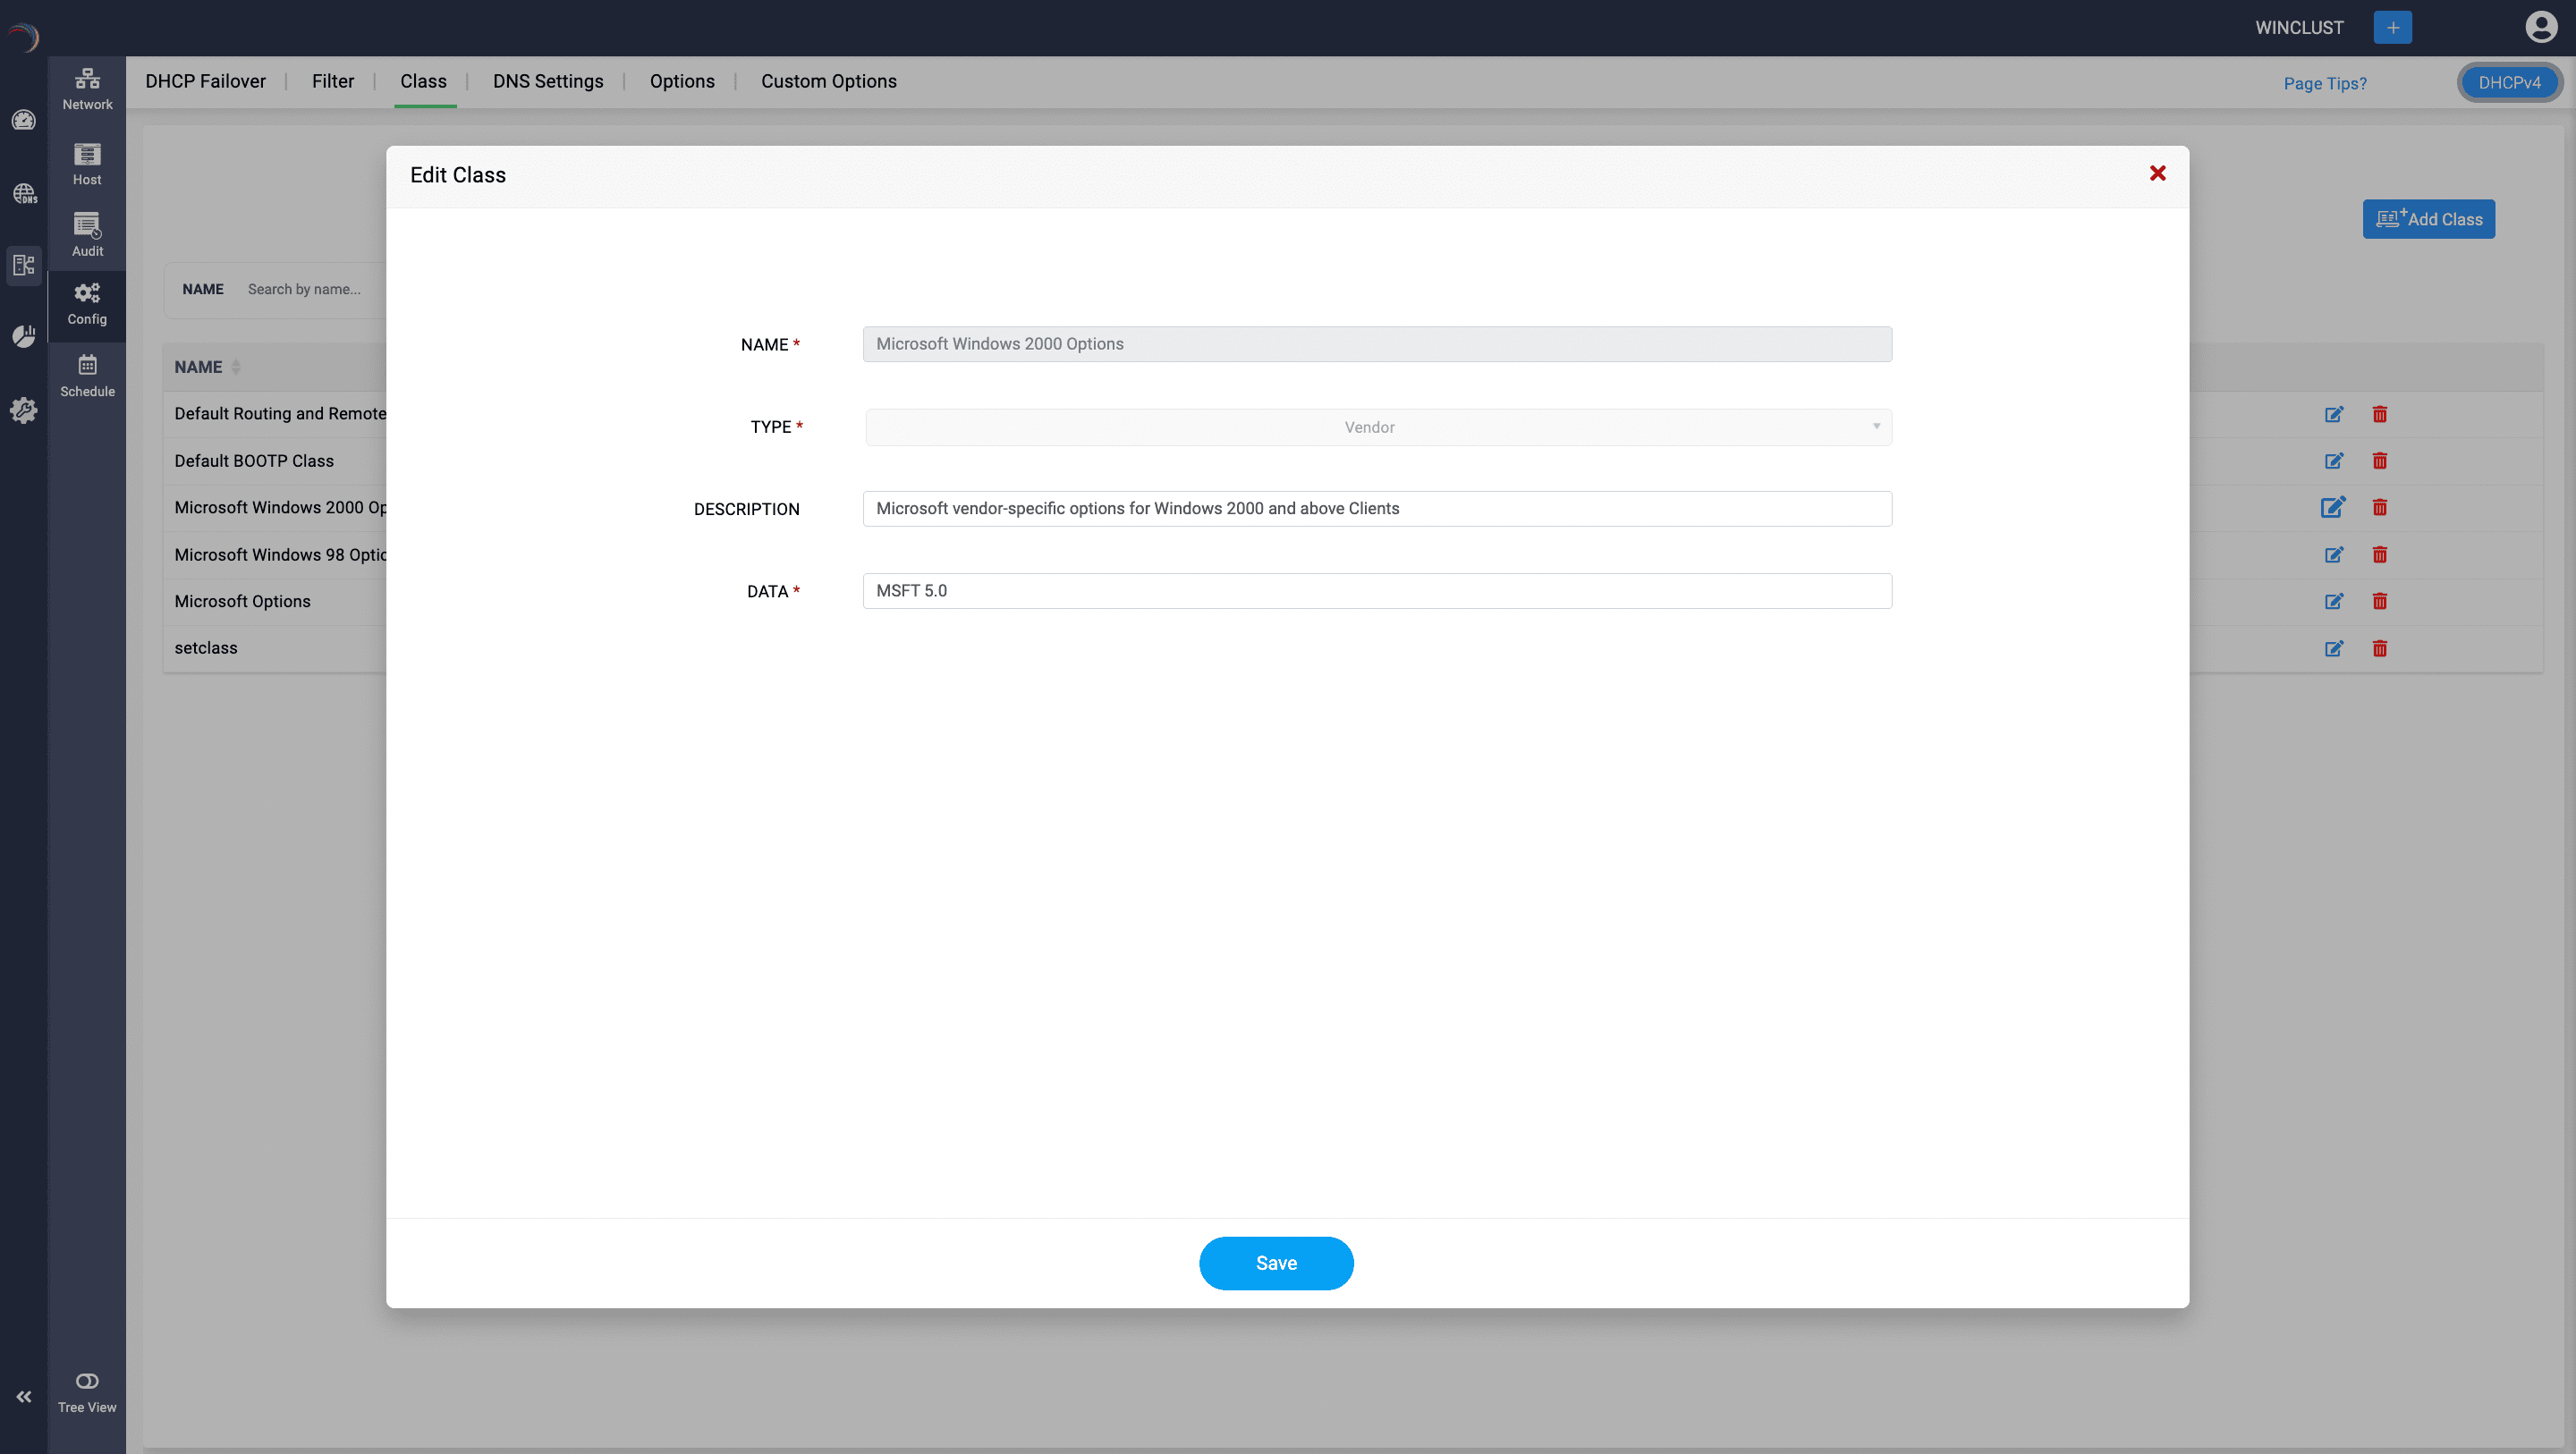
- Click on the Add Class button in the top right corner.
- On the Add Class form that appears, name the class with a unique name.
- Select the type of the Class you require: Vendor or User Class.
- Enter a suitable description.
- In the Data field, enter the ASCII or hexadecimal identifier that clients will use to identify themselves as part of this class.
Once the classes are created, you can create your own option definitions using Custom Options and group them under a certain Vendor or User Class. User Classes tend to be more beneficial while configuring at Policy level, while you can apply options from a specific vendor class to a Subnet(Scope) level, Global(Cluster) level, or Policy level.
How Classes Work
- Identification by Clients:
- DHCP clients must identify themselves as members of a particular class by including the appropriate class identifier in their DHCP request.
- For user classes, this is typically done using the DHCPINFORM message where the client includes the class identifier.
- DHCP Server Processing:
- When the DHCP server receives a request, it checks the class identifier against its list of defined classes.
- If a match is found, the server applies the corresponding DHCP options defined for that class.
- The server can manage different configurations for various classes of clients, ensuring each group receives the appropriate settings.
- Use Cases:
- User Classes: Useful for separating different types of users or devices within the same subnet, such as employees and guests, or printers and workstations.
- Vendor Classes: Ideal for applying specific settings to devices from particular vendors, such as IP phones needing specific TFTP server addresses for configuration.
Benefits
- Granular Control: Allows for precise management of network settings for different client groups.
- Customization: Facilitates custom configurations for specific devices or user types, improving network efficiency and user experience.
- Scalability: Supports large networks with diverse client needs, providing a scalable solution for DHCP management.
Special cases for User Classes
DHCPv4 User Classes
User classes are only deployable under selected sections:
- Options or Custom Options Panel: User classes can be selected and deployed for Hosts or DHCP reservations.
- Policy Section: User classes can be selected and deployed as one of the criteria.
DHCPv6 User Classes
User classes can be deployed under:
- Options or Custom Options Panel: User classes can be selected and deployed for Subnets and Hosts.
- Global Options: User classes can be deployed on a Cluster or Global level under the Options and Custom options tabs available in the DHCP -> Config menu, applying universally to all servers in the cluster.

New to ADSelfService Plus?
Related Articles
DHCP fingerprinting with Client Classes
Client Classes and Sub Classes Client classes and Sub Classes are powerful features used to group clients (DHCP clients) and apply specific DHCP options or behaviors to those groups. These classes and subclasses enable more granular control over how ...Configuring DHCP policies
Configuring DHCP Policies DHCP policies in Microsoft DHCP enable to create conditions that dictate how IP addresses and configuration settings like Options, Custom options and dynamic DNS settings are assigned to clients based on specific criteria. ...Configuring standard microsoft DHCP options
Configuring Microsoft standard DHCP options in DDI Central DHCP (Dynamic Host Configuration Protocol) options are additional settings that a DHCP server can provide to clients along with their IP address assignment. These options help configure ...Guidelines for managing Microsoft Windows DHCP servers
Guidelines for managing Microsoft Windows DHCP servers Follow the guidelines below to setup your Microsoft Windows DHCP infrastructure using DDI Central. Creating and managing DHCP scopes in DDI Central Managing Dynamic domains Creating DHCP policies ...Configuring the SMTP Host
Configuring the SMTP Host Setting up SMTP (Simple Mail Transfer Protocol) configurations is essential for enabling secure and reliable email communications within your network. With SMTP, you can specify how outgoing emails are sent from your ...