Steps to integrate AWS Route 53 with DDI Central
Steps to integrate AWS Route 53 with DDI Central
Step 1: Generating Access Key, Key ID and Zone ID in AWS Route 53
- Login into your AWS account and click on 'user icon' and select 'Security Credentials'.
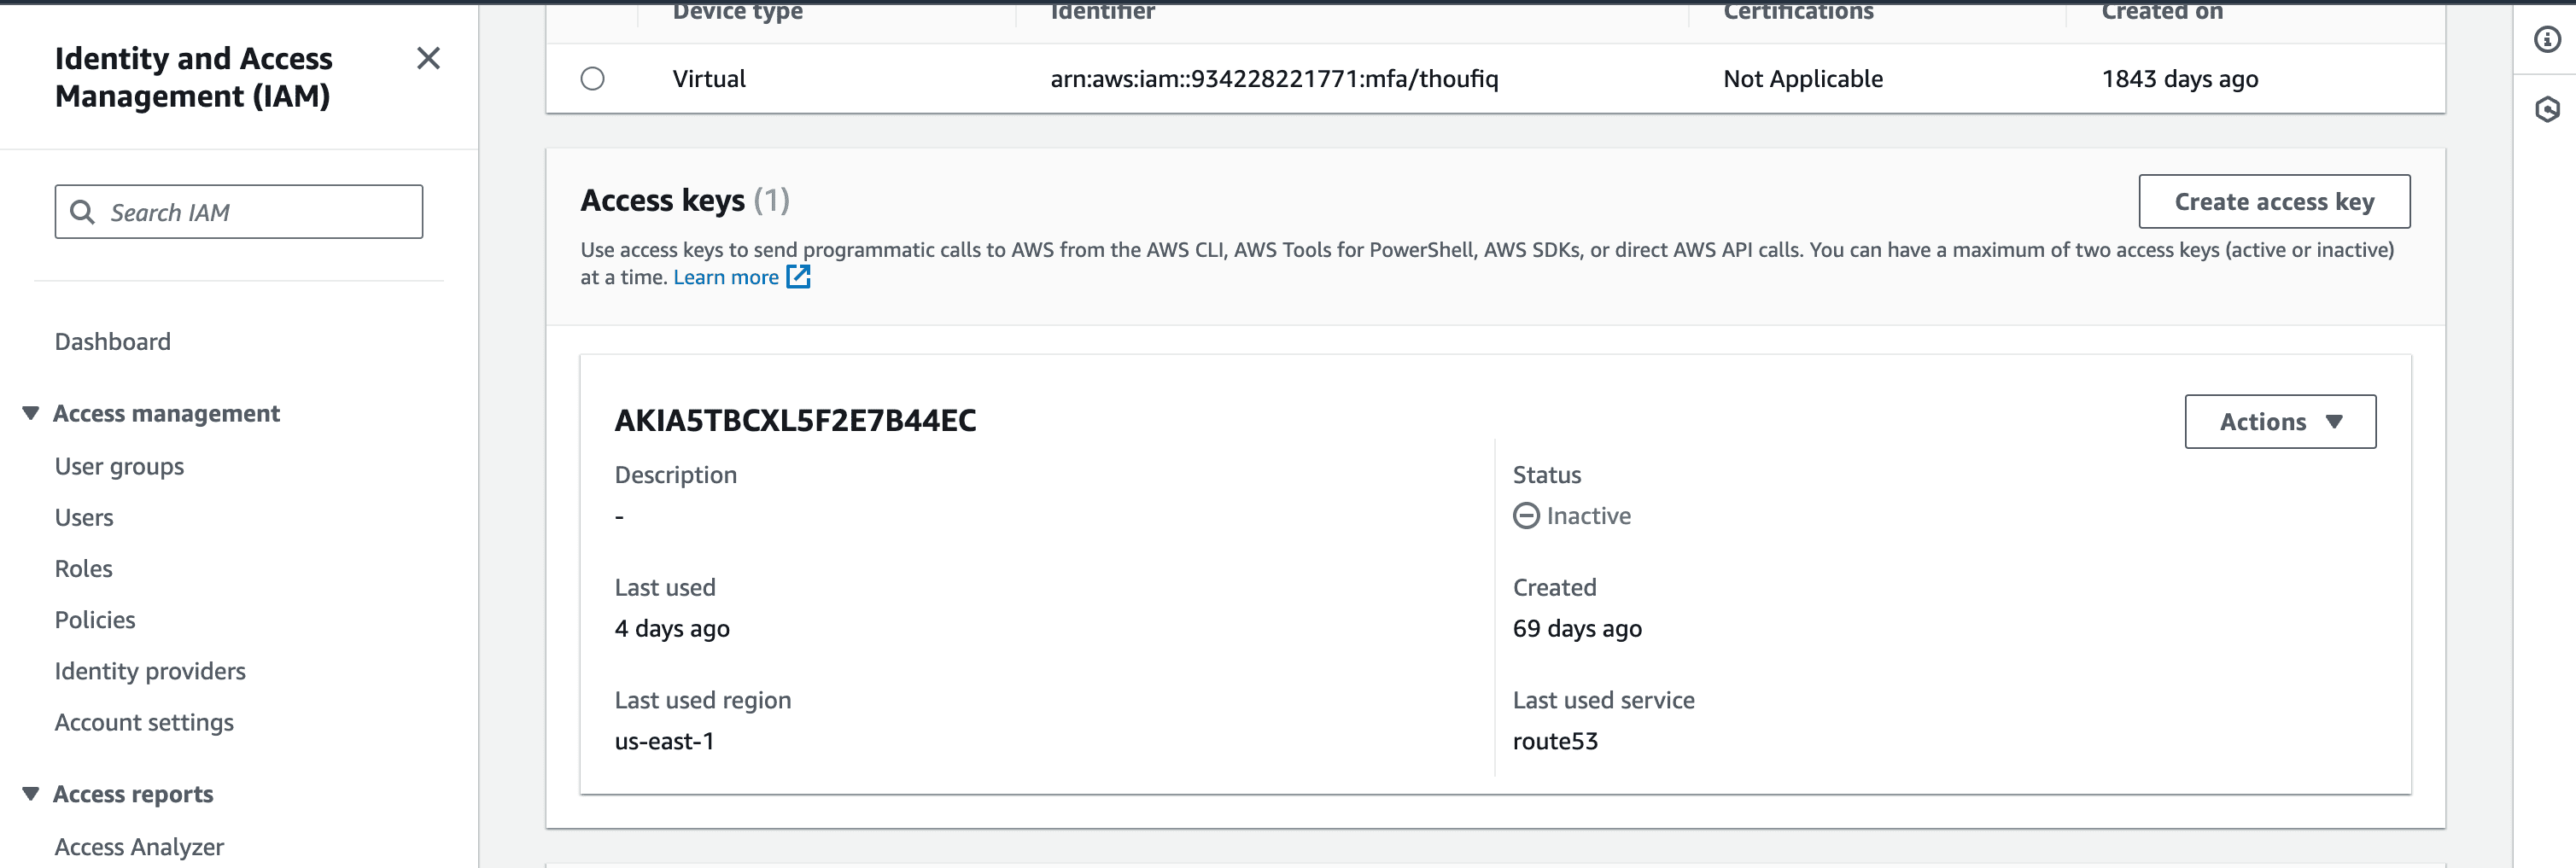
- On the Identity and Access Management(IAM) page, to generate Access Key and Key ID click on 'Create access key'
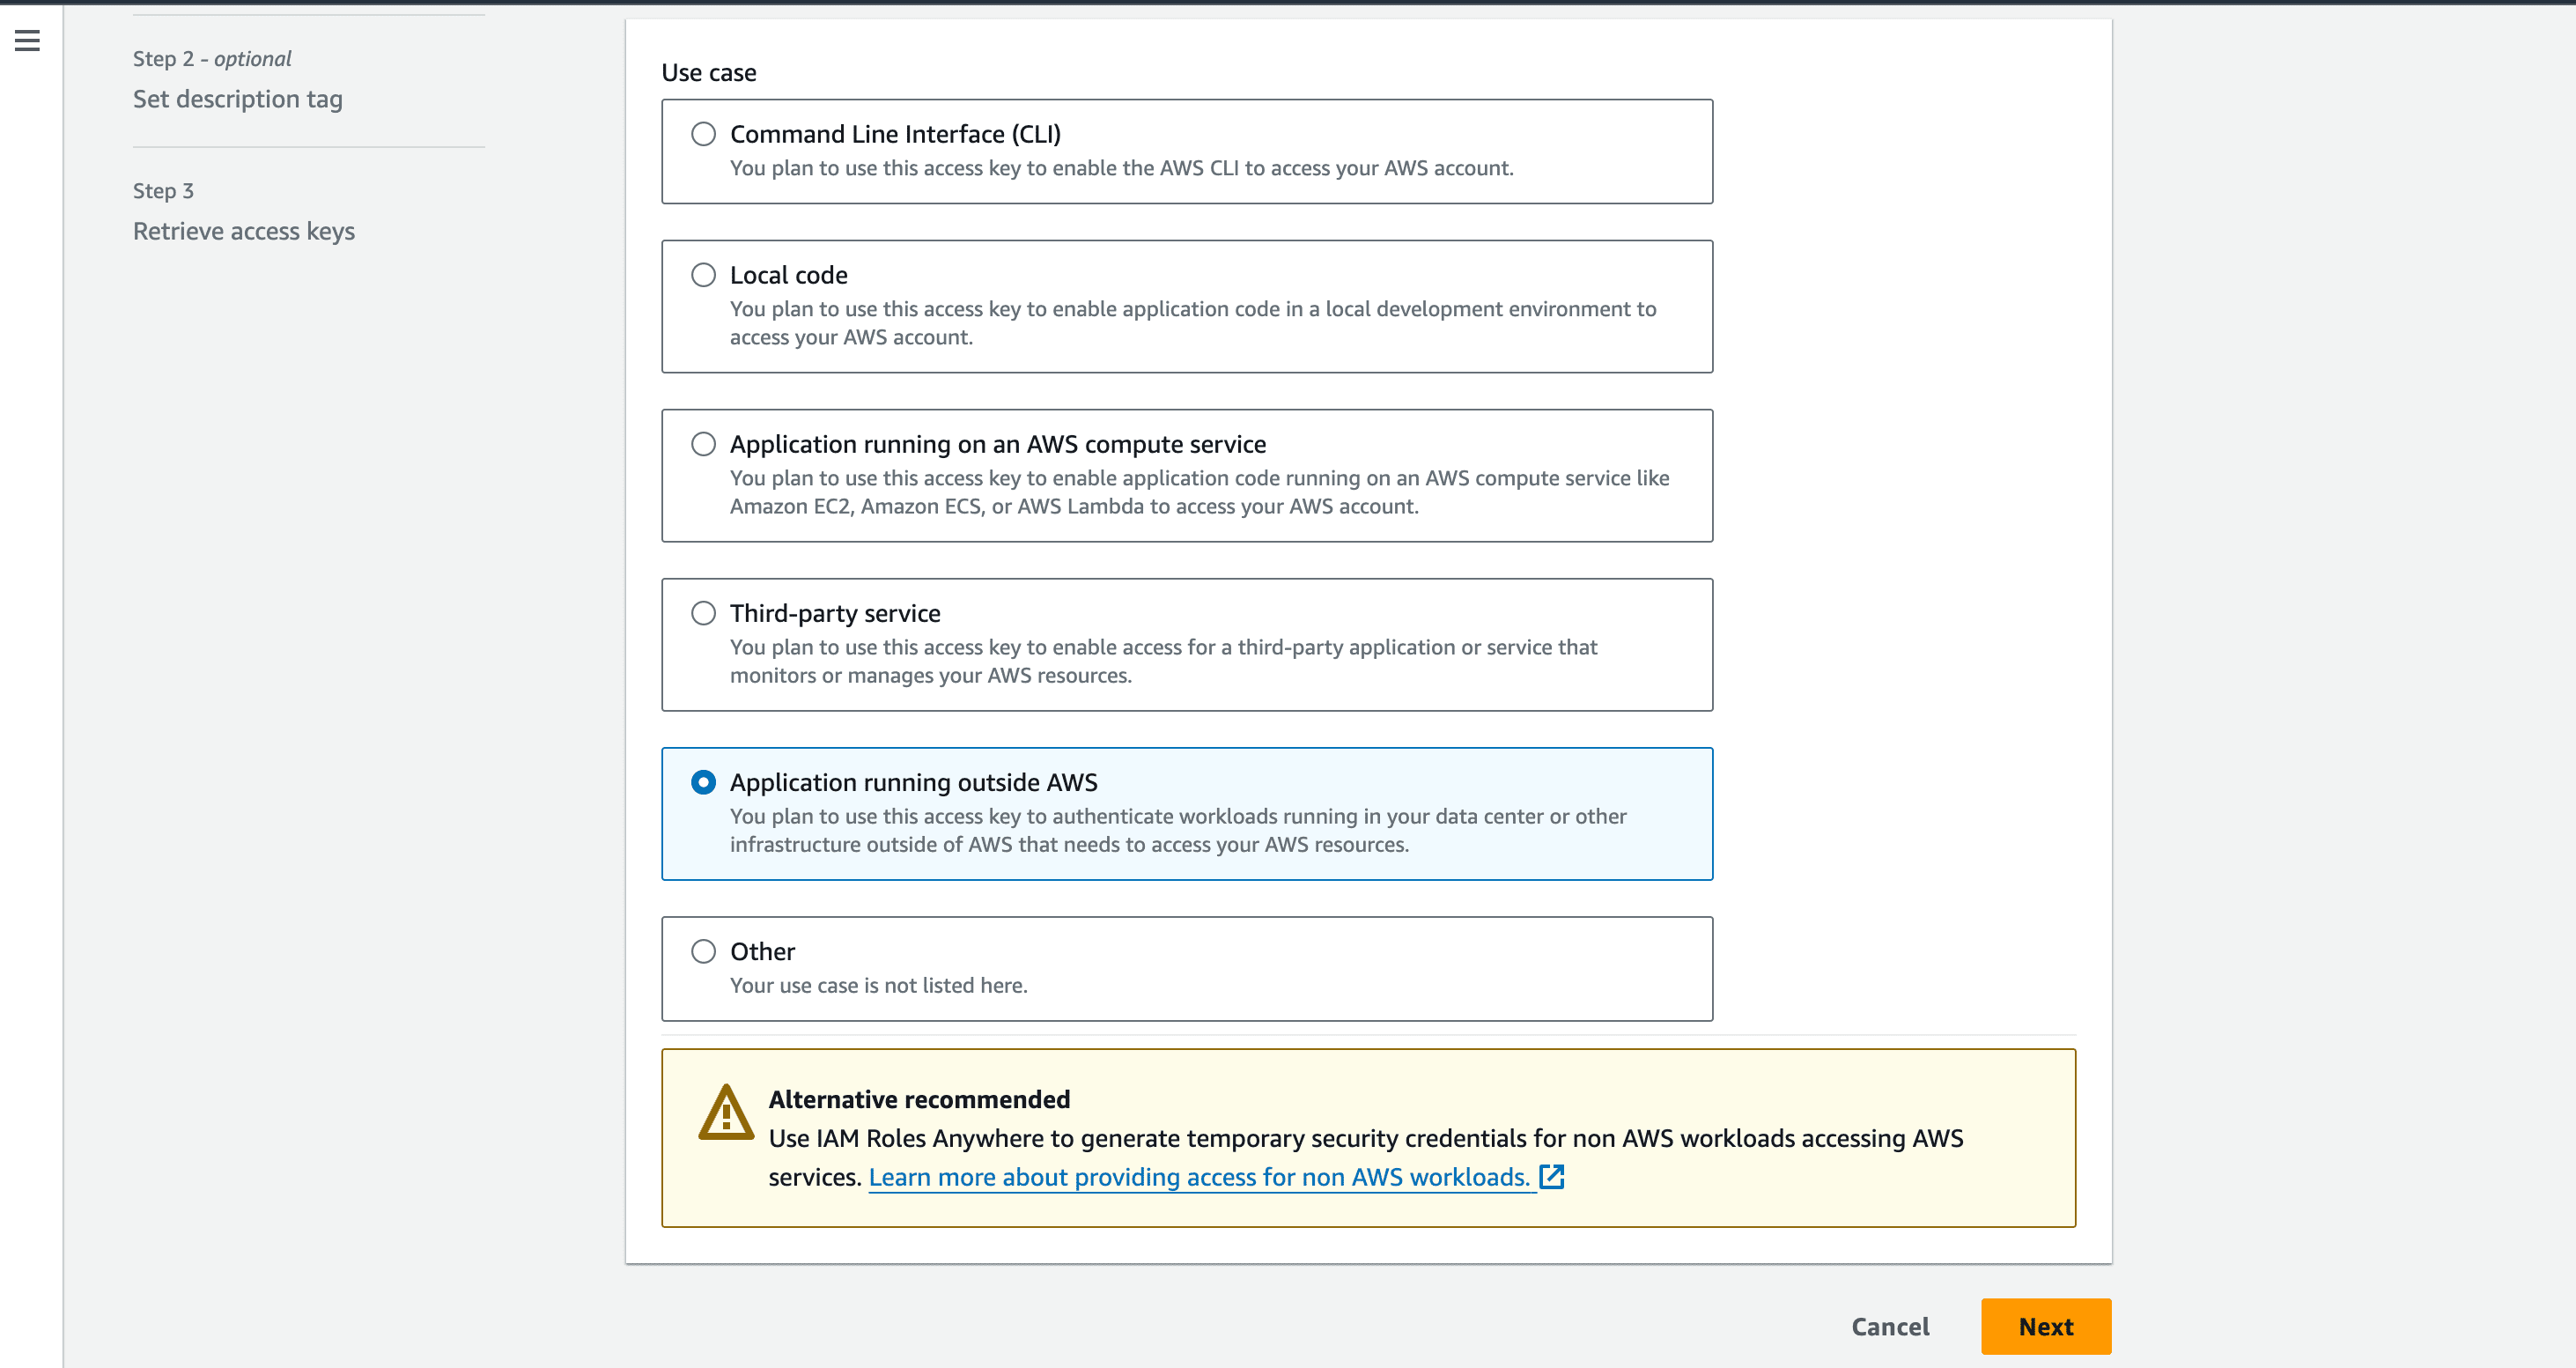
- In the subsequent page that appears, Select the Use Case as "Application running outside AWS". and click Next.
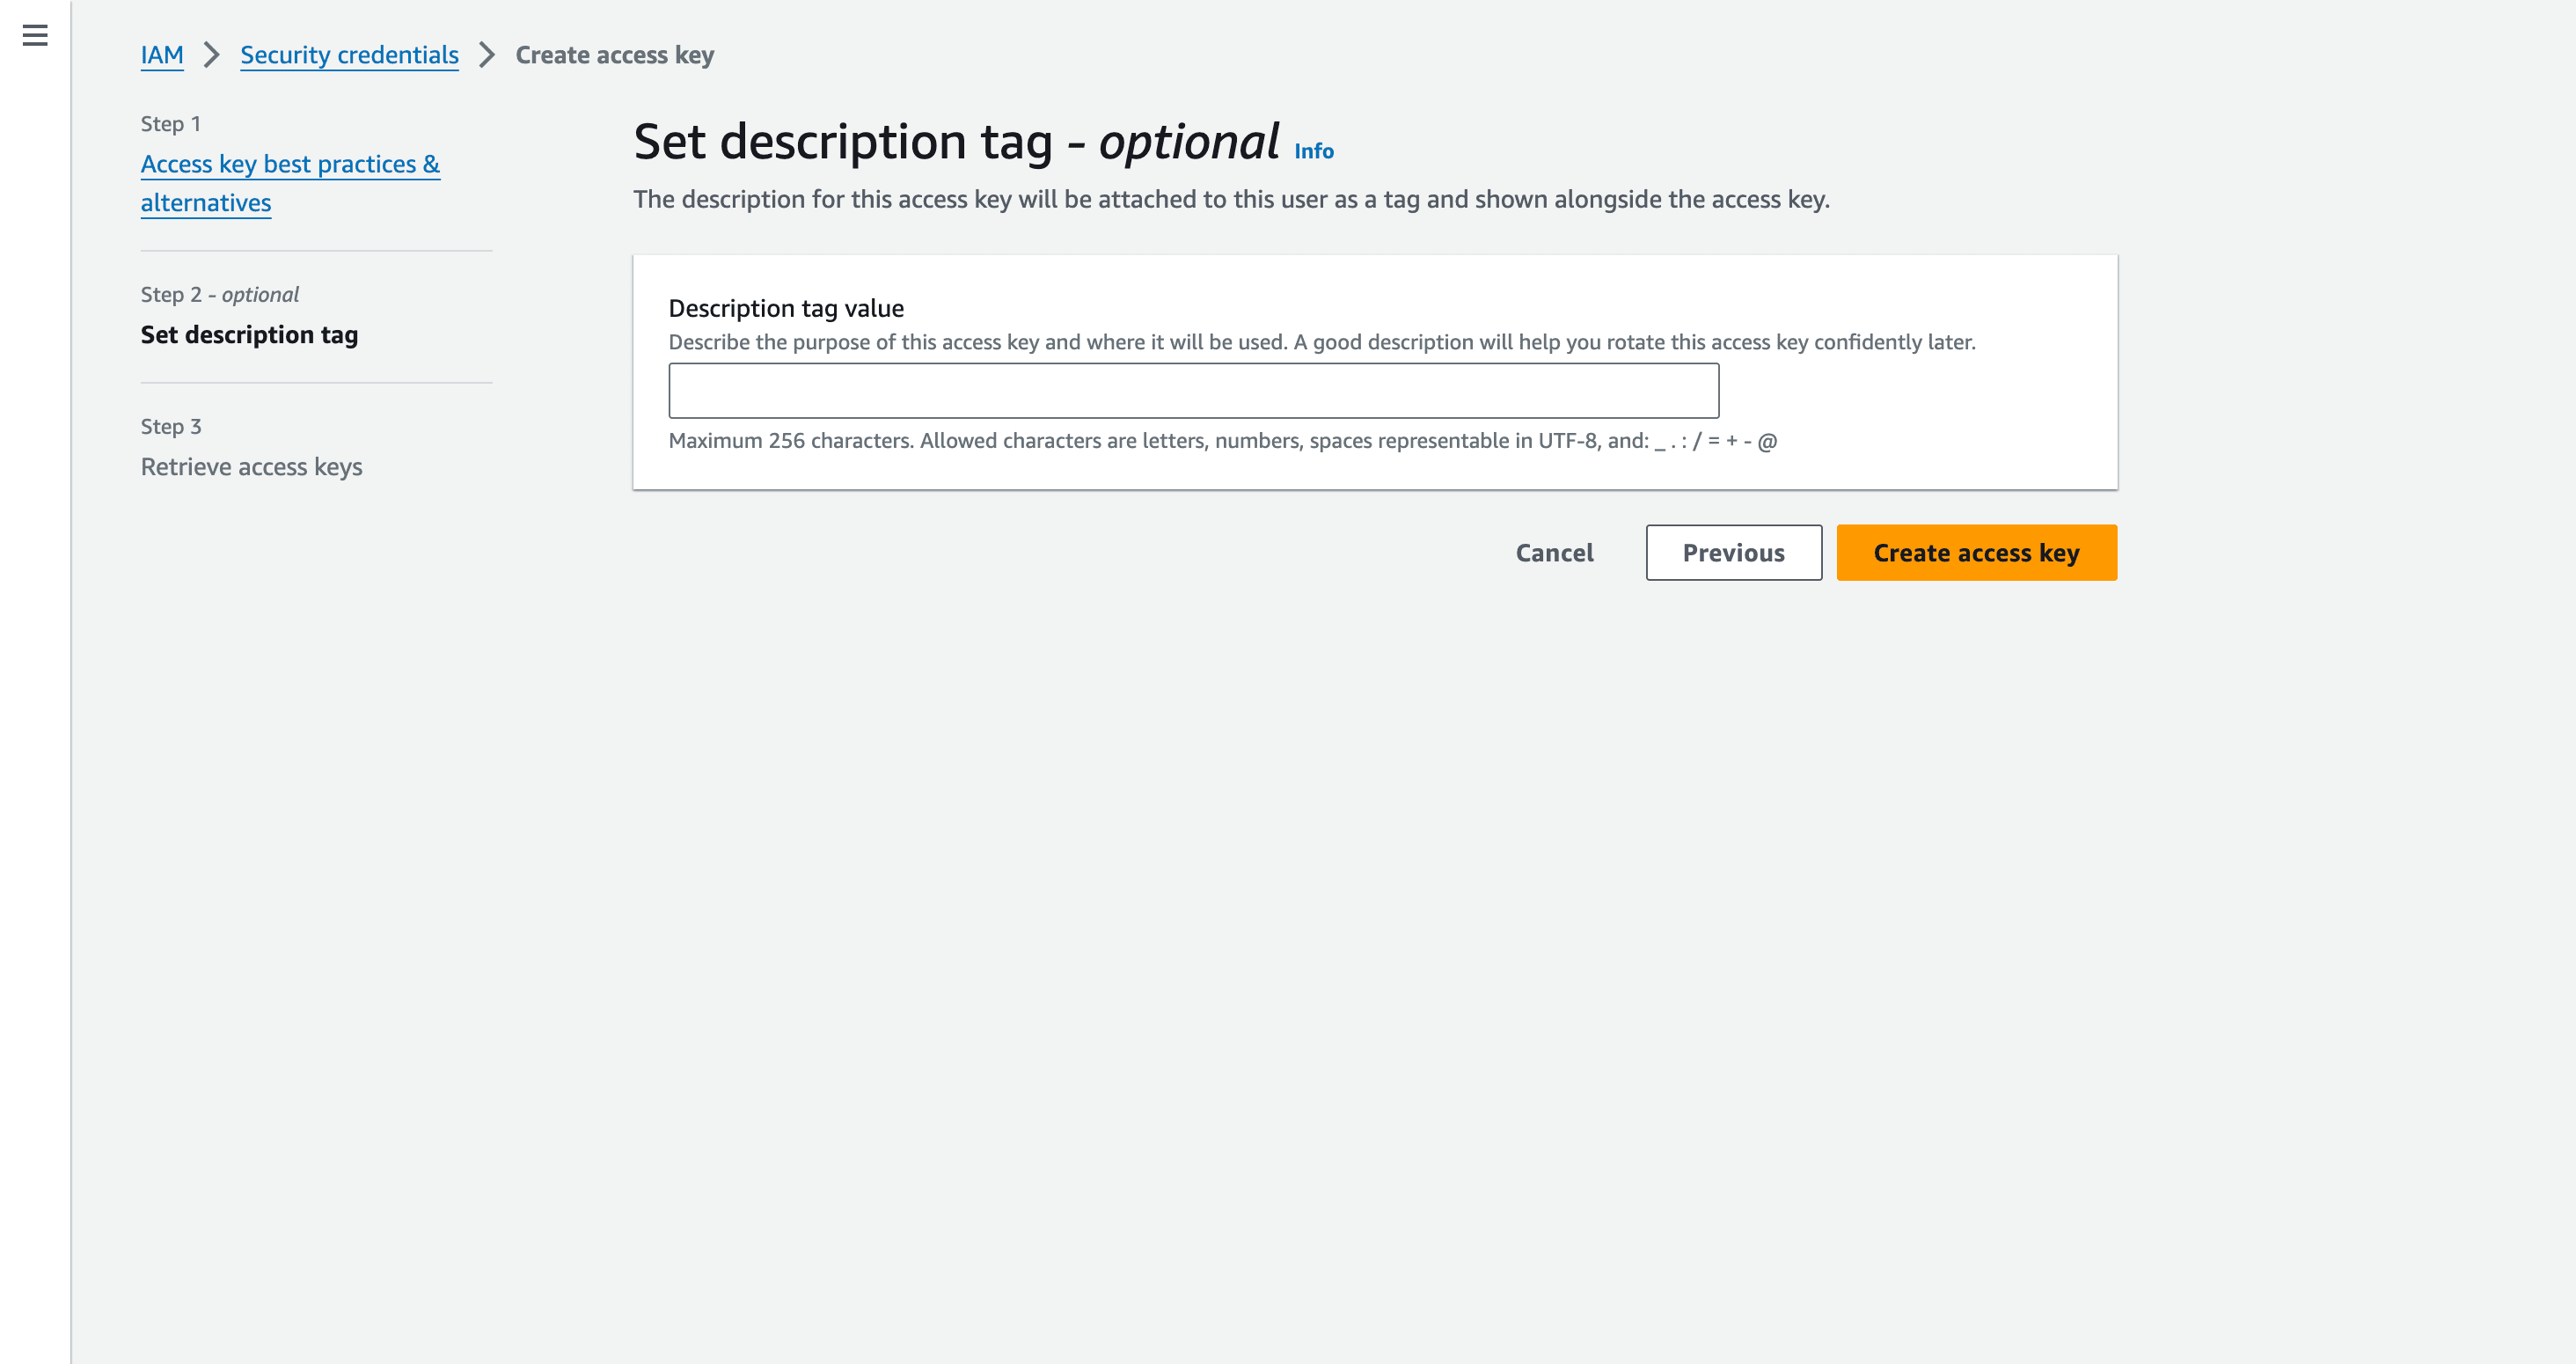
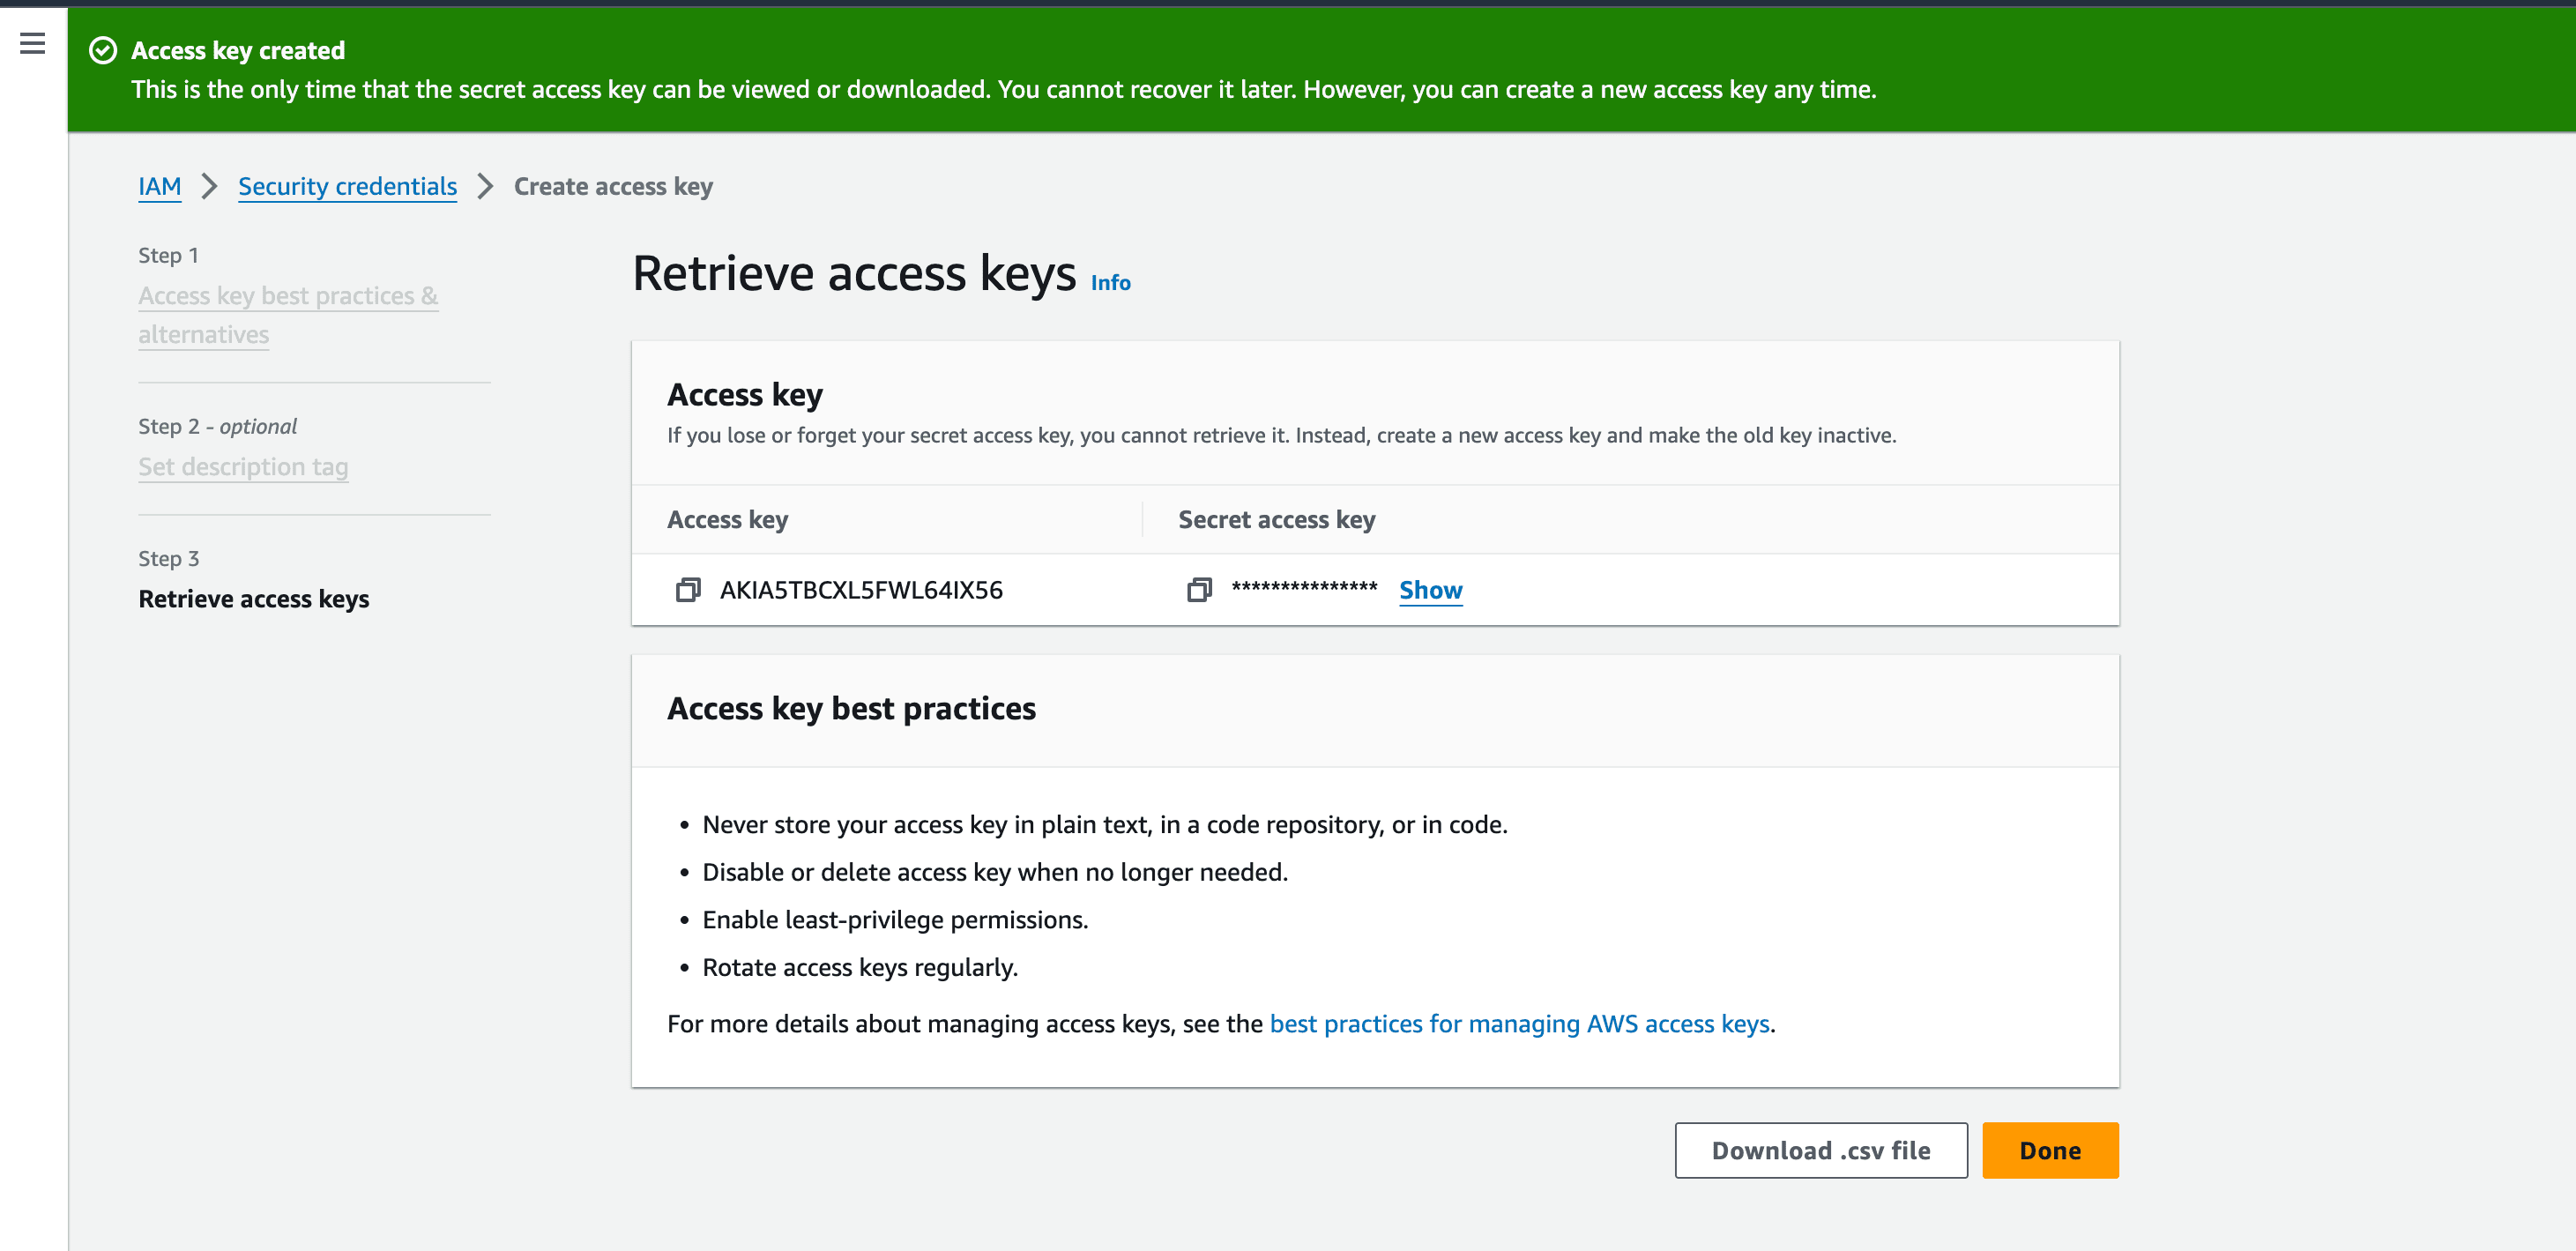
- For the Access Key pair(Access Key and Secret Access Key) to be generated, Enter a Description tag describing the purpose of the access key and where it will be used. This description will be associated with the user as a tag along with the access key. Click Create Access Key.
- The Access Key pair - Access Key and the Secret Access Key are successfully generated. Copy the values you will be required to provides these details in DDI Central console.
Step 2: Configurations to be made in DDI Central
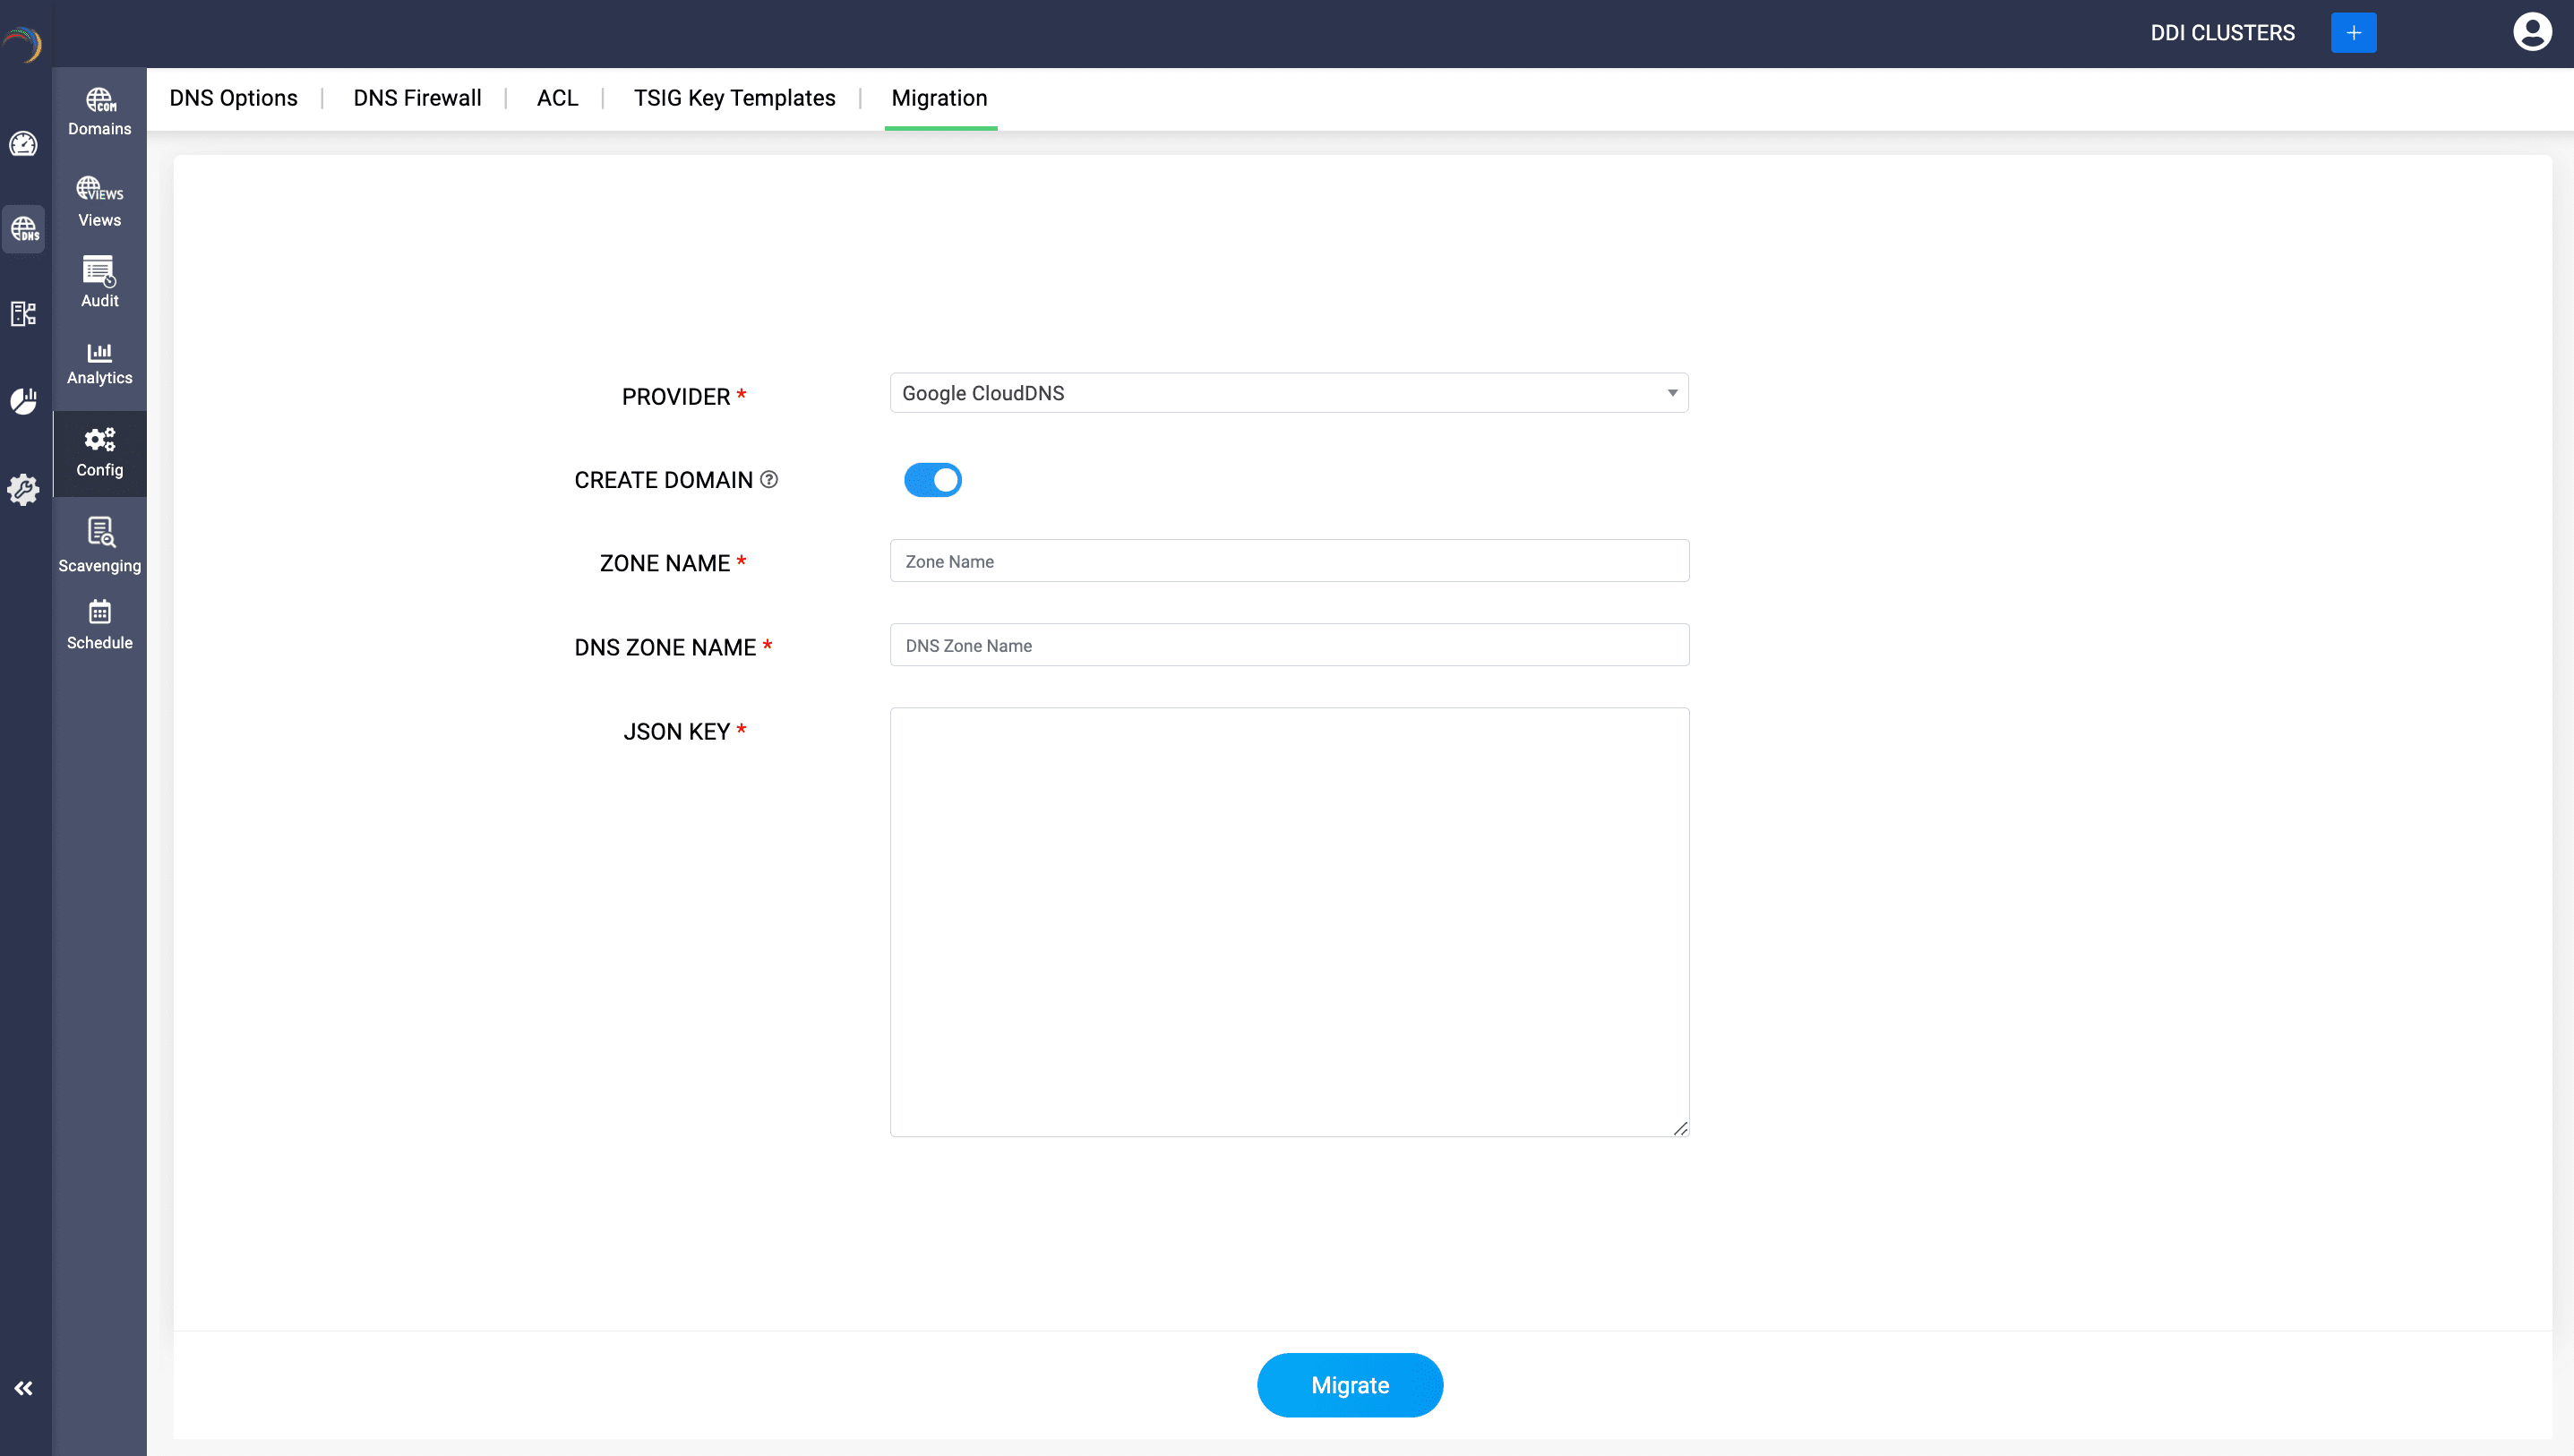
- Once you have the required credentials from AWS , log into DDI Central and select the required Cloud Observability Cluster. Now navigate to Settings-> Profile -> Provider Profile.
- Select the provider as AWS Route53 from the list of providers in the providers drop-down menu.
- If required, With DDI Central you can also add a new domain into your AWS servers directly from DDI Central console.
- Enter the Access Key pairs(Access Key and Secret Access Key) that you have copied or downloaded from AWS Route53 in the relevant fields for successful authentication with your AWS DNS servers on cloud.
- On successful authentication, DDI Central lists all the active domains hosted on AWS servers. Select the relevant ones or all the domains.
- Click Migrate.
- On successful migration, you can see all the current domains you selected with AWS under the Domains page within the DNS module.
- You can further easily add and manage the configurations of zones under each domain directly using DDI central controls.
- Click through a domain name and access the DNS records associated with the zones under that domain name.
New to ADSelfService Plus?
Related Articles
DDI Central for Microsoft DNS DHCP
About ManageEngine DDI Central DDI Central is a comprehensive network management solution that unifies DNS, DHCP, and IP Address Management (IPAM) to enhance operational efficiency and network stability. It is deployed as an overlay on your existing ...
AWS Integration with DDI Central
AWS Integration with DDI Central DDI Central seamlessly integrates with Amazon Web Services (AWS) to provide deep visibility and centralized oversight of key cloud infrastructure components— EC2 instances, ECS services, RDS databases, VPCs, and their ...
Steps to integrate Google CloudDNS with DDI Central
Steps to integrate Google CloudDNS with DDI Central Step 1: Generating JSON Key within Google CloudDNS Login into your Google cloud account and Navigate to IAM & Admin -> Service Accounts You need a service account to generate JSON Key. Click on ...
Analyzing AWS EC2 Network Resources in DDI Central
Analyzing AWS EC2 Network Resources in DDI Central Amazon EC2 (Elastic Compute Cloud) is at the heart of most AWS deployments, powering scalable virtual machines for applications, services, and infrastructure workloads. But managing EC2 efficiently ...
Steps to integrate Cloudflare with DDI Central
Steps to integrate Cloudflare with DDI Central Step 1: Generating Auth-Code in Cloudflare Login into your Cloudflare account. On the dashboard, click on the User icon and select My Profile. Navigate to API Tokens and click on the 'View' button of ...
