Custom User Roles in OpManager
The level of access for users across different modules and add-ons in OpManager can be customized individually through Custom User Roles.
The different levels of access that can be provided in OpManager for users through custom roles include: Read/Write, Read and No Access.
Note: Custom Roles can be created from OpManager version 12.5.399
How to create custom user roles?
To create custom user roles,
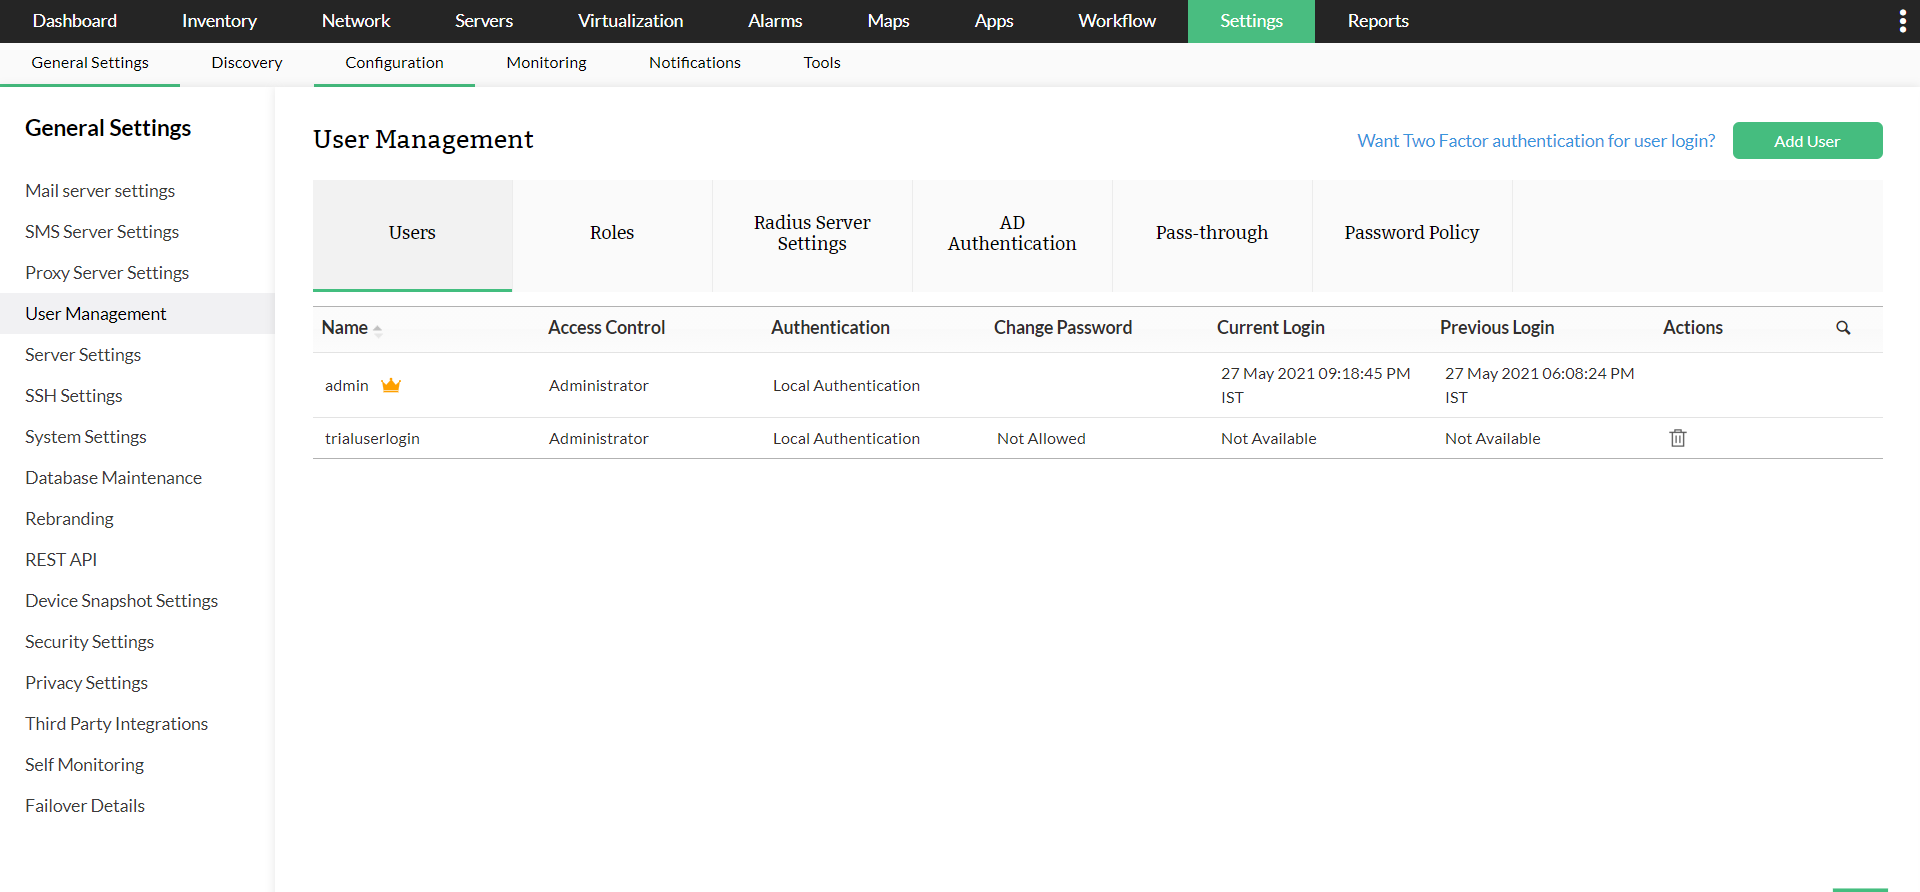
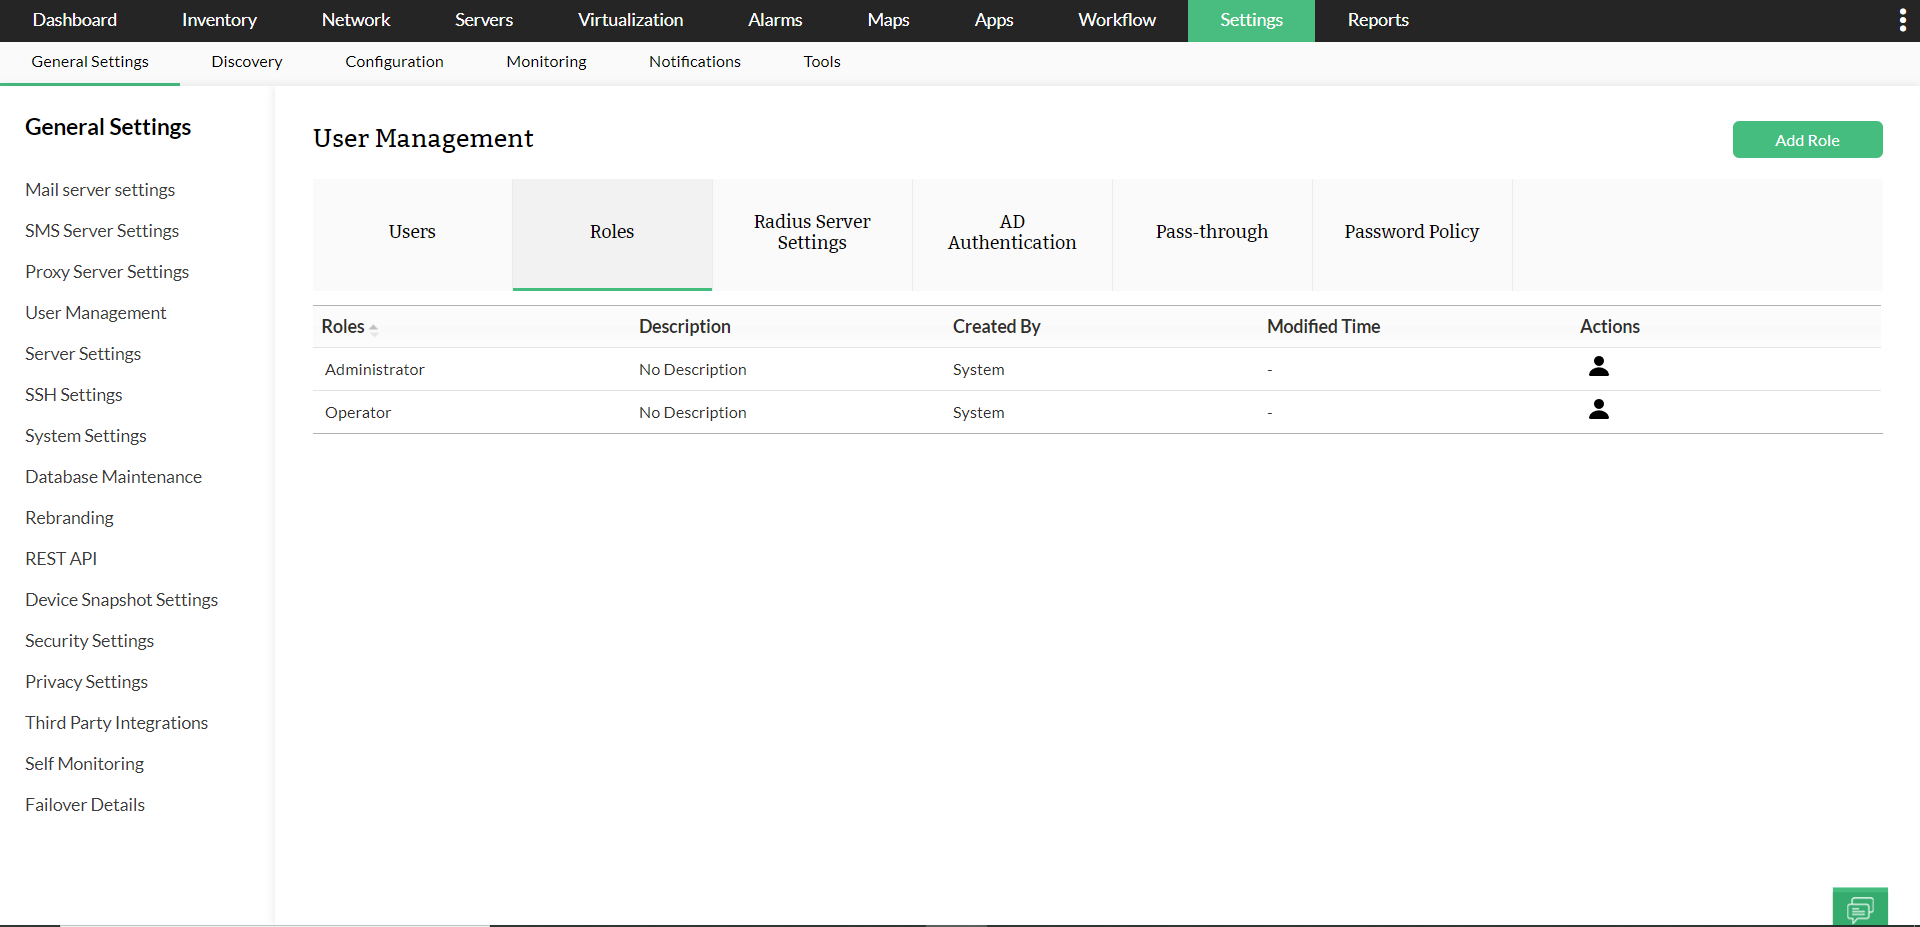
- Go to Settings -> General Settings -> User Management -> Roles and click on the 'Add Role' button.
Note: Users associated to a specific role be viewed by clicking the 'User' icon under 'Actions'. - Enter the desired 'Name' and 'Description' for the role.
- Choose the level of access for different features individually in each module.
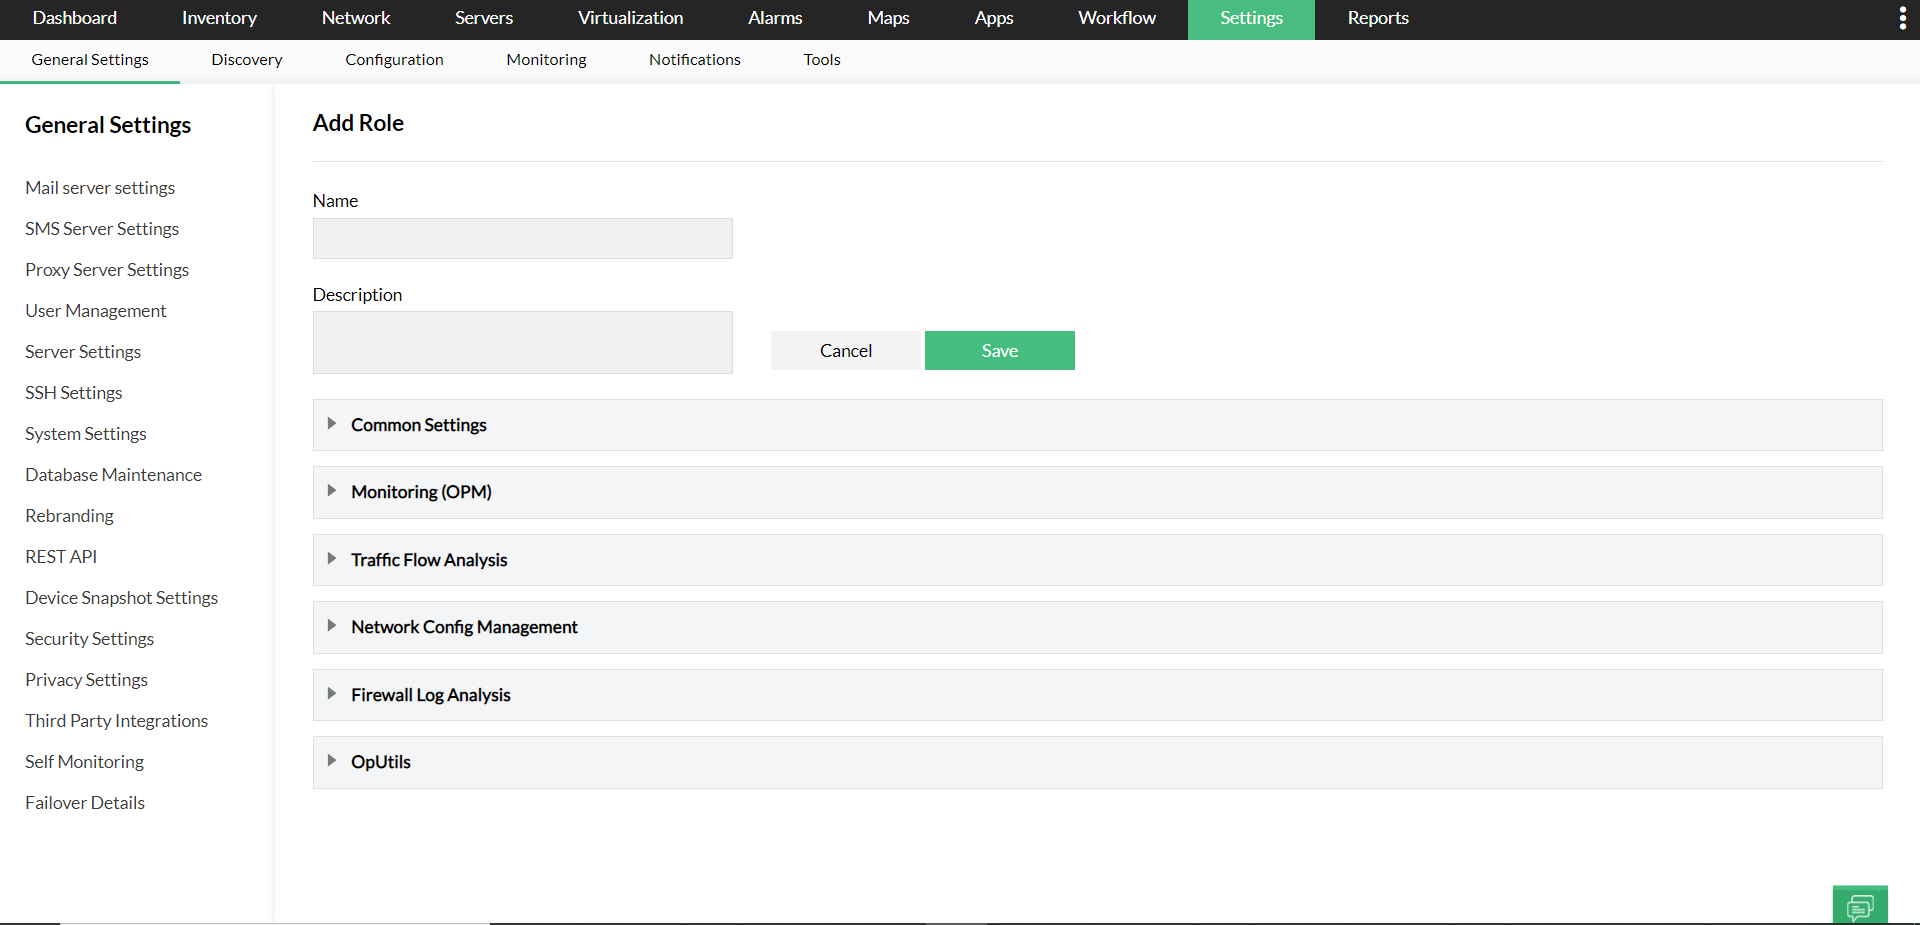
- Click 'Save'.
Associate User Role to a new User:
- Go to Settings -> General Settings -> User Management -> 'Add User'.

- Select the desired User Role under 'Role' and enter the desired 'User Type'.
- Enter the required credentials and details.
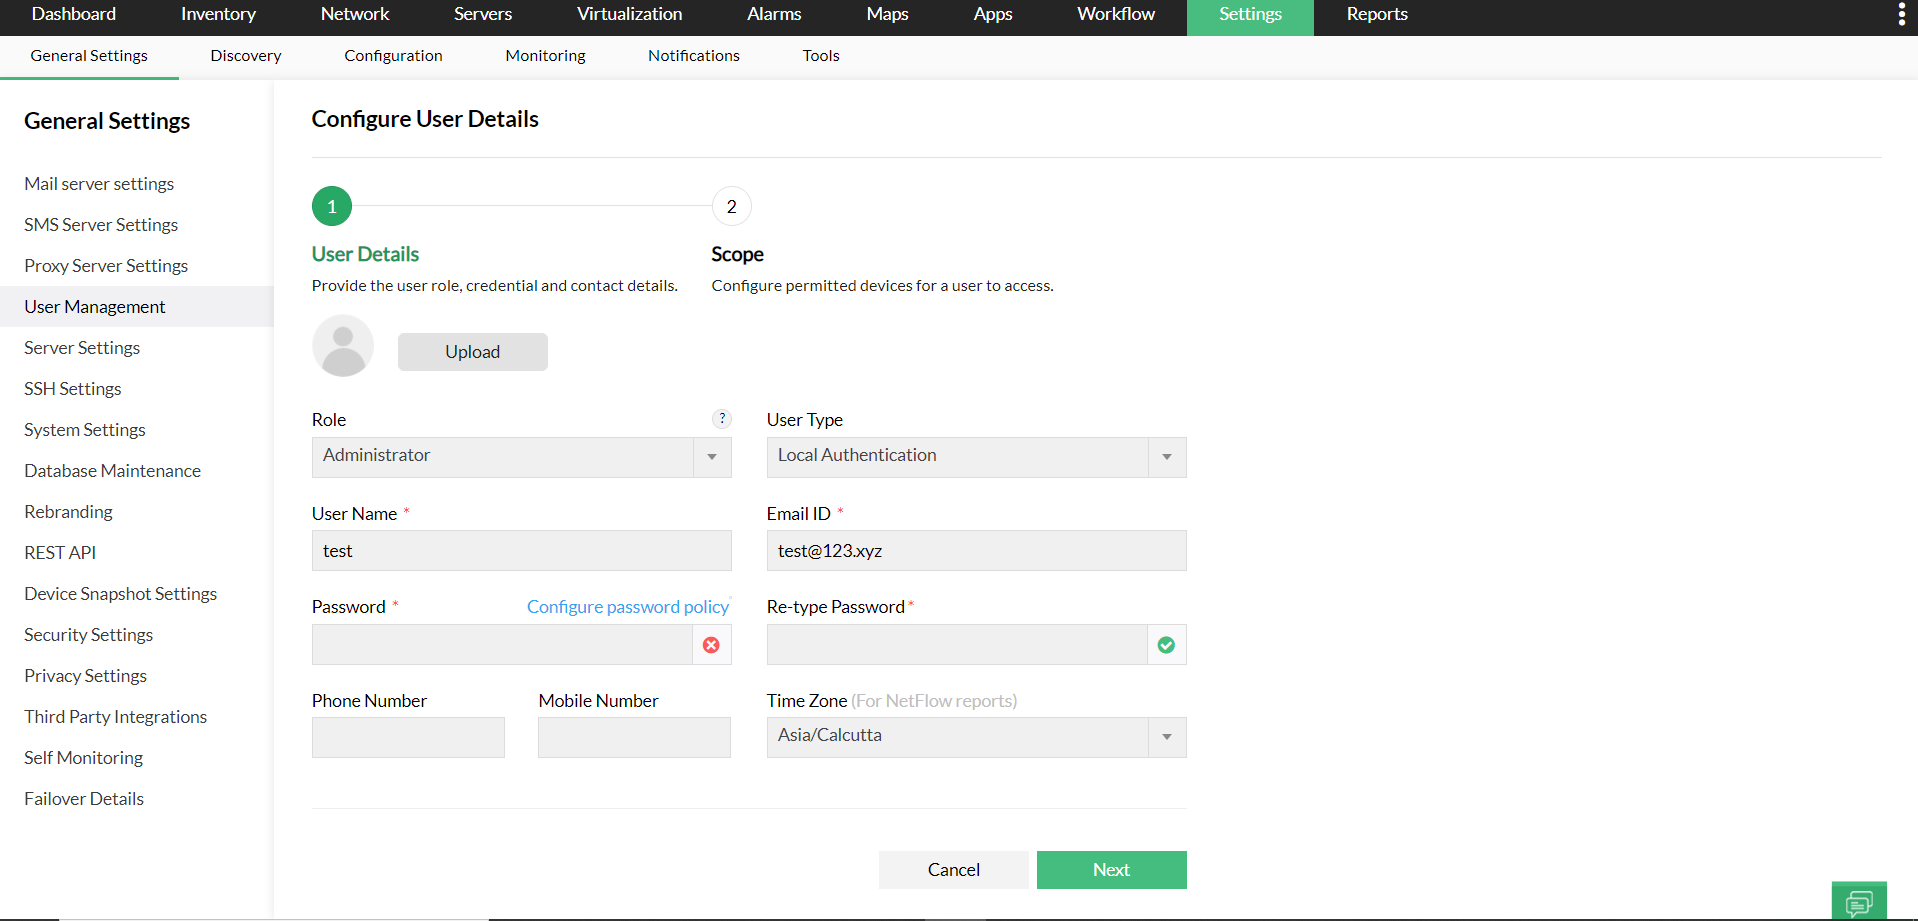
- Click 'Next'.
- In the 'Scope' tab, select the devices and modules available to the user.
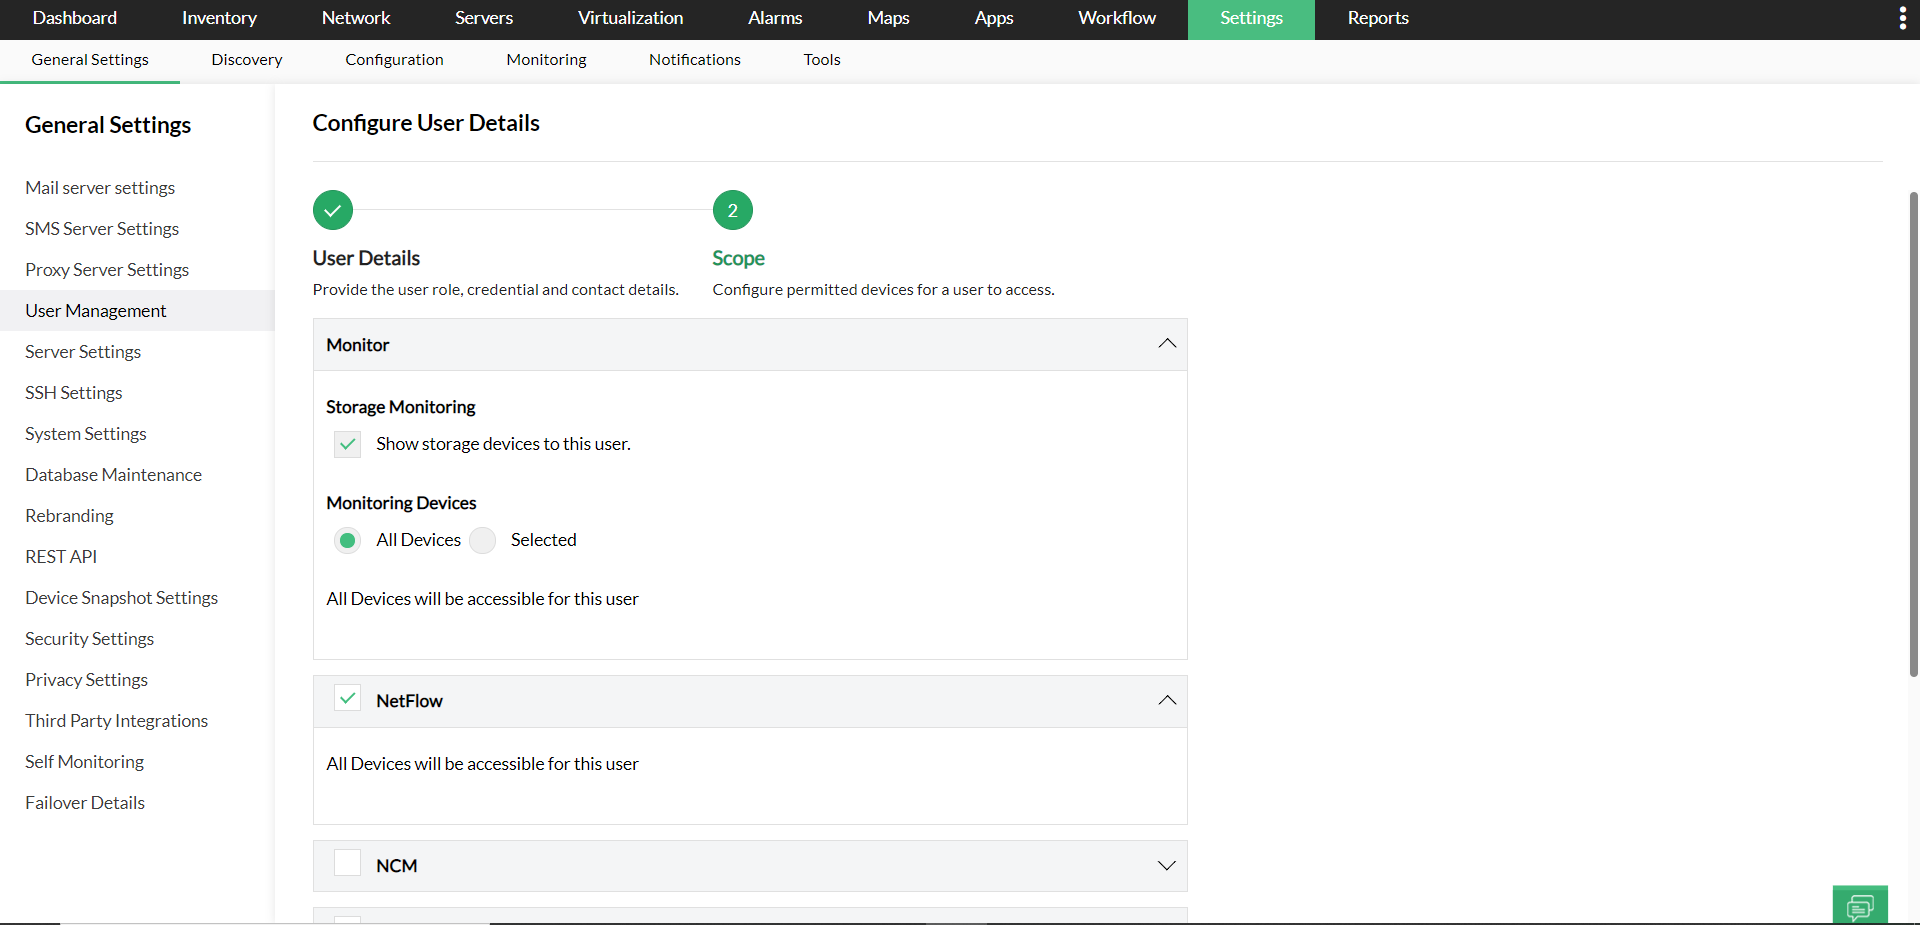
- Click 'Save'.
Note:
- If a role is associated to any user or configured under auto-login in AD domain, deletion of the role will not be possible.
- If the scope of the user is restricted, they might be restricted from performing a few actions even if the role allows it. This is to ensure that a user with limited scope does not perform any operation that may require additional privileges.
- To associate a different user role to an existing user, go to Settings -> General Settings -> User Management, click on the Username of the user you want to edit and follow the above steps.
- A user role can be edited after users have been associated to it but cannot be deleted.

New to ADSelfService Plus?
Related Articles
Create New Users in OpManager
You can create users in OpManager and provide required privileges to them. The option to create users is available only for the admin login account or those accounts which have 'Full Control' privilege. (The account with 'Full Control' privilege here ...Changing OpManager User Password
OpManager's user management feature helps network admins create specific user roles and associate them with the respective user profiles. You can also change their passwords. Kindly note that only an admin user or a user with full control privilege ...Adding custom widgets in OpManager
Creating custom script template in OpManager
OpManager stops after the user logs off
Issue : If the OpManager Service runs on a service account (This Account). It will NOT allow you to keep the Wrapper running after the user mentioned (This Account) logs off. It happens only in Windows 2003 R2. Solution : Change the Service ...