Configuring SAML authentication settings in OpManager for OneLogin
Listed below are the steps to configure SAML authentication in OpManager (SP) for OneLogin (IdP) with Single Sign-On.
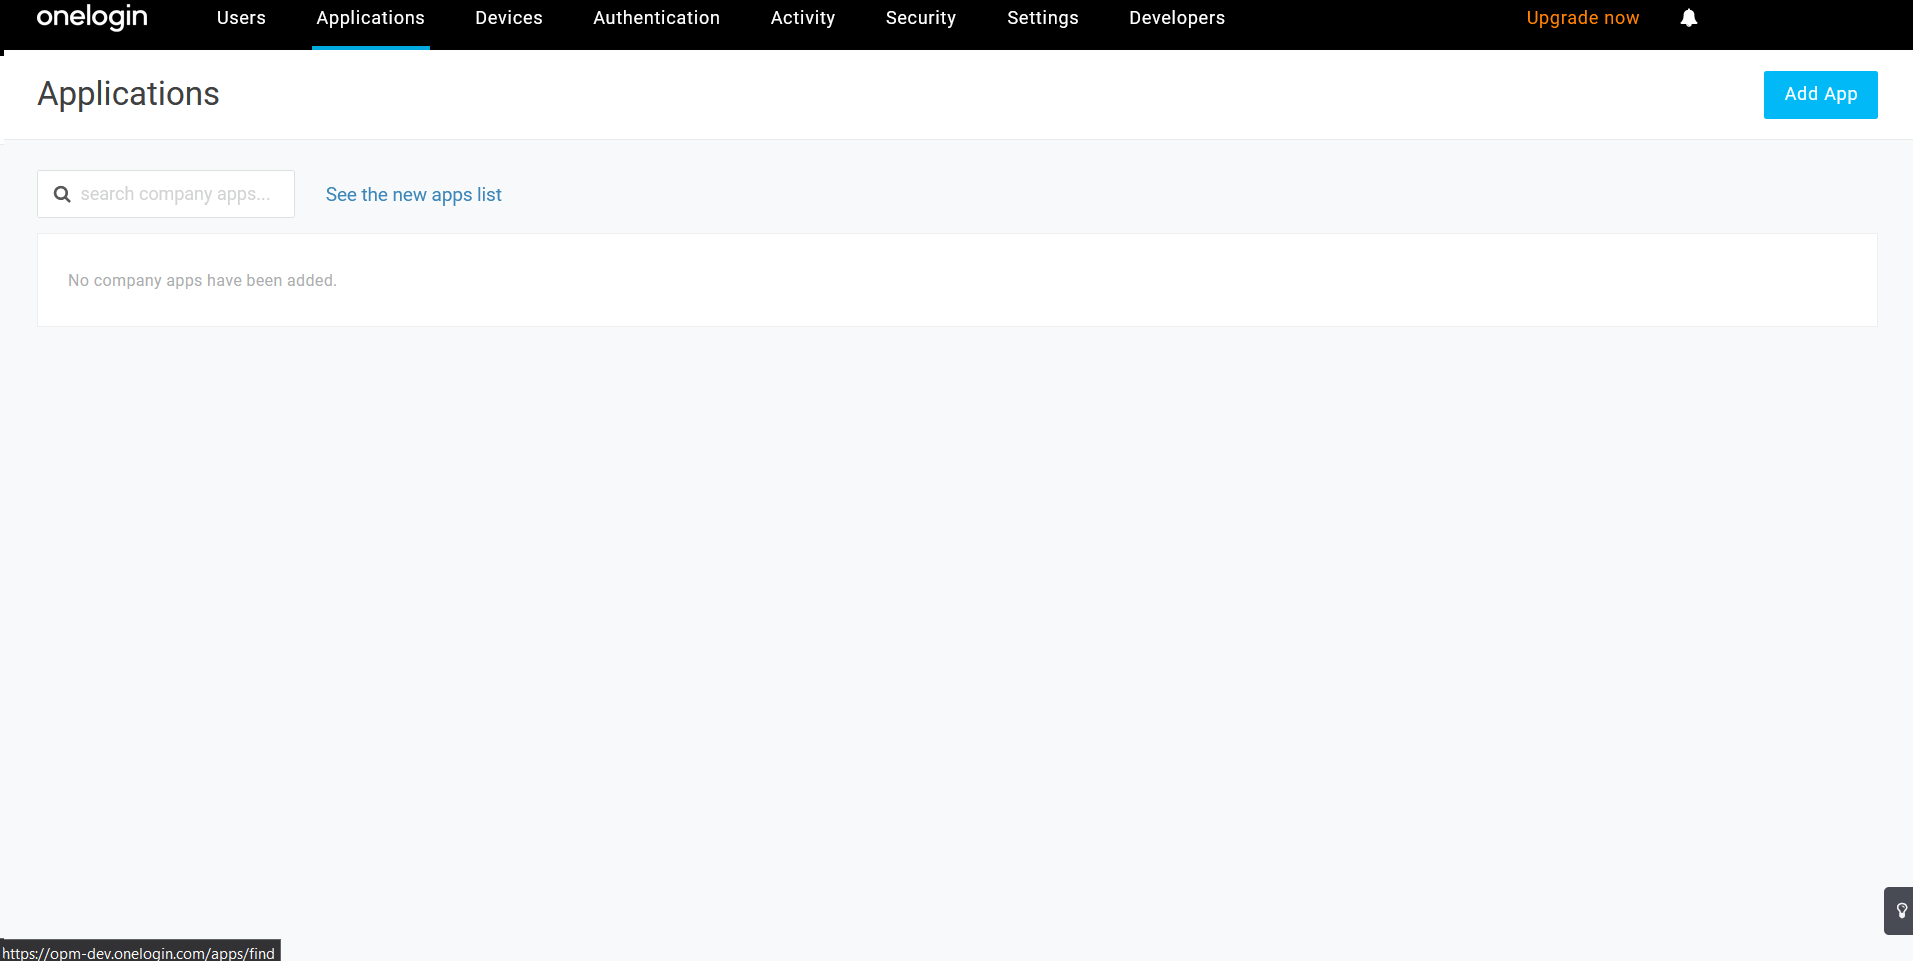
- Open OneLogin and navigate to Applications tab.
- Use the search bar and select SAML Custom Connector (Advanced).
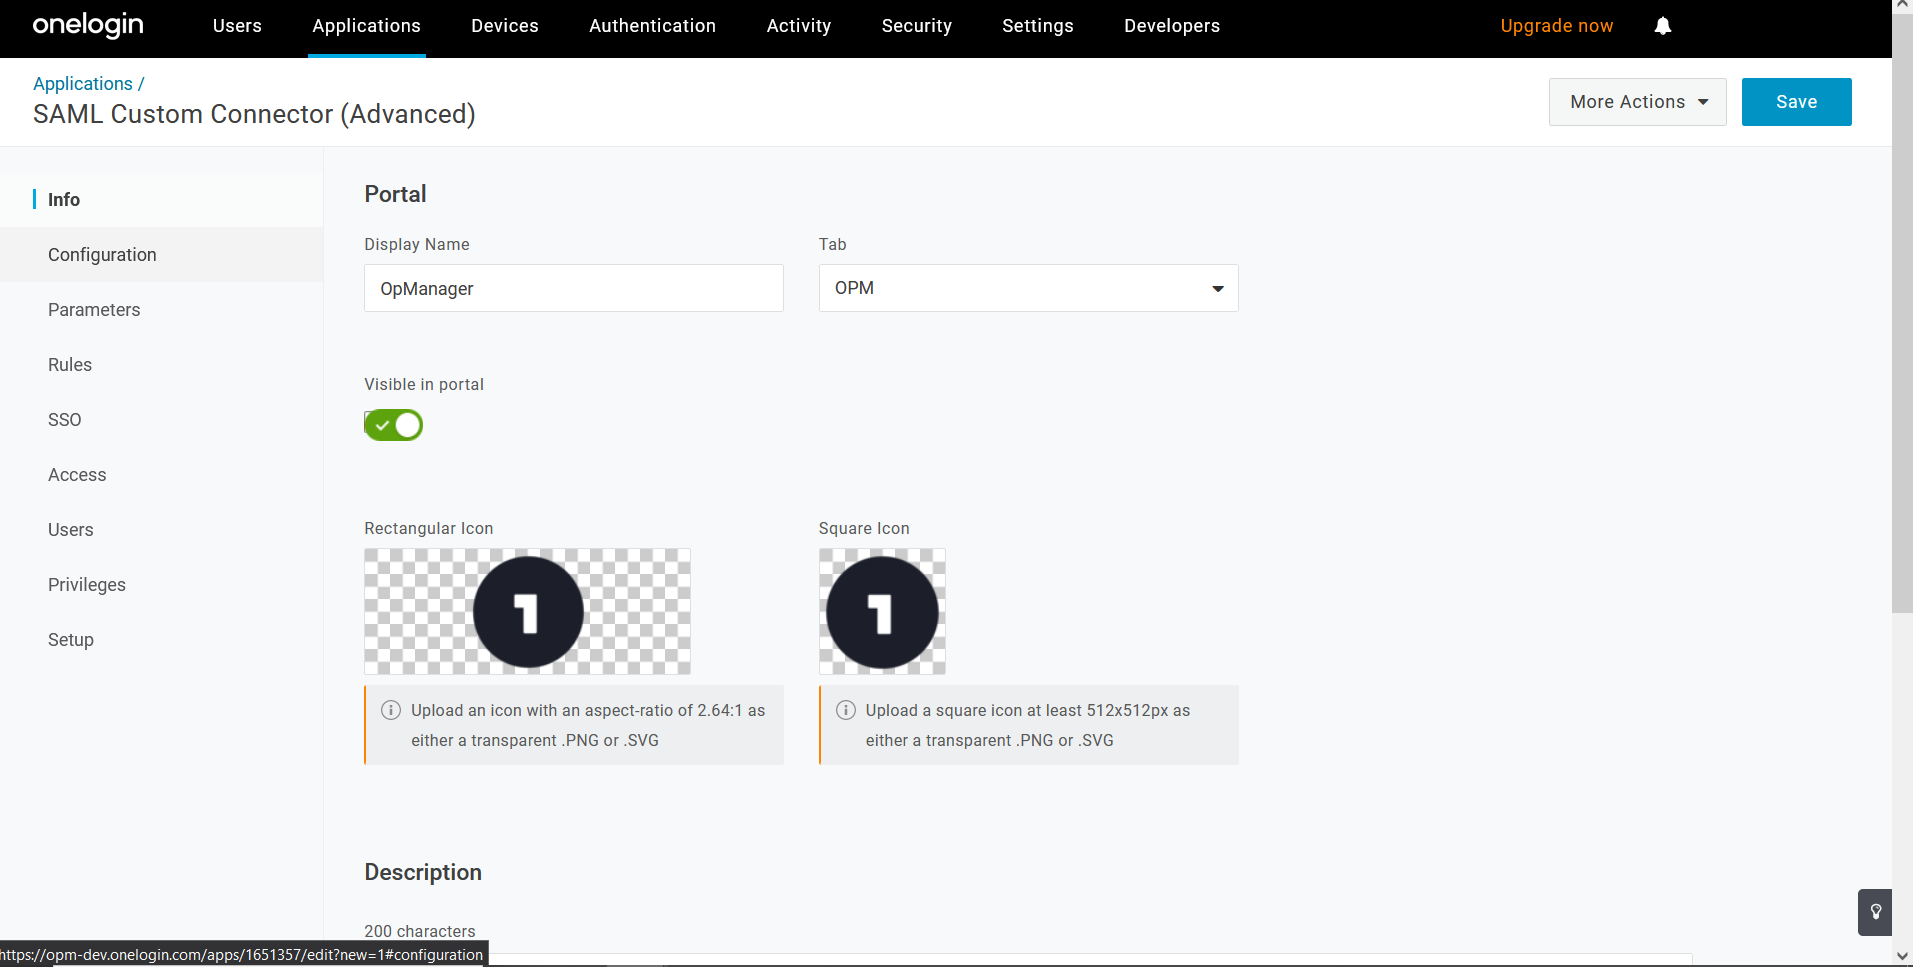
- Open Configuration tab, provide Display Name as OpManager and click on Save.
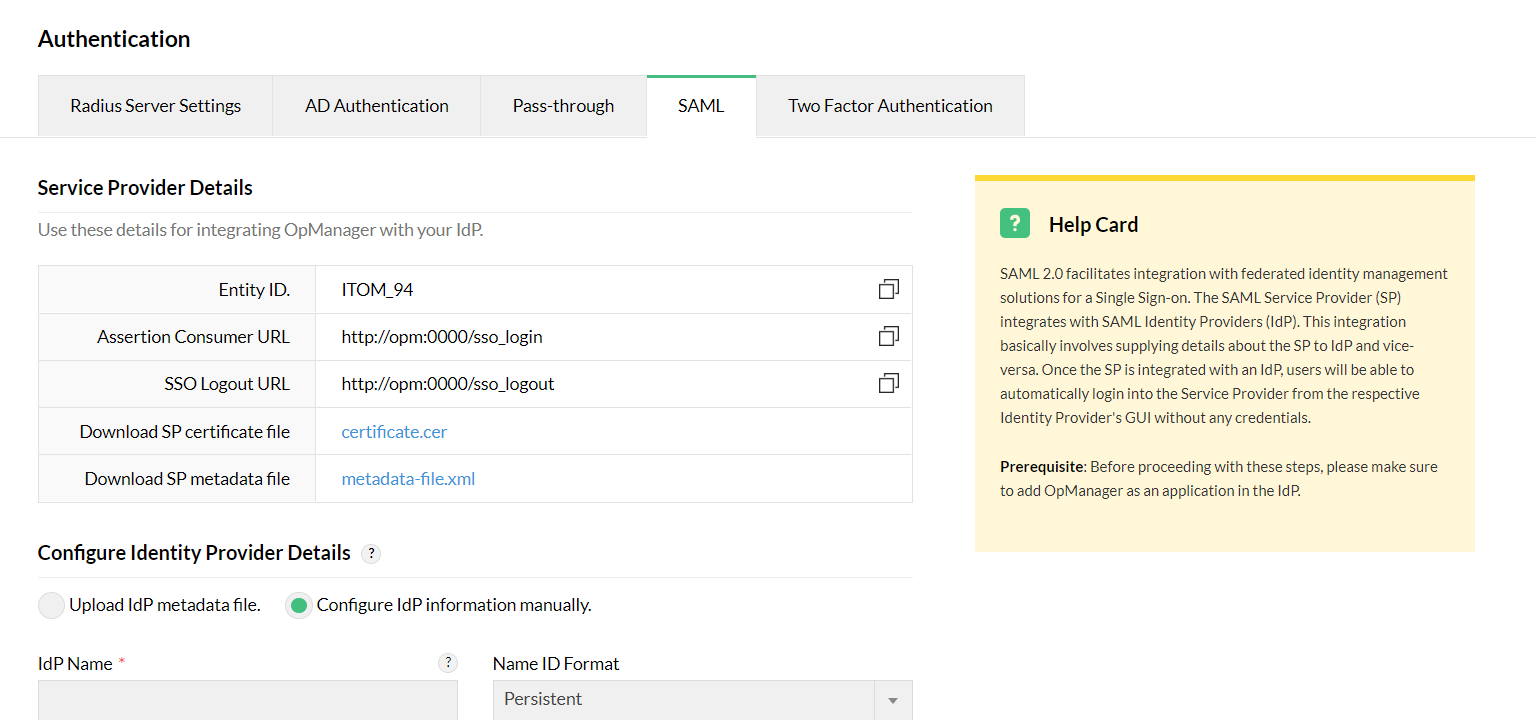
- Now, go to OpManager and navigate to Settings -> General Settings -> Authentication -> SAML. Under 'Service Provider' details, copy the Entity ID and the Consumer Assertion URL.
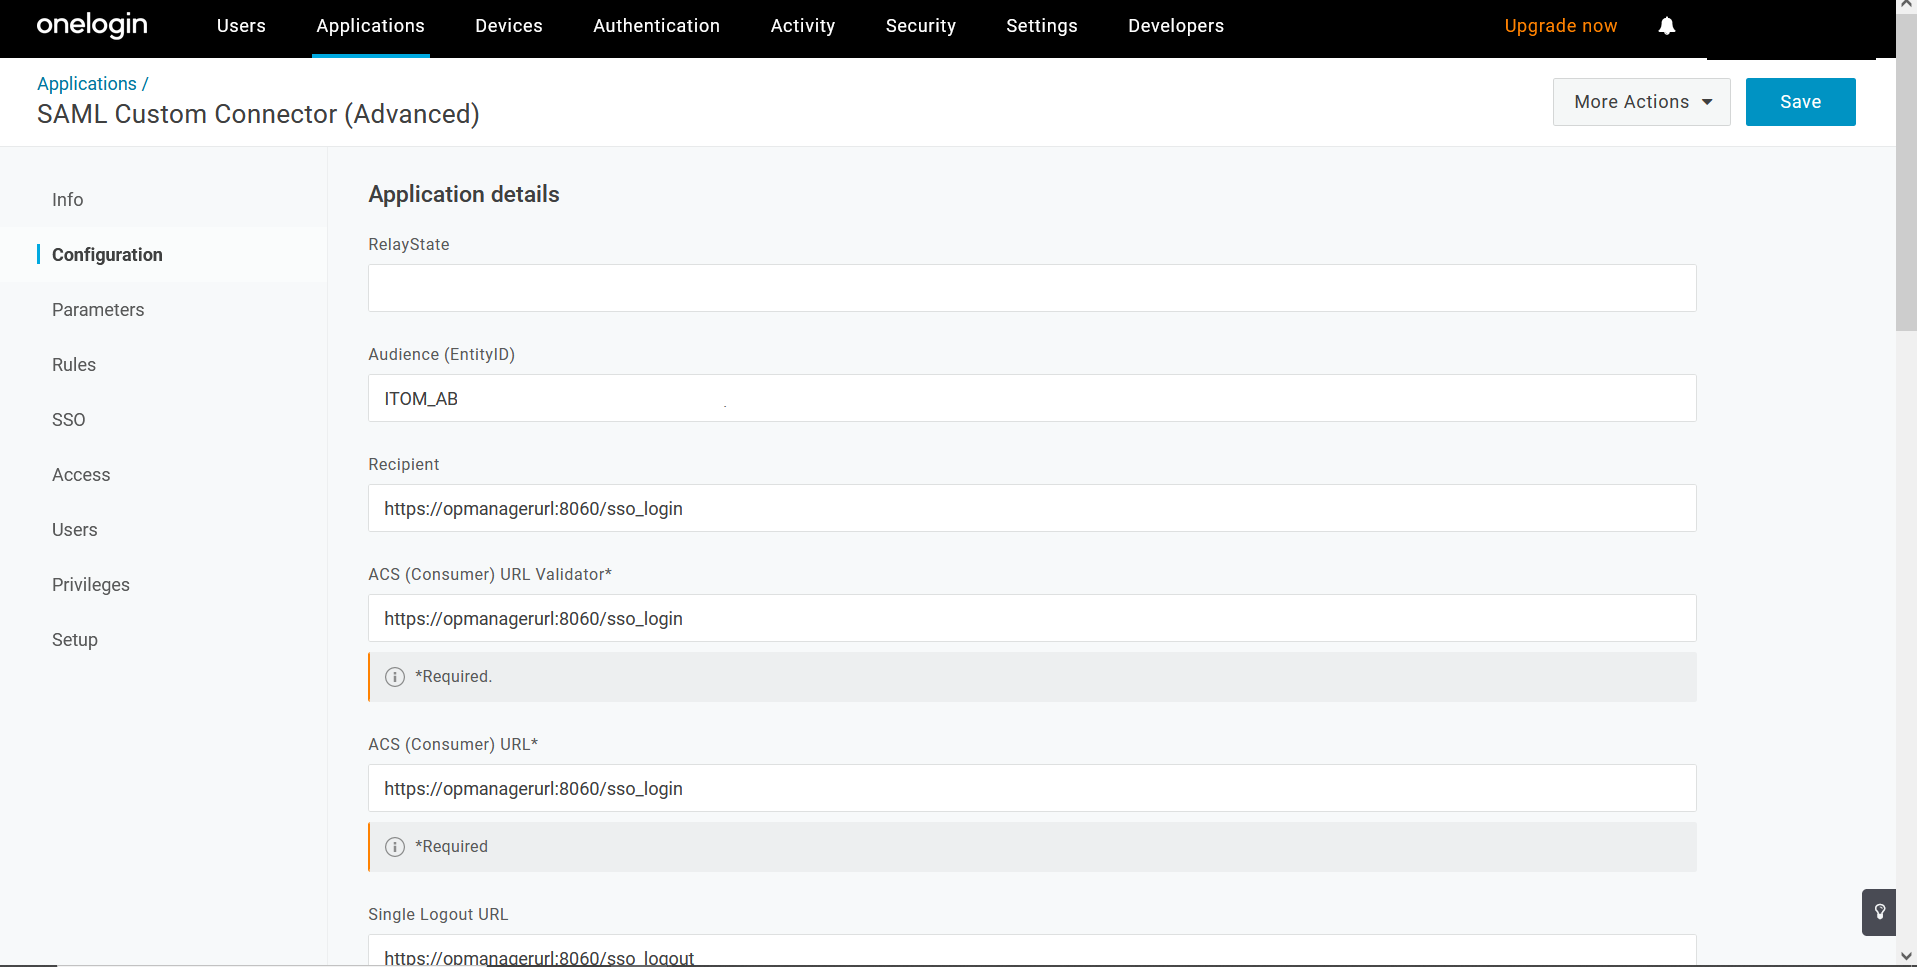
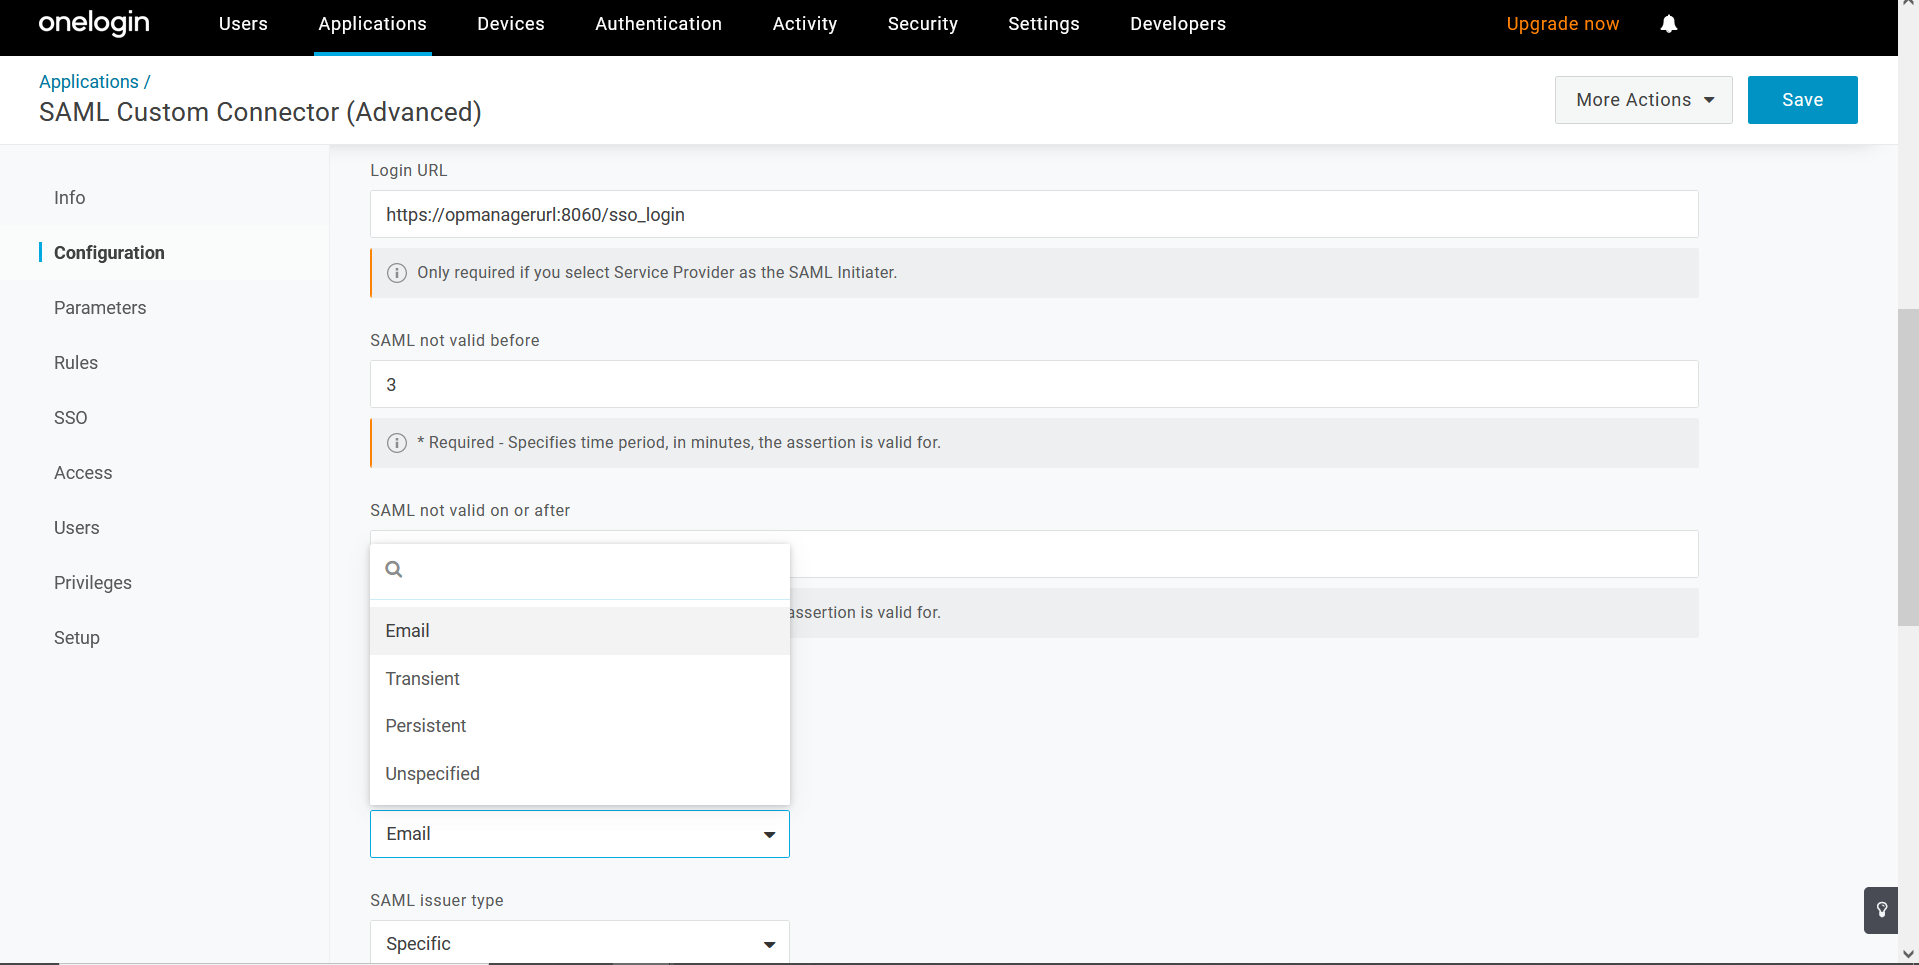
- Enter ACS (Consumer) URL Validator and ACS (Consumer) URL (copied from OpManager). Select Save.
- Select Name ID format as Persistent and click on Save.
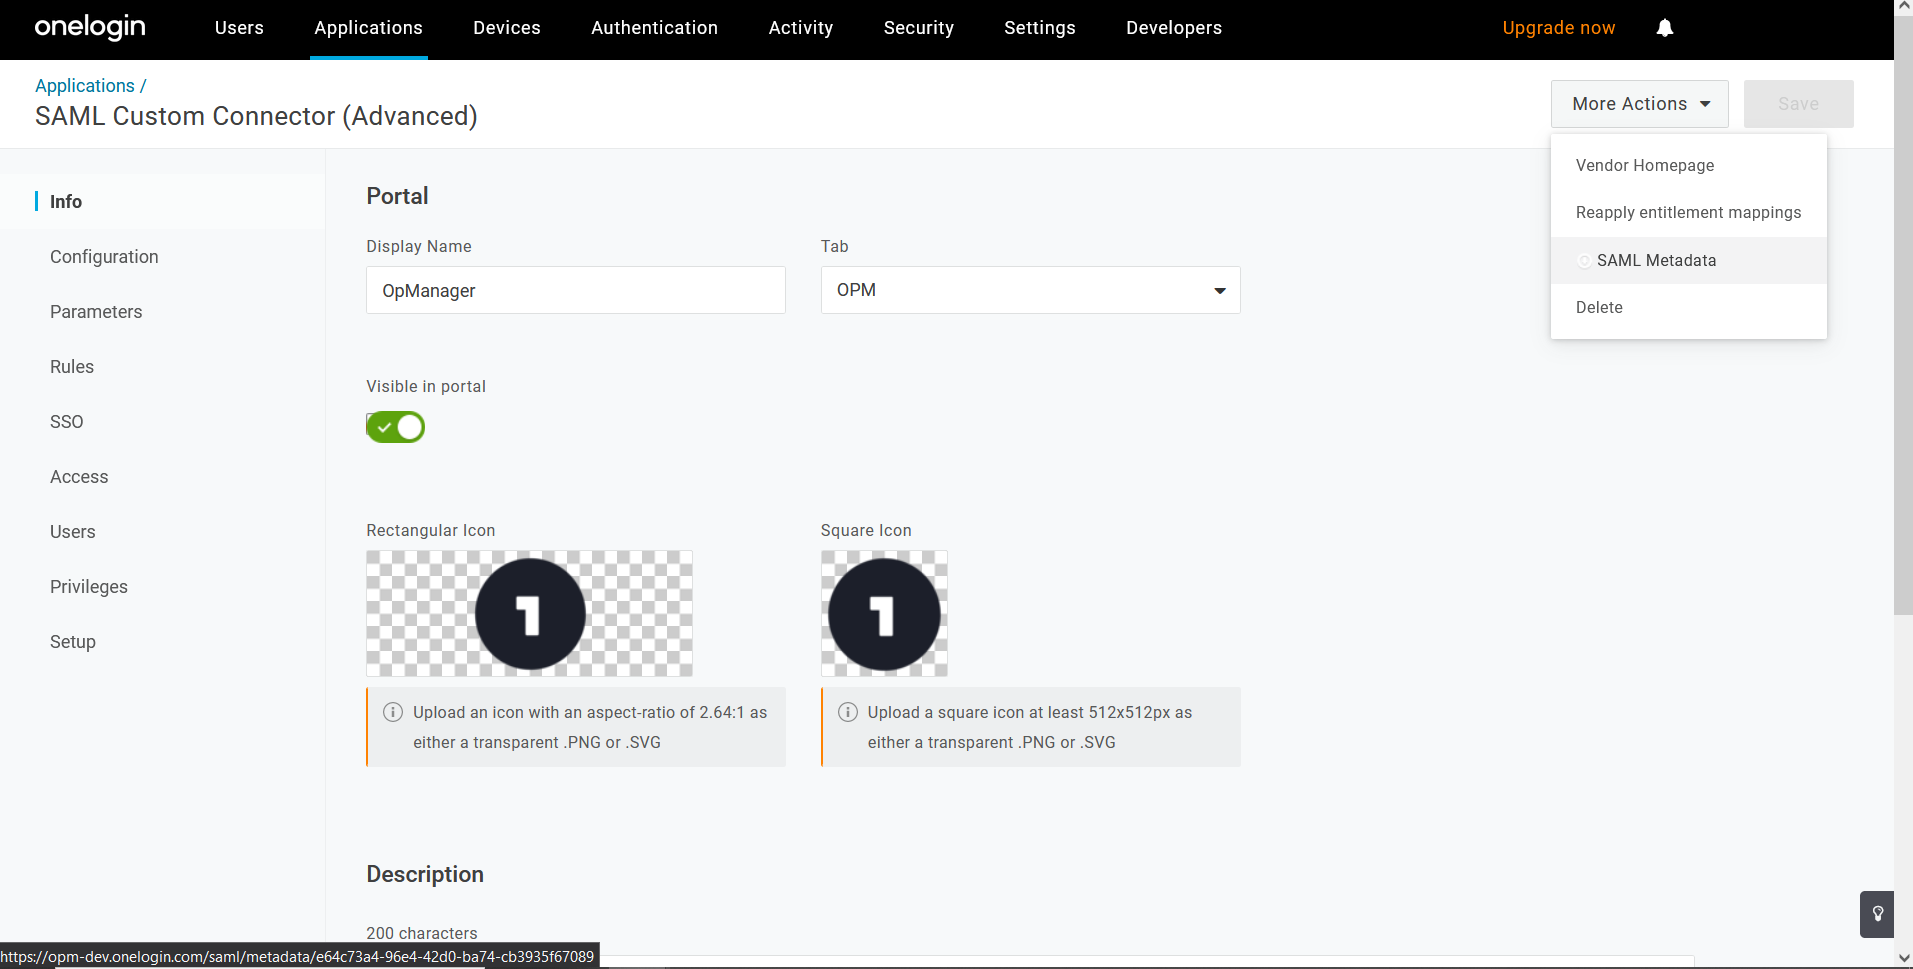
- Go to Info tab and click on More Actions drop down menu in the top right corner. Select SAML Metadata to download the metadata file.
- Now go to OpManager and navigate toSettings -> General Settings -> Authentication -> SAML . Upload the metadata file under Identity provider details and click on Save.
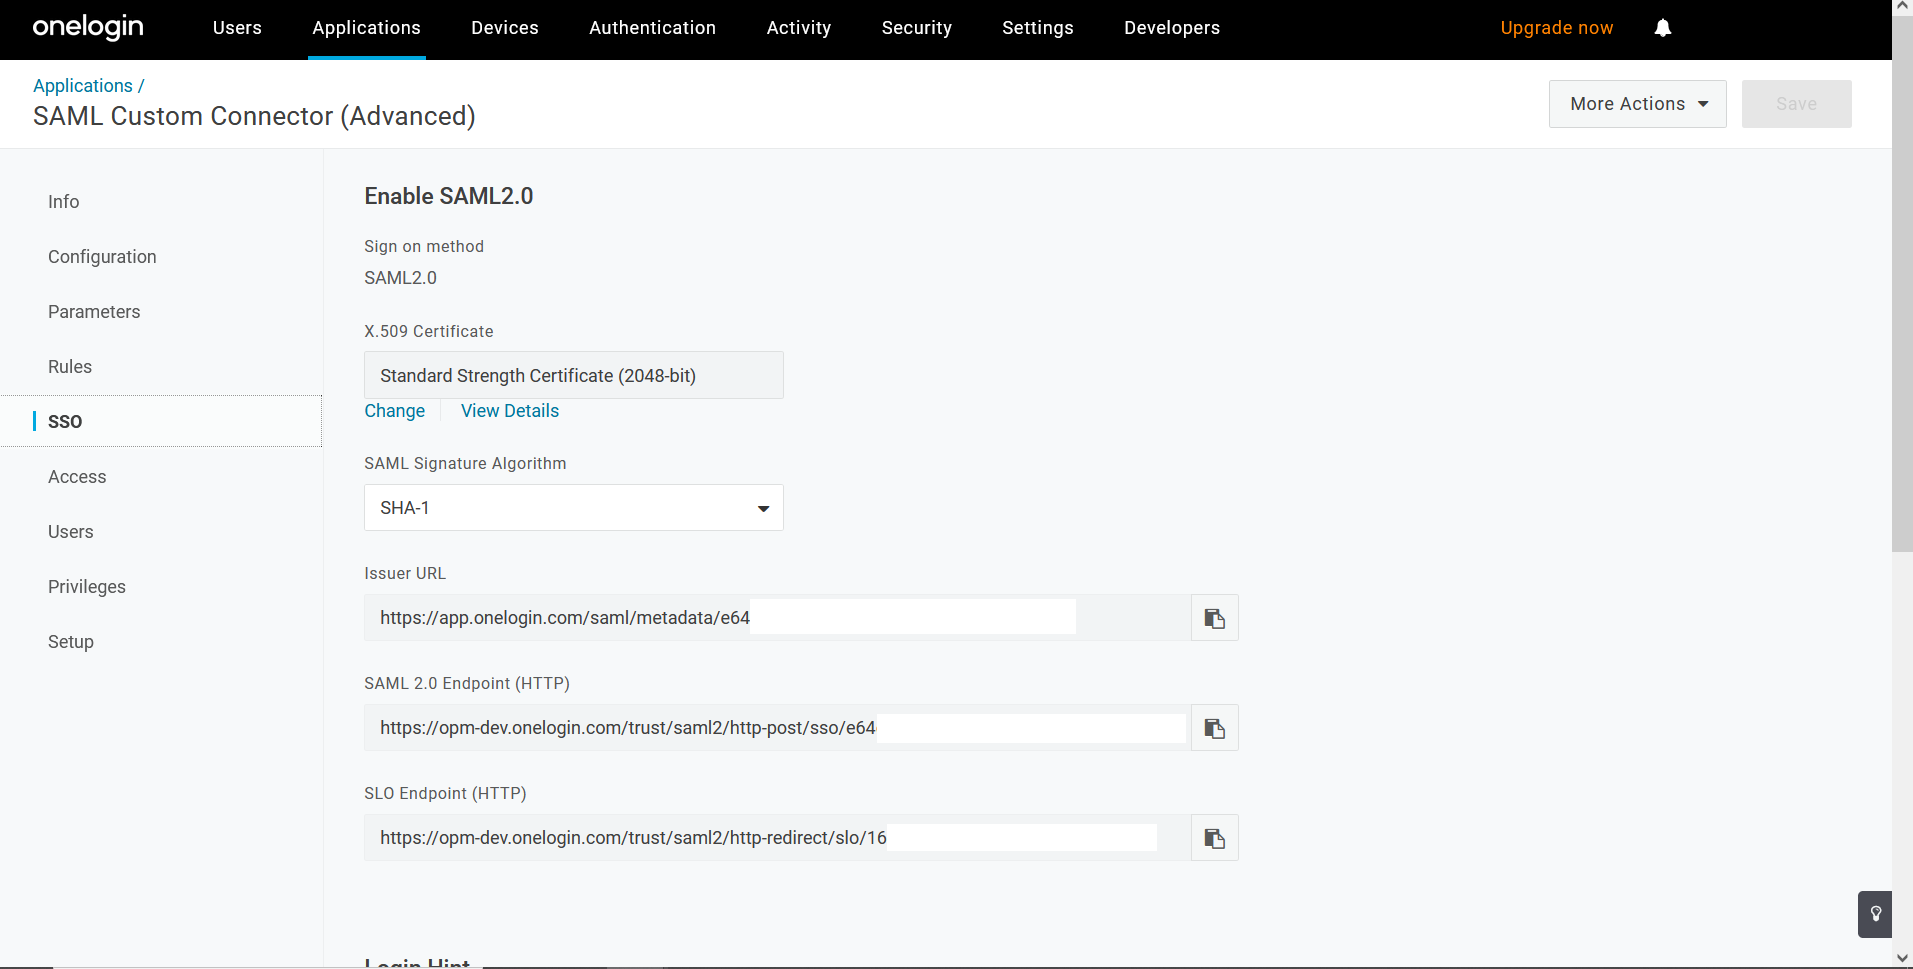
- If you wish to manually enable SAML, go back to OneLogin and navigate to SSO tab. The required details can be copied from here and pasted in OpManager.
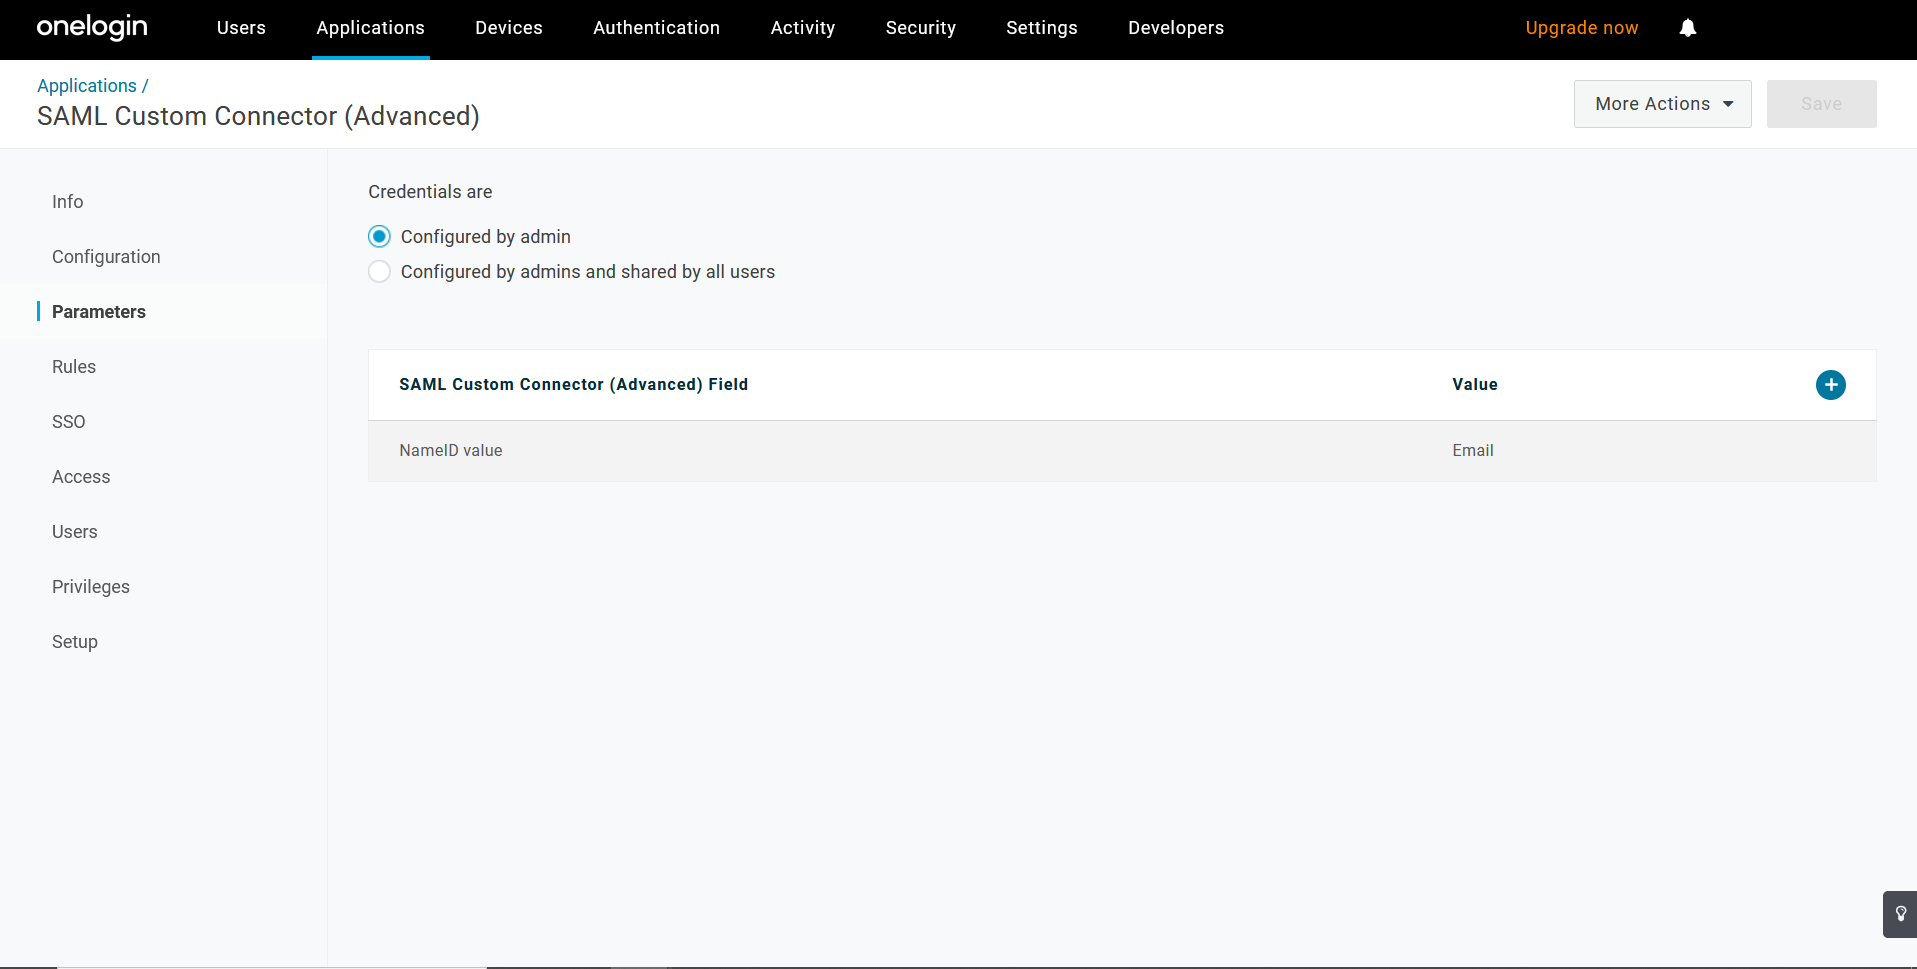
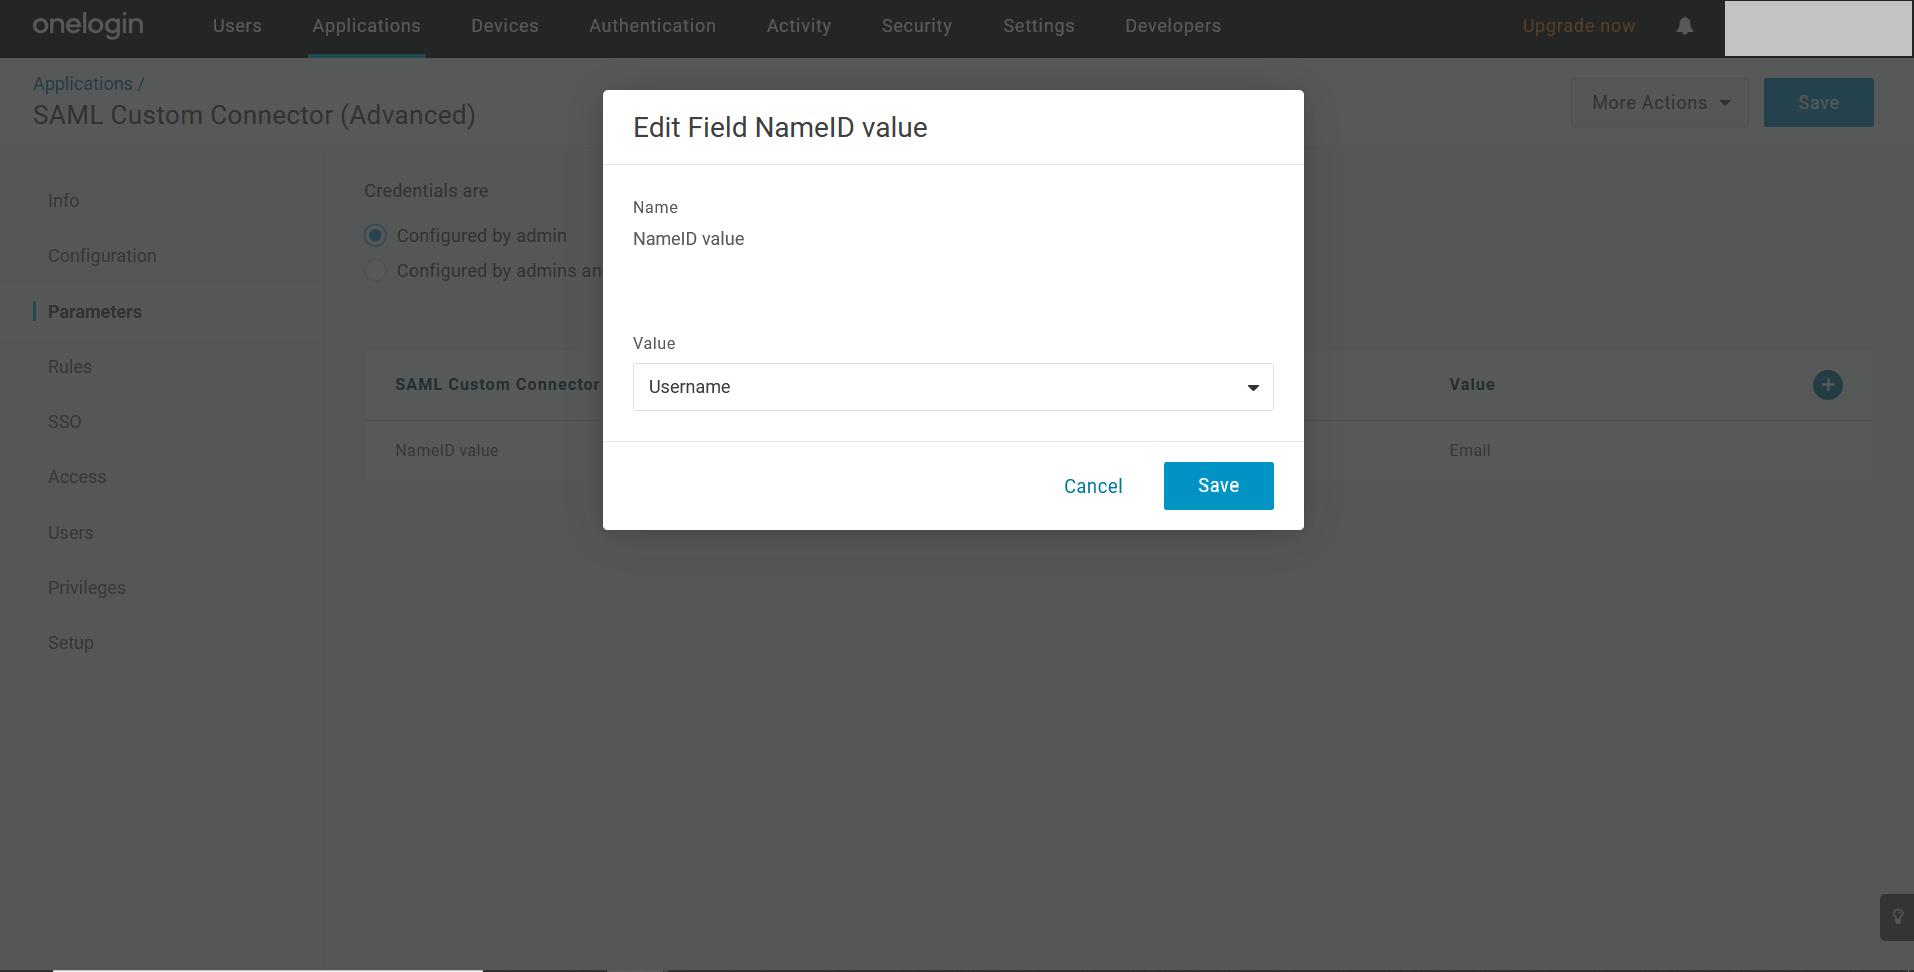
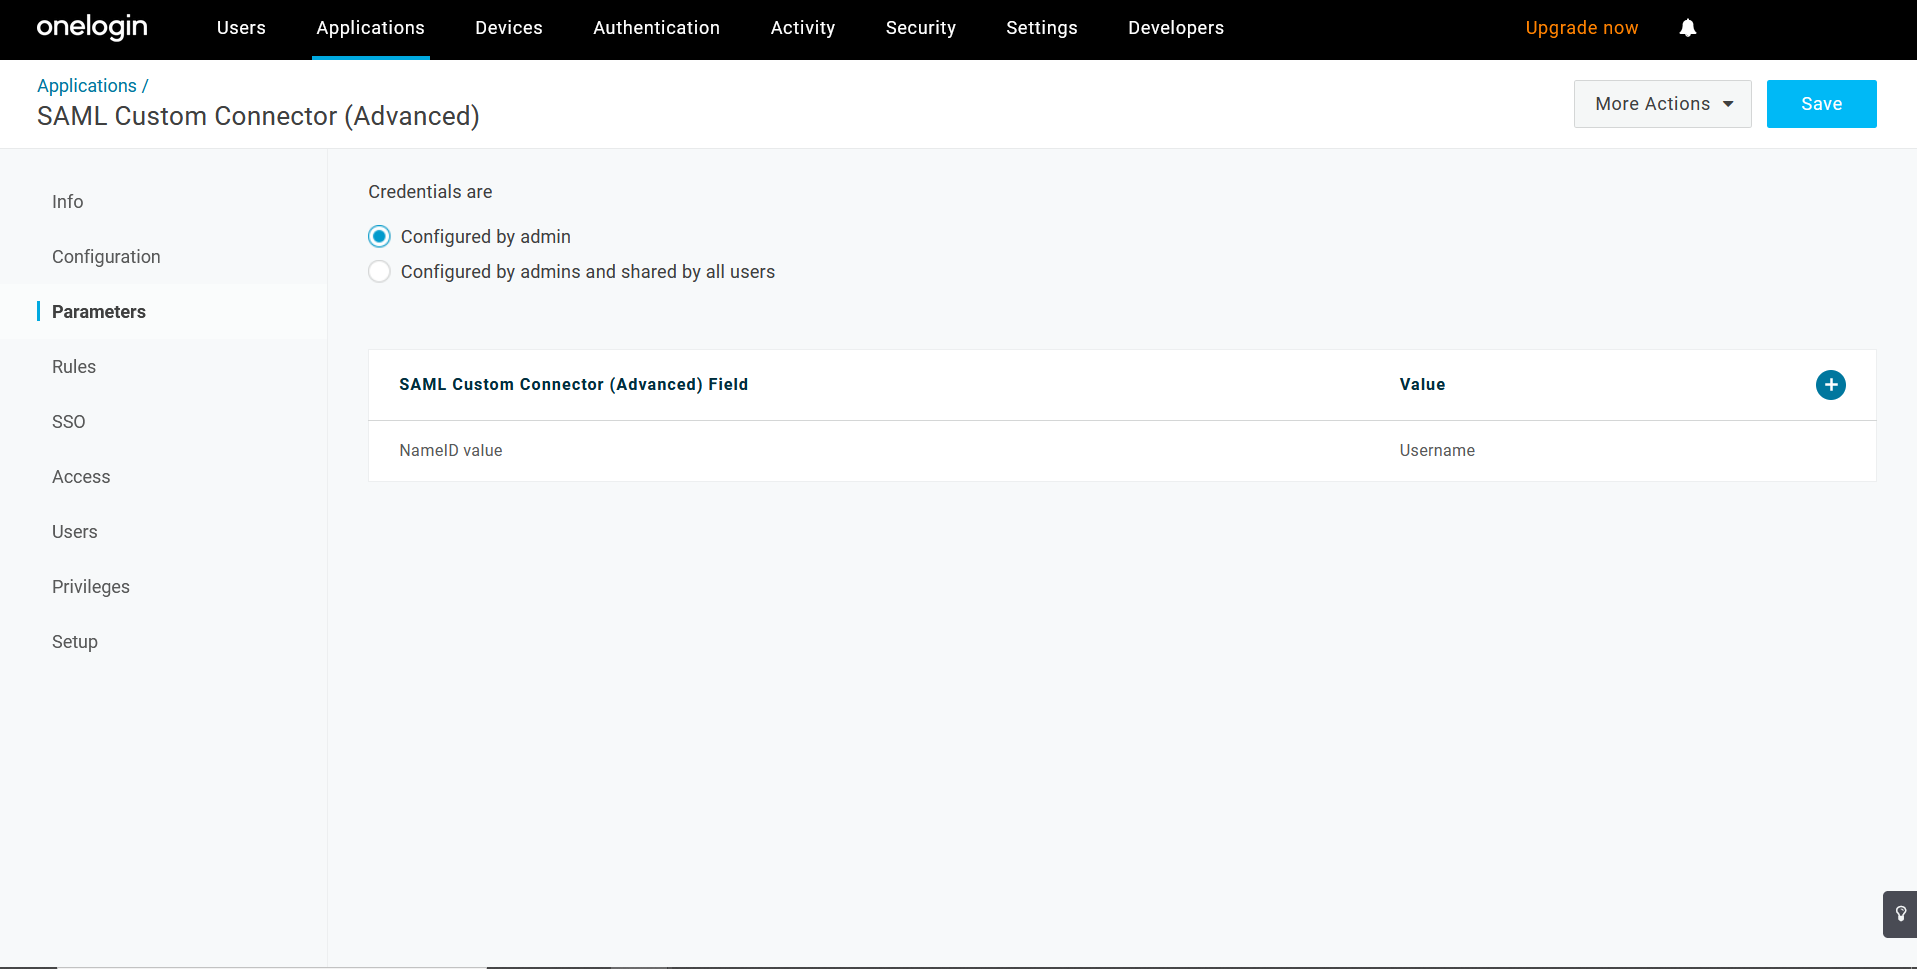
- Open Parameters tab and select Configured by admin option. Edit Field NameID value as Username and click Save.


Once the above said configurations are done on the IdP side, the required IdP details needs to be configured in OpManager. Click here for steps to configure IdP details in OpManager.
Once the configurations are done on both sides, SAML authentication via OneLogin will be enabled in OpManager. In OpManager's login portal, choose to Login with OneLogin and enter the necessary credentials to login.

New to ADSelfService Plus?
Related Articles
Configuring SAML in OpManager
There are two ways to configure SAML in OpManager. You can either do it manually by providing the necessary credentials or you can upload the metadata file directly, if available. Service provider details If you opt to configure SAML manually, you ...Configuring SAML authentication settings in OpManager for JumpCloud
Listed below are the steps to configure SAML authentication in OpManager (SP) for JumpCloud (IdP) with Single Sign-On. Login to JumpCloud and click on SSO (under User Management) in the left side menu. Click on the 'Add' symbol, adjacent to the left ...Configuring SAML authentication settings in OpManager for Azure
Listed below are the steps to configure SAML authentication in OpManager (SP) for Azure (IdP) with Single Sign-On. Login to your Azure account. Expand the menu on the left hand side, and select Azure Active Directory. Click on Enterprise ...Configuring SAML authentication settings for Okta
To configure Okta IdP, Go to www.okta.com. Login to Okta. Click on the Admin tab and navigate to Applications. Click on Create a new app integration and select SAML 2.0. Click Next. Enter the Service Provider's name, in App name, that is, OpManager ...Configure SAML authentication settings in OpManager for Microsoft AD FS?
Listed below are the steps to configure SAML authentication in OpManager (SP) for Microsoft AD FS (IdP) with Single Sign-On. Open AD FS management and click on Add Relying Party Trust. Now, go to OpManager and navigate to Settings -> General Settings ...