Updating cached credentials by configuring custom VPN providers in ADSelfService Plus
ADSelfService Plus can automatically update the locally cached credentials in remote users’ machines as and when they reset their passwords.
To update cached credentials, ADSelfService Plus requires the Windows logon agent, bundled with the product, and a command line VPN client to be installed in the users' machines. It supports these VPN clients: Fortinet, Cisco IPSec, Cisco AnyConnect, Windows Native VPN, SonicWall NetExtender, Checkpoint EndPoint Connect, and SonicWall Global VPN. You can also configure custom VPN clients to update the cached credentials. This article will give you step-by-step instructions to configure a custom VPN client with ADSelfService Plus for cached credentials update.
Configuration steps
- Log in to ADSelfService Plus with admin credentials.
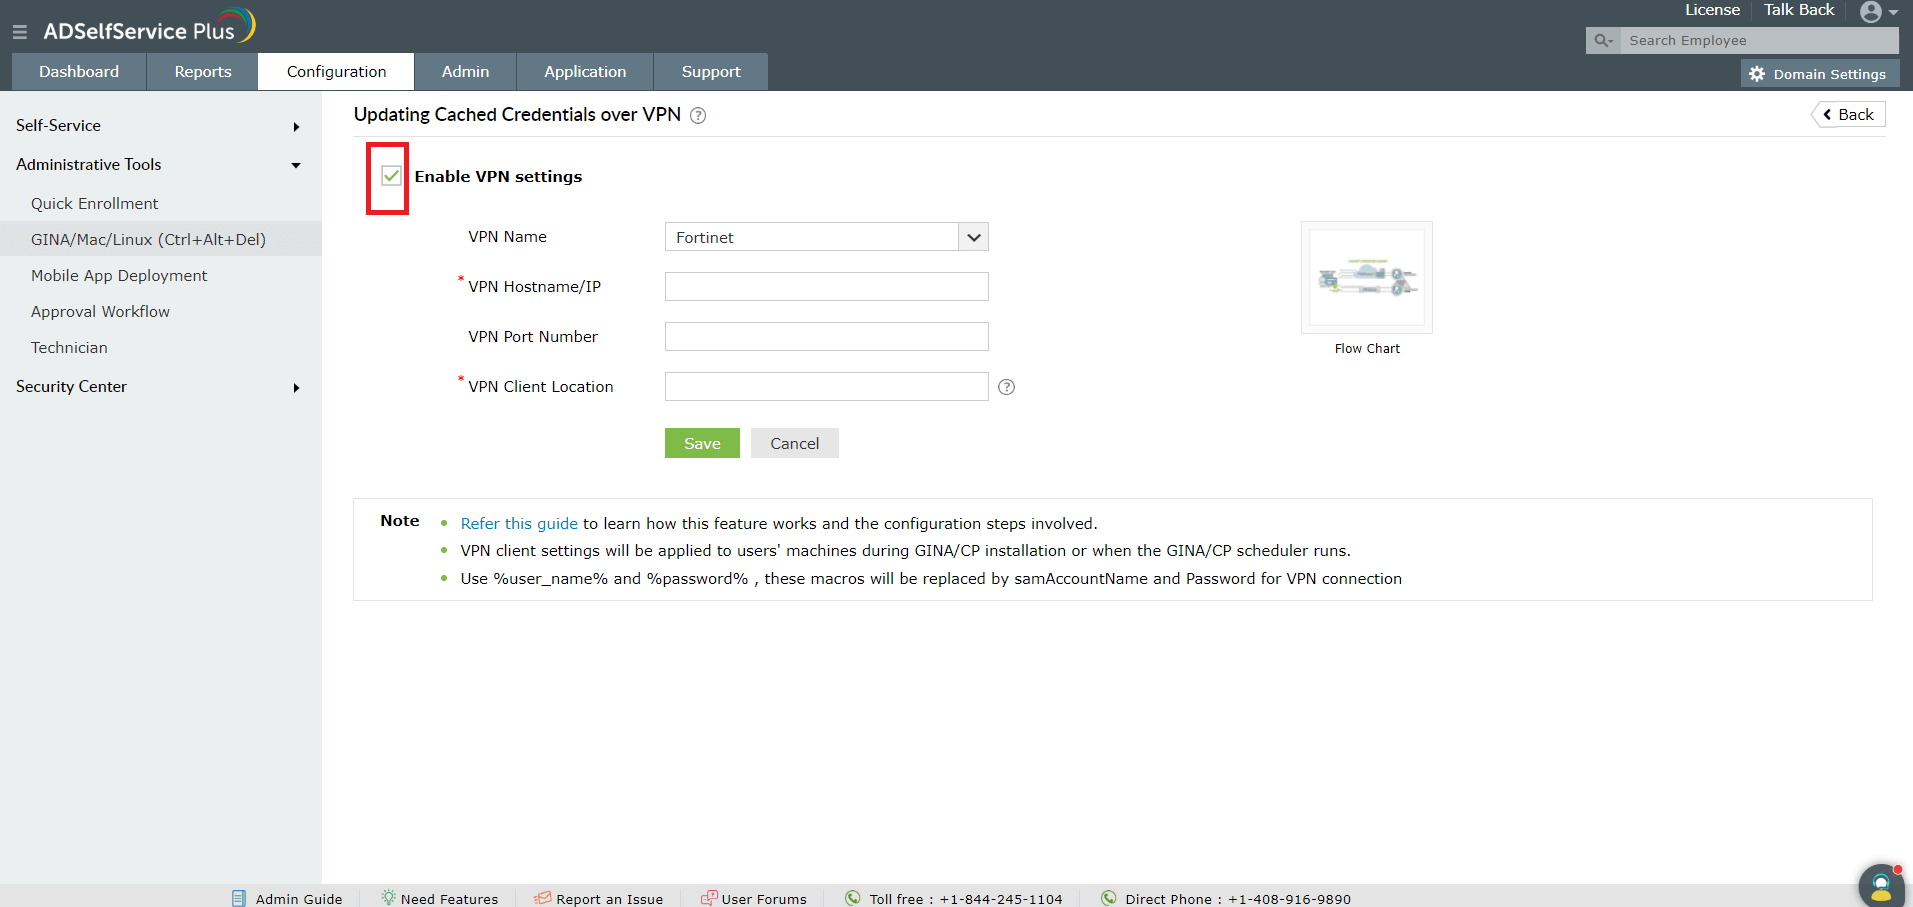
- Navigate to Configuration → Administrative Tools → GINA/Mac/Linux (Ctrl+Alt+Del).
- Click Updating Cached Credentials over VPN.
- Select Enable VPN settings.
- Choose Custom VPN from the VPN Provider drop-down list.
- Enter the VPN Hostname/IP and VPN Port No in their respective fields.
- Enter the VPN Client Location on users' machines. Example: C:\Program Files (x86)\Fortinet\FortiClient.
- Use macros (%username%, %password%, etc.) in the VPN connect/disconnect command fields. Example: connect -s adsspvpn -h %servername%:%portno% -u %user_name%:%password%
- Click Save.

Note: The VPN configurations will be reflected on the users’ machines either during the GINA/CP client installation, or when the GINA/CP scheduler runs.
New to ADSelfService Plus?
Related Articles
Updating cached credentials in ADSelfService Plus through a custom VPN
ADSelfService Plus can automatically update the locally cached credentials on remote user machines as and when users reset their passwords. To update cached credentials, ADSelfService Plus requires the Windows login agent bundled with the product and ...How to update cached credentials for remote users with ADSelfService Plus
Remote users' password challenges Remote employees may often work in a different time zone than the IT team. In such a situation, if a remote employee forgets their password, they could be stranded for hours, unable to log in to their machine for an ...How to configure and troubleshoot the cached credentials update feature
ManageEngine ADSelfService Plus' cached credentials update feature helps remote users reset their domain password from their login screens using the self-service password reset feature, and regain access to their Windows machines from outside the ...Microsoft 365 password reset
The Self-Service Password Reset (SSPR) feature in Azure AD allows users to reset their passwords without going through the help desk. However, changes to users' Azure AD passwords are only synchronized with their on-premises domain accounts when ...Multi-factor authentication techniques in ADSelfService Plus
Let's take a look into the various authentication methods supported by ADSelfService Plus for enterprise multi-factor authentication (MFA). Why should you use MFA? Authentication based solely on usernames and passwords is no longer considered secure. ...