Installing DDI Central using the .exe installer
Installing DDI Central using the .exe based installer
Managing your Microsoft Windows DNS and DHCP clusters using DDI Central has become much simpler with the .exe-based installation. Follow the steps below to install DDI Central on your Windows server:
Step 1: Download the .exe File
- Go to the Download Page on the DDI Central website.
- Locate the .exe file for DDI Central and click the download link.
- Save the file to a location on your computer, such as the "Downloads" folder.
Step 2: Run the Installer as an adminstrator
- Navigate to the location where you saved the .exe file.
- Right-click on the .exe file and select the option Run as administrator to start the installation process.
Step 3: Install DDI Central
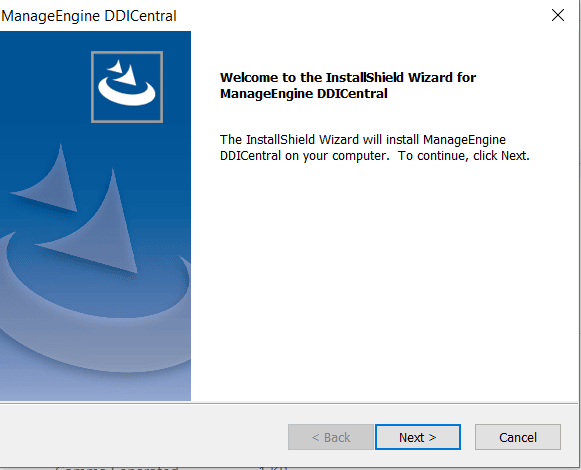
- A setup wizard will appear, as shown in the image below. Click Next to proceed with the installation.
- Follow the on-screen instructions to complete the installation:
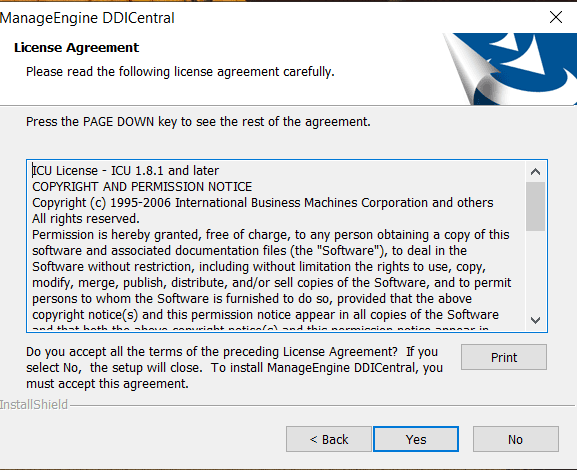
- Review and accept the license agreement.
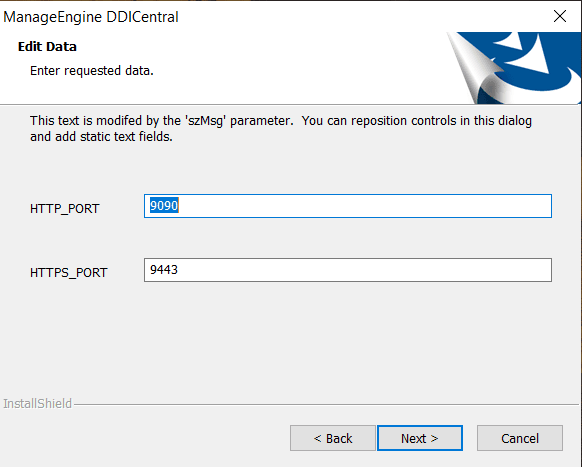
- Enter the HTTPS and HTTP port for DDI Central console to communicate with your remote servers. The default port numbers are displayedas shown below:
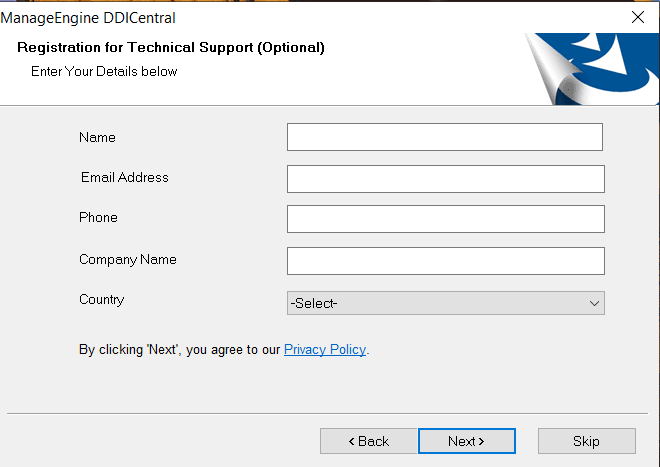
- Register for technical support if required.
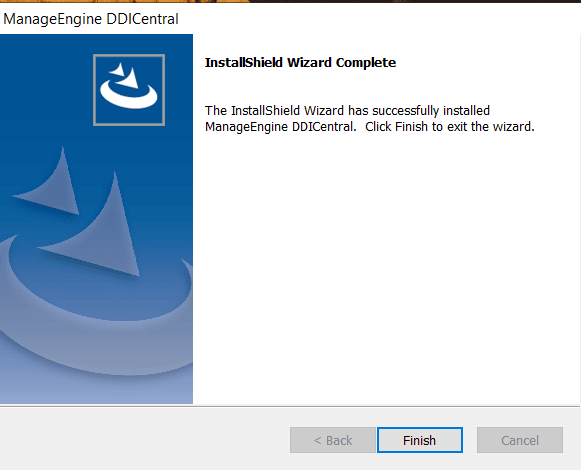
- Once the installation is complete, click Finish.
Step 4: Configure Your Windows DNS and DHCP Clusters
- After installation, DDI Central is automatically launched using the default web browser of your computer.
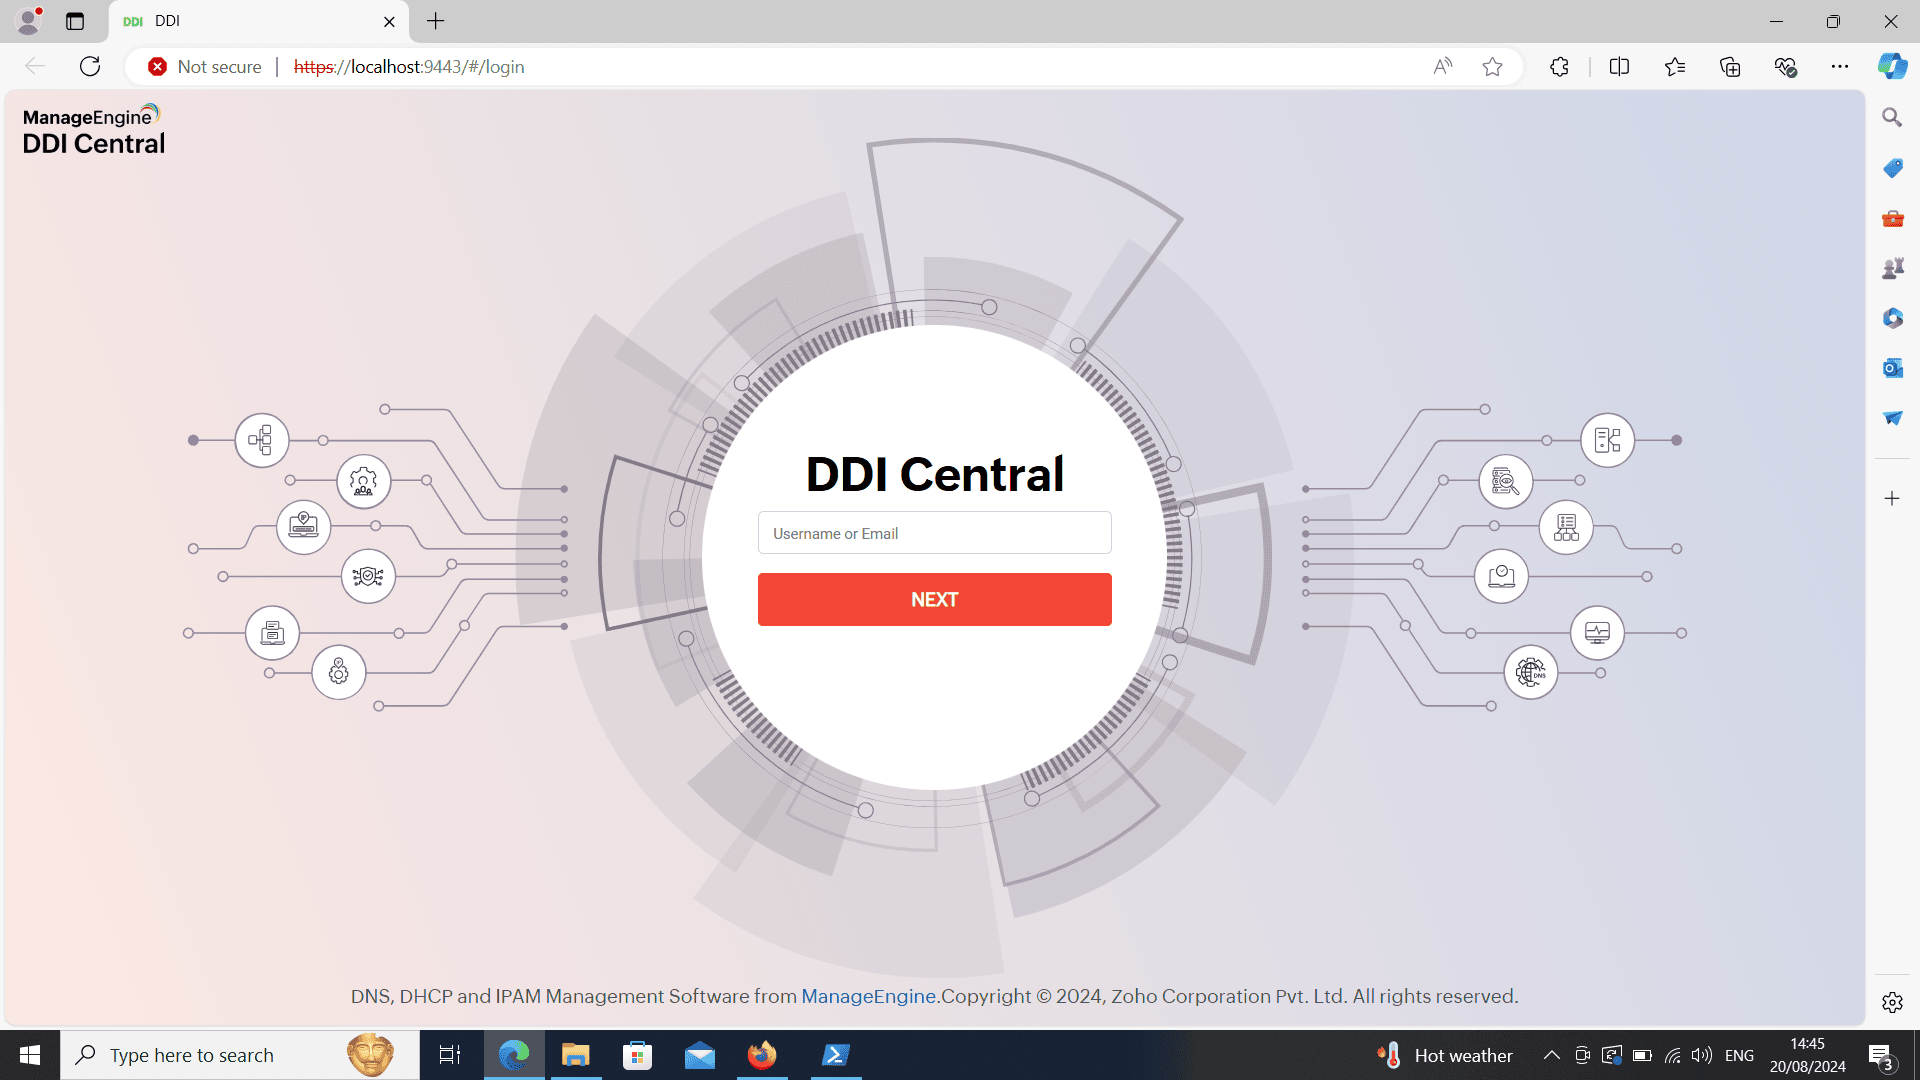
- Now enter the username as "admin" and password as "admin" and log into DDI Central. once you are inside DDI Central you can reset your login credentials and subsequently configure your Windows DNS and DHCP clusters.
Note: With this .exe-based installation you can only create clusters that accommodate only Windows DNS and DHCP servers.
Additional deployment option
If you need more advanced setup where you can manage both Linux-based and Windows-based DNS-DHCP clusters from DDI Central's unified interface, consider downloading the Linux-based build of DDI Central from DDI Central's official download page.

New to ADSelfService Plus?
Related Articles
Installing DDI Central using the .exe based installation(NEW)
Installing DDI Central using the .exe based installation Managing your Microsoft Windows DNS and DHCP clusters using DDI Central has become much simpler with the .exe-based installation. Follow the steps below to install DDI Central on your Windows ...DDI Central for Microsoft DNS DHCP
About ManageEngine DDI Central DDI Central is a comprehensive network management solution that unifies DNS, DHCP, and IP Address Management (IPAM) to enhance operational efficiency and network stability. It is deployed as an overlay on your existing ...Microsoft Pre-requisites
Agentless management of Microsoft DNS and DHCP servers Agentless management of Microsoft DNS and DHCP management refers to managing and monitoring these services without installing additional software (agents) on the servers themselves. This approach ...DDI Central Application Architechture with WinRM(NEW)
DDI Central Application Architechture with WinRM DDI Central deploys agentless communication setup for centralized management Microsoft DNS and DHCP servers. Installing the Management UI Console gives you the central management interface to control ...DDI Central architecture for Microsoft DNS-DHCP clusters
DDI Central Application Architechture with WinRM DDI Central deploys agentless communication setup for centralized management Microsoft DNS and DHCP servers. Installing the Management UI Console gives you the central management interface to control ...