How to update ADManager Plus' built-in PostgreSQL database
Steps to update your ADManager Plus instance's PostgreSQL database
- Stop ADManager Plus by navigating to Start > All Programs > ADManager Plus > Stop ADManager Plus.
Note: If you have installed ADManager Plus as a Microsoft Windows service, stop the service by navigating to Start > Run > services.msc > ManageEngine ADManager Plus > Stop.
- Navigate to <Installation Directory>\ADManager Plus\bin and execute the backupDB.bat file to back up the database of your current installation. This will create a folder called Backup inside ADManager Plus' installation folder (<Installation Directory>\ADManager Plus\Backup), which will contain your database backup file (e.g., OfflineBackup_20161129235853.ezip).Note:
- You can also do this by running Command Prompt as an administrator, navigating to <Installation Directory>\ADManager Plus\bin, and executing the backupDB.bat file.
- ADManager plus uses a CryptTag value as its default database backup file password for enhanced protection, and this can be found in the customer-config.xml file.
- Make a copy of the following folders and files:
- Archive, ES, and esdata folders from the installation folder of your existing ADManager Plus instance (<Installation Directory>\ADManager Plus).
- Customer-config.xml file of your existing ADManager Plus instance from the <Installation Directory>\ADManager Plus\conf folder.
- If you are going to install your new ADManager Plus instance on the same server,
- Navigate to the InstallShield Installation Information folder (C:\Program Files (x86)\InstallShield Installation Information) and rename the CC00BC3F-40AE-49A7-BA63-FE2F93D20585 folder to CC00BC3F-40AE-49A7-BA63-FE2F93D20585_bak.Note: The InstallShield Installation Information folder is a hidden folder and can be viewed by clicking the View tab in File Explorer and checking Hidden items.
- Locate and rename the existing installation folder.
e.g., If you've installed ADManager Plus in the default location, navigate to (C:\Program Files\ManageEngine) and rename the ADManager Plus folder to ADManager Plus_old.
- Navigate to the InstallShield Installation Information folder (C:\Program Files (x86)\InstallShield Installation Information) and rename the CC00BC3F-40AE-49A7-BA63-FE2F93D20585 folder to CC00BC3F-40AE-49A7-BA63-FE2F93D20585_bak.
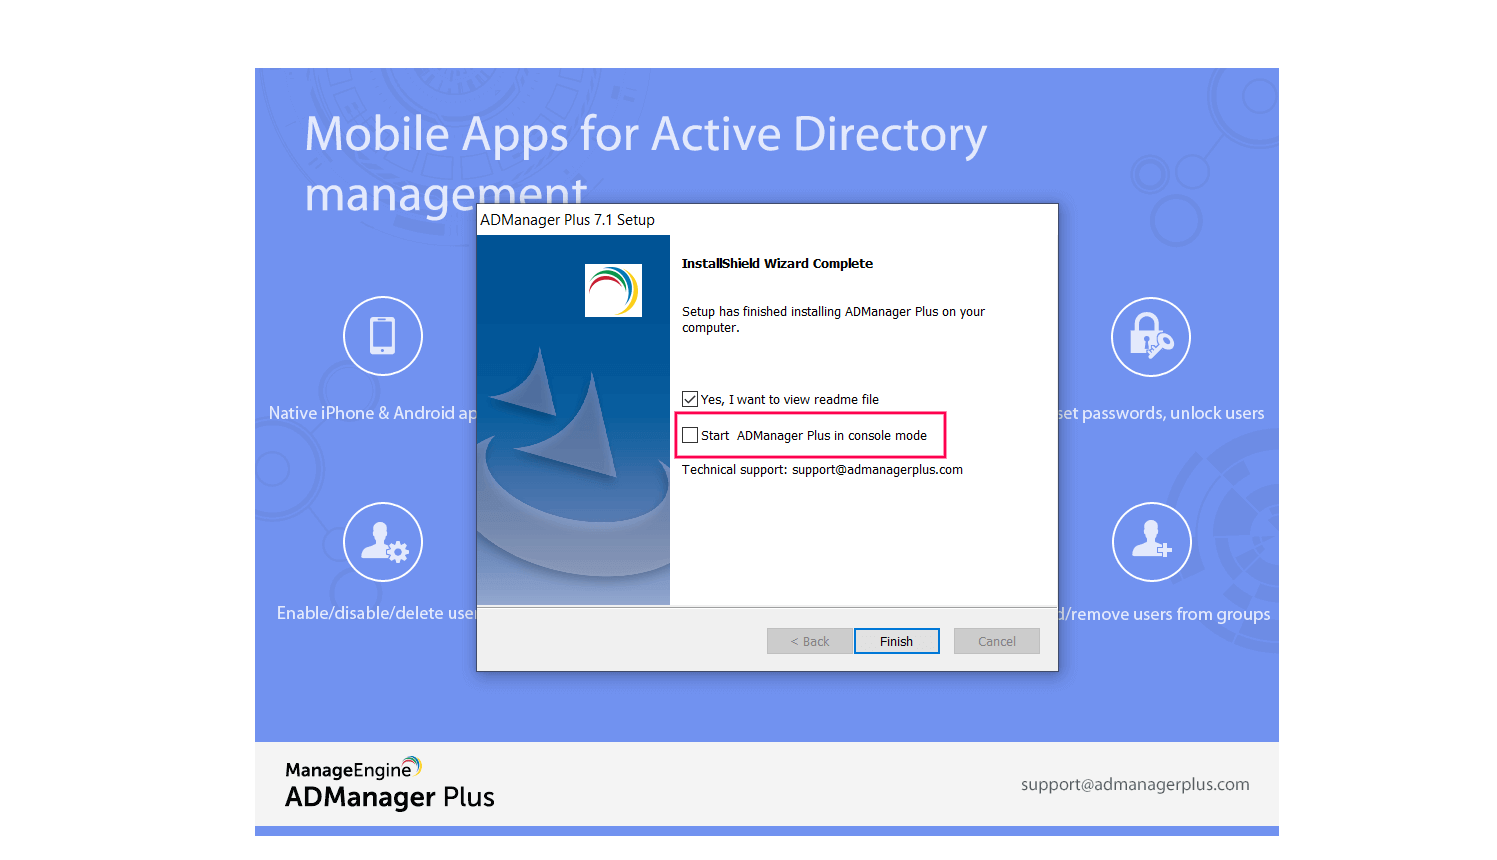
- Now, download and install the latest build of ADManager Plus from here. Do not start the product after installation. This can be done by unchecking the Start ADManager Plus in console mode option in the setup window.
- Paste the copied Archive, ES, and esdata folders in the installation folder of your new ADManager Plus instance (<Installation Directory>\ADManager Plus).
- Locate and replace the new customer-config.xml file with the copied customer-config.xml file from step 3.
- Obtain the backup file of your old instance and paste it in the bin folder (<Installation Directory>\ADManager Plus\bin) of your new ADManager Plus instance.
- Restore the database backup by running Command Prompt as an administrator, navigating to <Installation Directory>\ADManager Plus\bin and executing the batch file, restoreDB.bat, in the following format:
restoreDB.bat backupFileName -p
(e.g., restoreDB.bat OfflineBackup_20230215191814.ezip -p)- When you are prompted for a password, copy and paste the CryptTag value from the customer-config.xml file of your old instance. The CryptTag value is the default database password and is used only when a password is not specified in the Security and Privacy settings of ADManager Plus.

- Now start the product.
Steps to check your PostgreSQL database's version
- If you are running ADManager Plus build 7150 and above:
- Log in to ADManager Plus and navigate to Support.
- Under Upload Logs, click More.
- Under Product Information, find the Database type.
- If you're running other ADManager Plus build versions:
- Navigate to <Installation Directory>\ADManager Plus\pgsql\bin.
- Execute the following command:
psql.exe -V

New to ADSelfService Plus?
Related Articles
Unable to initiate the migration of the ADManager Plus database from built-in PostgreSQL to MS SQL
Issue description Organizations often migrate the ADManager Plus database from the built-in PostgreSQL to an external Microsoft SQL Server or other external databases to enhance performance, scalability, and reliability. An external database is ...How to configure high availability (HA) in ADManager Plus
Objective: To configure high availability (HA) in ADManager Plus Solution: High Availability: How it works? To ensure continuous availability of ADManager Plus in the event of a downtime, have a secondary ADManager Plus instance installed on another ...Integrate ManageEngine ADManager Plus and JumpCloud for seamless employee life cycle management
The challenge In enterprises, human resources (HR) teams work in tandem with other teams to provision accounts for new hires and deprovision accounts when employees leave. Apart from user account provisioning and deprovisioning, there will be timely ...ADManager Plus upgrade failure
Issue description Upgrade failure occurs when background processes from the ADManager Plus installation folder are still running. During an upgrade, if files within the installation directory are being accessed by other processes, the upgrade may ...How to upgrade the PostgreSQL database in ADManager Plus on a new server
Objective This article explains how to upgrade the bundled PostgreSQL database in ADManager Plus to the latest supported version on a new server. Performing this upgrade helps improve performance, strengthen data security, and ensure compatibility ...