Customizing login page and login header for accounts
** Login as an administrator and navigate to the Accounts Tab.
** Configure an account under the Accounts tab.
** Use the option "Customize login page", to customize your login page based on the account

and you can upload the customized logo for your login under "Customize header image".

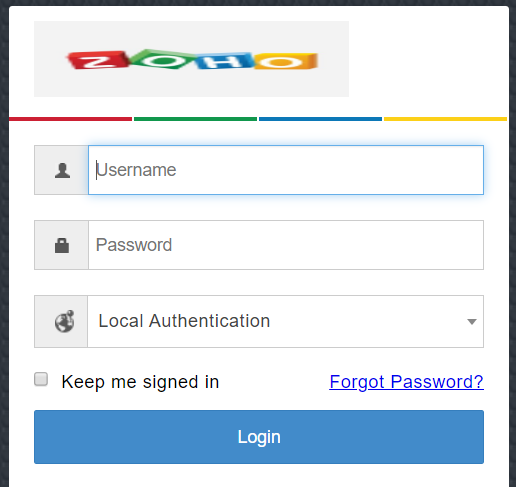
Once you upload the logo under "Customize header image", when the user tries to login, they will see the login page as below:

New to M365 Manager Plus?
New to M365 Manager Plus?
New to RecoveryManager Plus?
New to RecoveryManager Plus?
New to Exchange Reporter Plus?
New to Exchange Reporter Plus?
New to SharePoint Manager Plus?
New to SharePoint Manager Plus?
New to ADManager Plus?
New to ADSelfService Plus?
Related Articles
Login Page Customization -> SAML Login
NOTE: # No need to alter the changes in the application UI # Ensure to take a copy/backup of the below files before altering the same. STEPS TO FOLLOW: 1. Edit the file Login.html under <Drive>:\ManageEngine\ServiceDeskPlus-MSP\Server\Custom\Login ...Login Page customization
Change logo in the login page: -> First go to Global Settings --> Application Settings --> Customize login page -> From the insert image drop-down, you can upload the picture that you would like to show on the login page. Please make sure that the ...Login | Customize Login page and add JS scripts
Customize Login Page Start by going to Advanced Portal Settings (or Application Settings under ESM Directory) and click on "Customize Now" under Login Page Customizaion Start editing the HTML content to suit your needs by adding style/css content, ...To center the Login page logo in SupportCenter Plus 11.0
By default, the logo for the login page in SupportCenter Plus is aligned to the left. Like below: To have the logo aligned to center, please go to Global Settings --> Application Settings --> Customize now Under logo-heading, text-align: center; can ...How to position the login form to the right side in the login page ?
Navigate to Admin->Self-Service Portal Settings->Login page customization->Customize now. Here modify the HTML code for Login form with the below values. position, you need to include manually. width:150% position: fixed;