Configuring SAML SSO for Active Directory Federation Services (AD FS) using ADSelfService Plus
The following guide elaborates on the steps to configure SSO for AD FS with ADSelfService Plus. This enables users to access all AD FS integrated applications by authenticating with ADSelfService Plus.
Prerequisite
- Fetch the AD FS server federation metadata by pasting the following URL in a browser: https://<adfs_fqdn>/FederationMetadata/2007-06/FederationMetadata.xml
ADSelfService Plus (identity provider) configuration steps
- Log in to ADSelfService Plus as an administrator.
- Navigate to Configuration → Self-Service → Password Sync/Single Sign On → Add Application → Custom Application.
- Enter the Application Name, Description, and Domain Name in the respective fields.
- Choose the policy containing the users you wish to provide SSO access to AD FS from the Assign Policies drop-down.
- Select the checkbox Enable SSO using SAML.
- Set Support SSO flow to SP initiated.
- In the Upload Metadata field, upload the file downloaded previously in the prerequisite step.
- Under Provider Settings, enter the following information:
- Select RSA-SHA256 from the RSA SHA Algorithm drop-down.
- Set the SAML Response value to Signed.
- Select the option Exclusive Canonicalization from the Canonicalization Method drop-down.
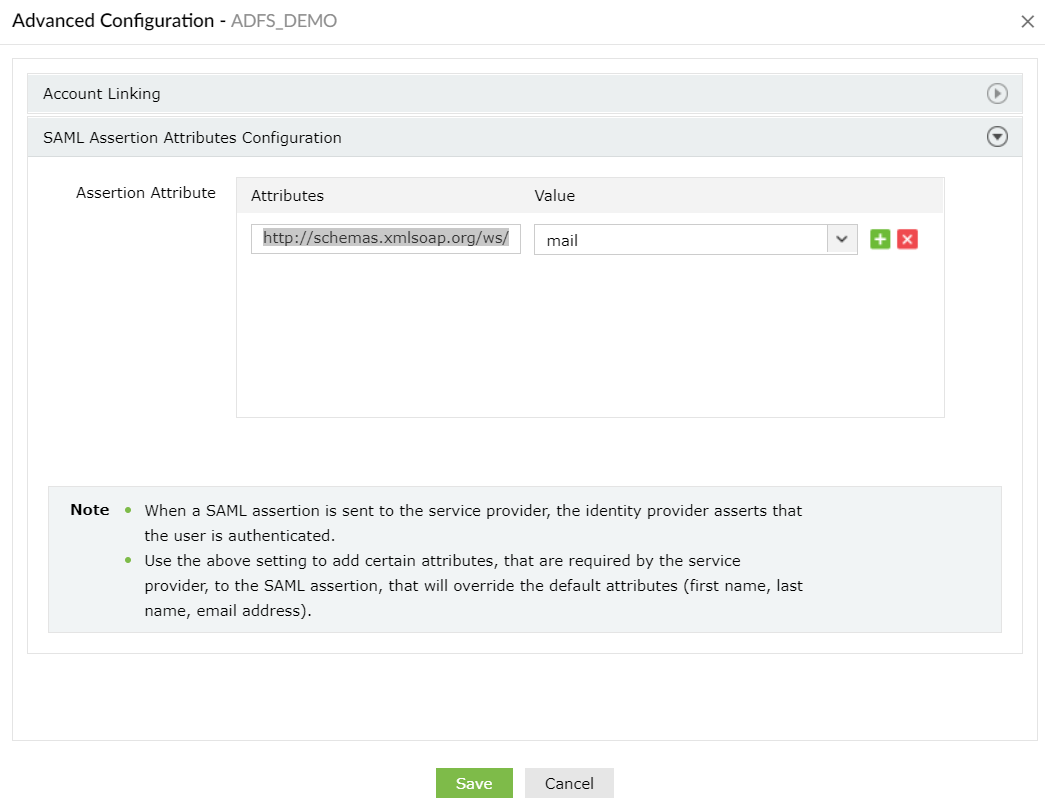
- Click Advanced in the top-left corner.

- Under the SAML Assertion Attributes Configuration section, create an attribute and enter the following values:
- Enter the attribute name as “http://schemas.xmlsoap.org/ws/2005/05/identity/claims/upn”.
- Choose any relevant value for the Value field.
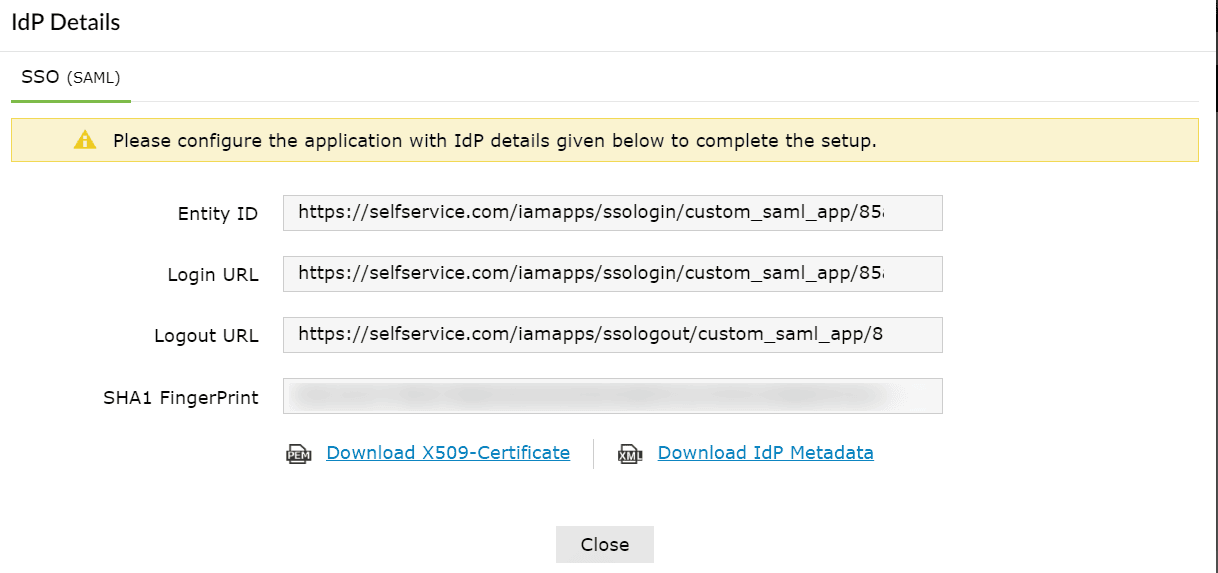
- Click IdP details and select Download IdP Metadata, which will download the metadata file required for later.
AD FS (service provider) configuration steps:
Step 1: Adding a new claims provider trust
- Open the AD FS Management console. Navigate to AD FS → Trust Relationships → Claims Provider Trusts.
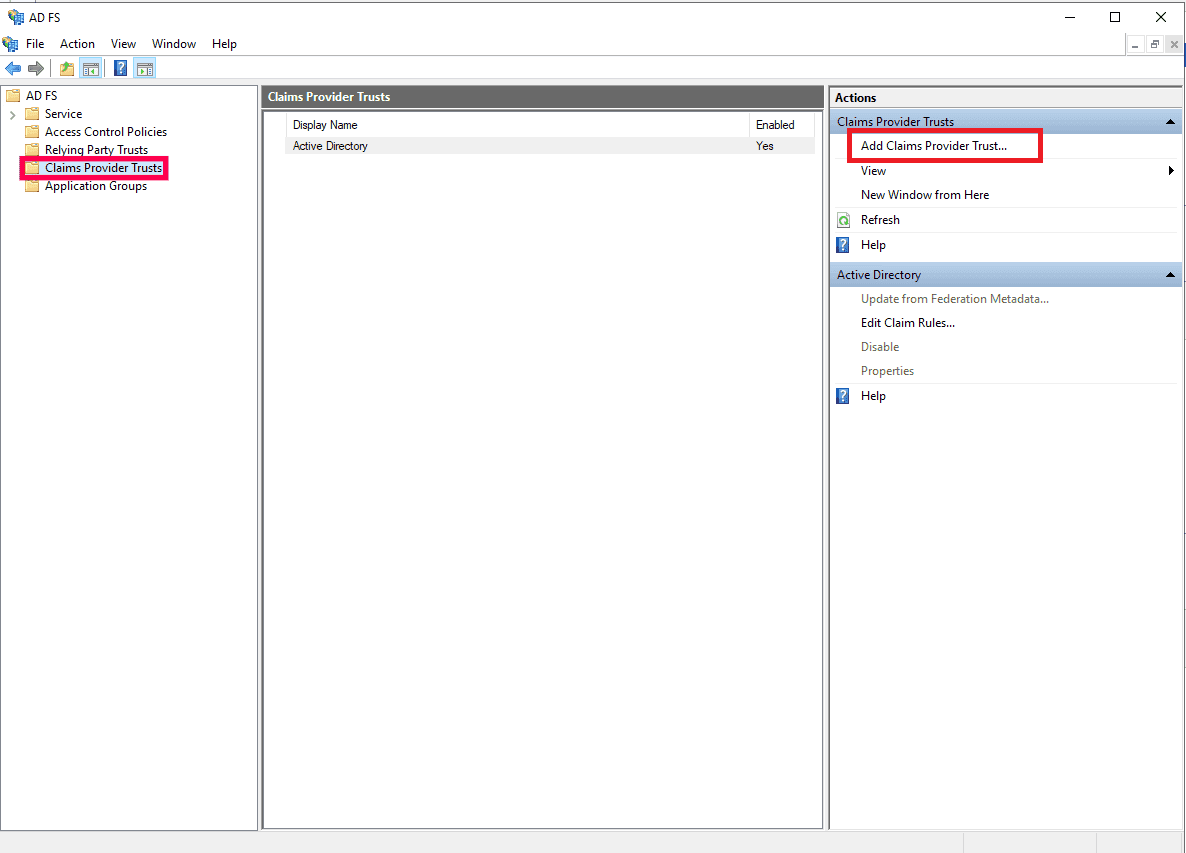
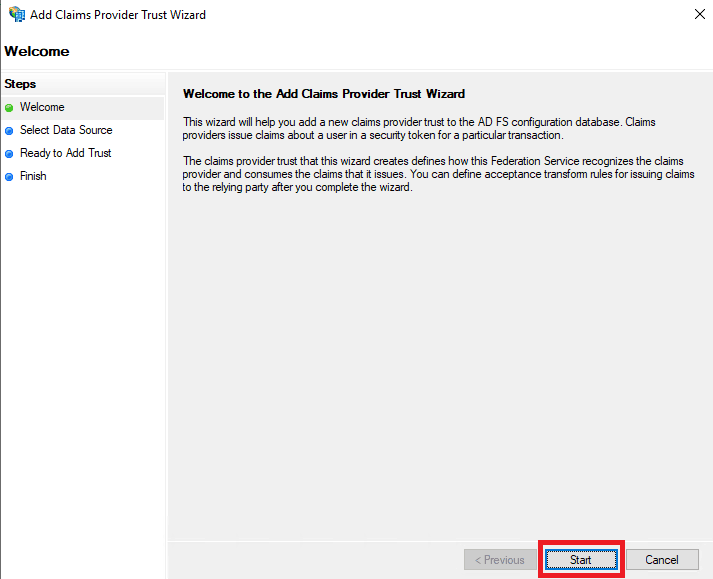
- Click Add Claims Provider Trust in the Actions pane. This will open the Add Claims Provider Trust Wizard. Click Start.
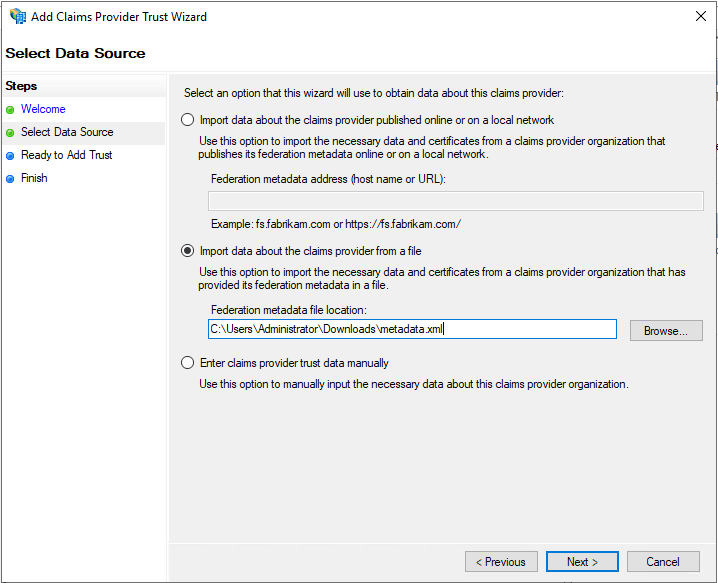
- In the Select Data Source section, choose the option Import data about the claims provider from a file and upload the metadata file downloaded in Step 11 of the ADSelfService Plus configuration steps.
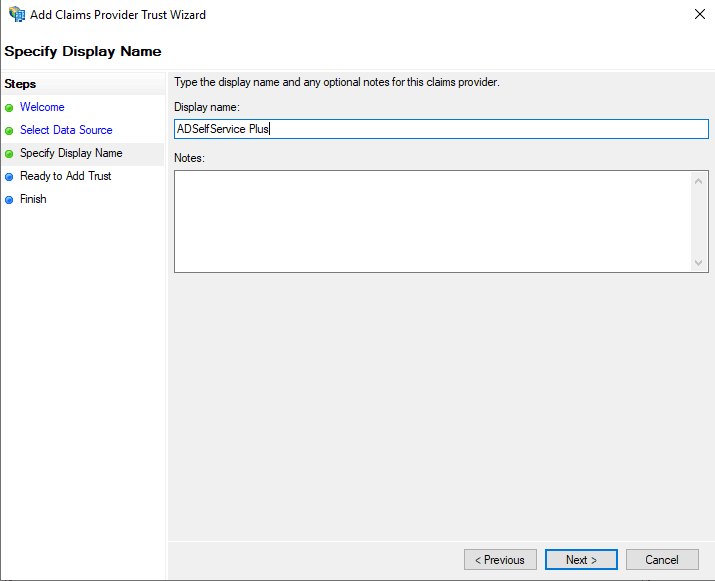
- In the Specify Display Name section, enter the desired Display name.
- Complete the remaining steps in the wizard by retaining the default values for the rest of the fields.
Step 2: Adding claim rules
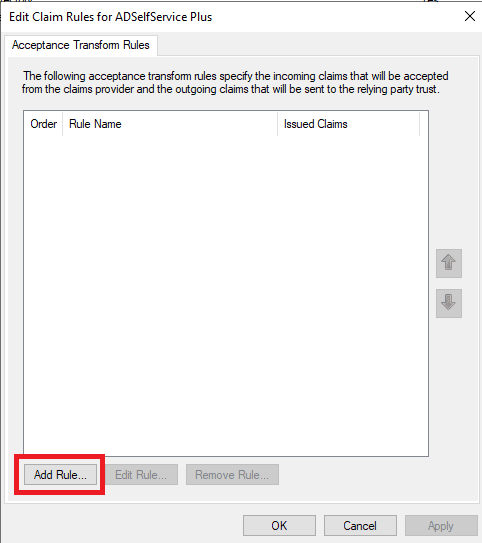
- Once the claims provider trust configuration is complete, the Claims Rule Editor window opens. Click Add Rule.
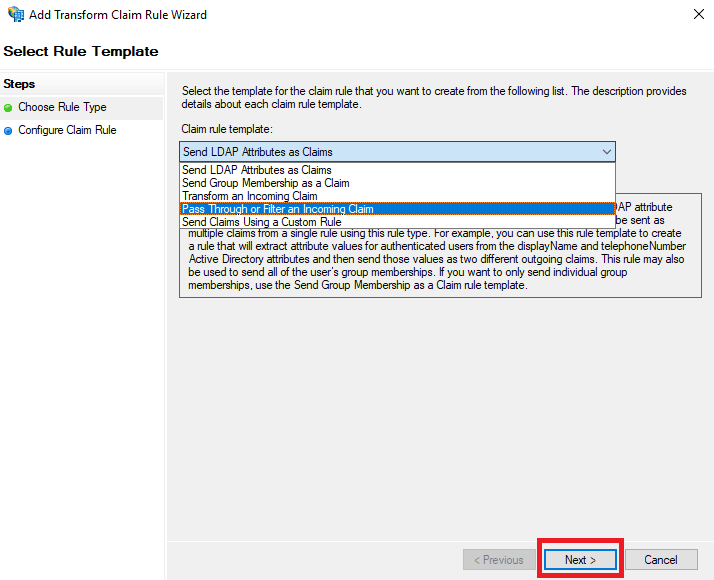
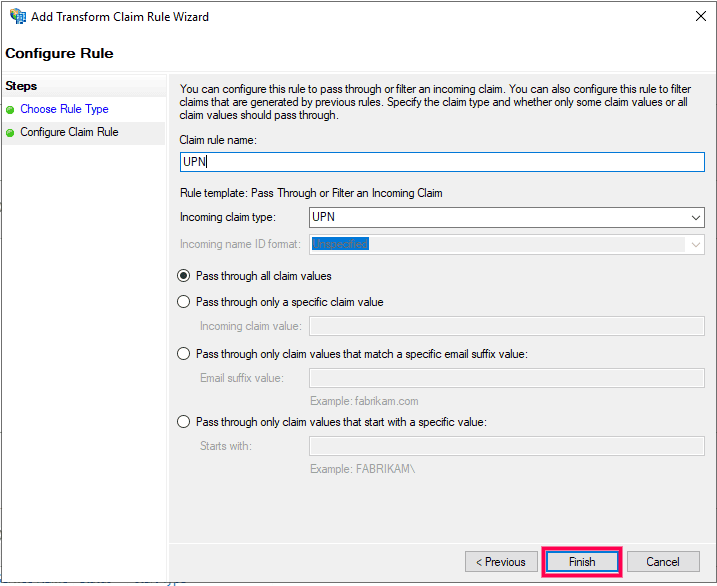
- From the Claim rule template drop-down, select the value Pass Through or Filter an Incoming Claim and click Next.
- In the next window, enter a Claim rule name and set any of the supported claim types as the Incoming claim type. For information regarding the supported claim types, click here. Choose the Pass through all claim values radio button. Click Finish to complete adding the claims rule.
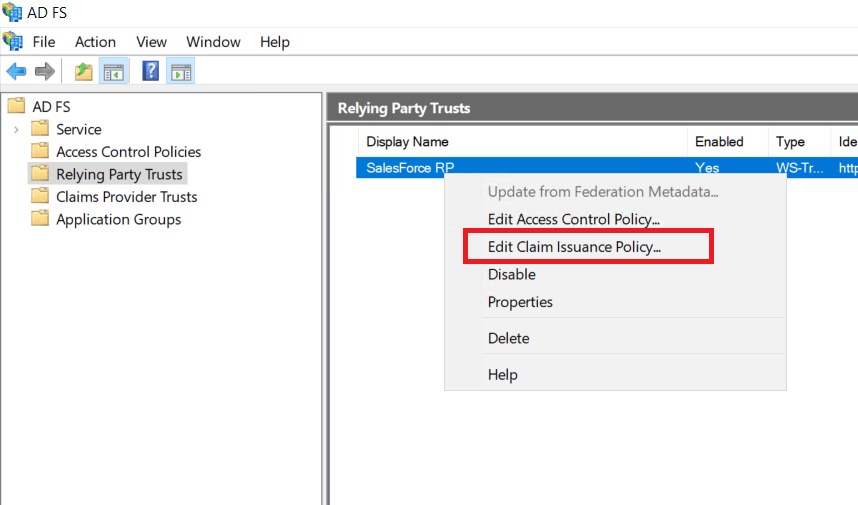
Step 3: Modify existing relaying party trusts
The existing relaying party trusts need to be modified in order to map the incoming claim to an outgoing claim that will be sent to the relaying party.
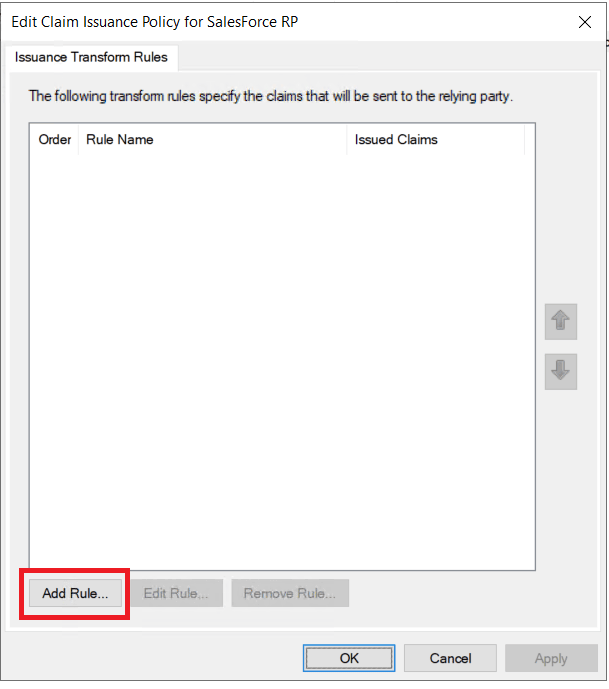
- Click Relaying Party Trusts under Trust Relationships. Right-click the desired SSO applications from the list and select Edit Claim Rules. Click Add Rule.
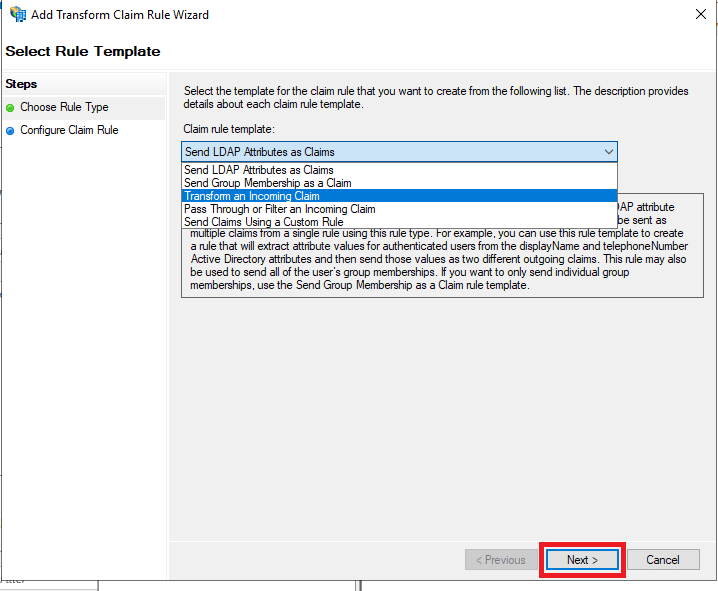
- In the Add Transform Claim Rule Wizard, choose the option Transform an Incoming Claim from the Claim rule template drop-down and click Next.
- Enter “Name ID” in the Claim rule name field and set UPN as the Incoming claim type. Set Name ID as the Outgoing claim type and click OK.

To enable SSO for all AD FS integrated applications, repeat Step 3 for all the applications configured in AD FS.
You have now completed configuring ADSelfService Plus as the identity provider for AD FS.

New to ADSelfService Plus?
Related Articles
Multi-factor authentication techniques in ADSelfService Plus
Let's take a look into the various authentication methods supported by ADSelfService Plus for enterprise multi-factor authentication (MFA). Why should you use MFA? Authentication based solely on usernames and passwords is no longer considered secure. ...Configuring high availability in ADSelfService Plus
ADSelfService Plus utilizes automatic failover to support high availability in case of system and product failures. Essentially, this means that when the ADSelfService Plus service on one machine fails, another instance of ADSelfService Plus running ...How to enable self-update for custom AD attributes in ADSelfService Plus
IT administrators might need to create custom attributes for a variety of reasons such as to route Active Directory based custom messages, application integration, or including specific flags on Active Directory objects. Before you can create a ...Configuring fingerprint authentication for Active Directory password resets and logins
Fingerprint authentication is an identity verification method that is widely used in recent times. The fact that everyone has a unique fingerprint makes it one of the more secure methods of authentication. Fingerprint authentication is also simple ...Configuring RADIUS authentication for Active Directory-based actions
Traditional logins to resources on an organizational network involve only a username and password. However, if all the data breaches in recent years teach us anything, it is that they are not sufficient. Multi-factor authentication (MFA) has become ...