Certificate Extraction
Case - 1 : If you have a p7b certificate:
1. Double click on the cert and you should see the p7b cert opening in MMC console. In the MMC console, expand the certificate path and click on certificates in the left pane. Once done, you should see the certs in there.
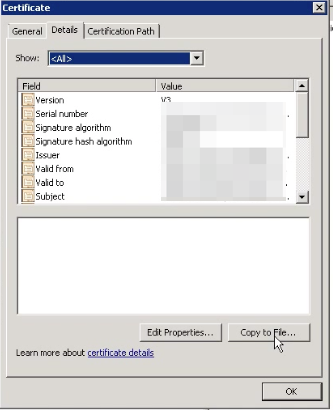
2. From the list, double click on the certificate that has the URL in it and click on Details tab.
5. Select Base-64 encoded X.509 (.CER) and click Next.
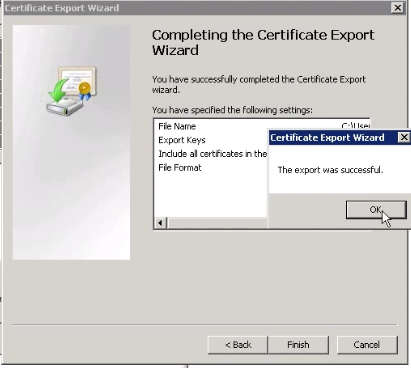
7. Click Finish to export your certificate to the desired directory. Click OK after the export completes.
8. Now, go to the location where you have saved the certificate, and double click on the certificate. Once the cert is open, click on Certification Path tab and double click on the certificate present one level above the highlighted certificate.
9. In the new certificate that is open, click on Details tab and follow the same procedure again to extract the next certificate.
Similarly, depending on the number of certificates, you will have to repeat the process till you have exacted all the certificates.
Case - 2 : If you have a .cer/.crt certificate:
1. Double click on the .cer/.crt certificate. Once the cert is open, click on Certification Path tab and double click on the certificate present one level above the highlighted certificate.
2. In the new certificate that is open, click on Details tab and select Copy to File.
4. In the Certificate Export Wizard, click Next.
5. Select Base-64 encoded X.509 (.CER) and click Next.

6. Click Browse to enter a name for your exported certificate save it in a specific directory with the name as 'domain'. Click Save then click Next >.
7. Click Finish to export your certificate to the desired directory. Click OK after the export completes.
9. In the new certificate that is open, click on Details tab and follow the same procedure again to extract the next certificate.
5. Select Base-64 encoded X.509 (.CER) and click Next.
7. Click Finish to export your certificate to the desired directory. Click OK after the export completes.
8. Now, go to the location where you have saved the certificate, and double click on the newly extracted certificate. Once the cert is open, click on Certification Path tab and double click on the certificate present one level above the highlighted certificate.
9. In the new certificate that is open, click on Details tab and follow the same procedure again to extract the next certificate.

New to ADSelfService Plus?
Related Articles
Cert Generation for Windows and Linux OS
For Windows: 1. Download the attached 'wincertgeneration' zip file and extract it in ..\ManageEngine\Servicedesk directory. After extraction, you should find the below files., gencert.bat under ..\ManageEngine\Servicedesk Cert.jar should be ...Apply certificate for EWS mail configuration in SDP.
EWS protocol support is introduced in 10006 version of SDP ( Limited to windows servers ). User can configure EWS for both incoming and outgoing settings in SDP. Note: If the mail server is O365 , then you need not perform these steps as the ...Apply certificate of your Exchange Server in SDP for mail fetching / mail sending
Steps to apply certificate of your Exchange Server in SDP 1. Download the file from the link given below and extract it to the Service Desk Plus Home directory Linux - ...How to install SSL certificate in AssetExplorer
SSL Installation Do you have a Wildcard or a Multi-domain certificate already running in your other servers and want to reinstall in on AssetExplorer server ?, then click here to find how to export SSL certificate using MMC. Do you already have a ...How to Export SSL certificate using MMC?
When an SSL certificate is already installed on a Windows server, you may want to reinstall it on ServiceDesk Plus server. This may be required when you have a Wildcard or a Multi-domain certificate, and the subdomains or different domains are hosted ...