[Tips & Tricks] How to synchronize Active Directory passwords with ServiceNow using ADSelfService Plus
With the help of ADSelfService Plus's real-time password synchronizer, users can now log in to their ServiceNow accounts with their Active Directory passwords. This will enable users to use the same set of credentials across both the platforms, thereby eliminating the need to remember multiple passwords.
Prerequisites:
You will need a ServiceNow user account that has read and write privileges assigned to both sys_user.user_password and sys_user.locked_out. If not, those privileges can be configured manually.
Configuration Steps:
· Login to the ADSelfService Plus web console with admin credentials.
· Navigate to Configuration → Self-Service → Password Sync/Single Sign On.
· A list of applications supported by ADSelfService Plus are displayed. Click on ServiceNow. (Alternatively, you can search for ServiceNow using the search bar provided.) The configuration page of ServiceNow is displayed.
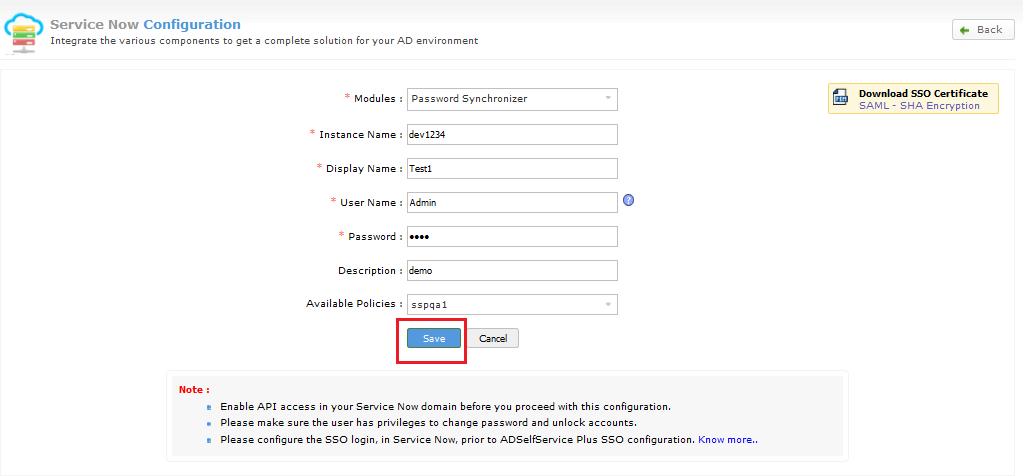
· From the Modules drop-down list, select Password Synchronizer.
· In the Instance Name, enter the instance URL of the ServiceNow account.
· Enter an appropriate Display name.
· Type the User Name and Password of a ServiceNow account which has sufficient privilege to reset passwords and unlock accounts.
· Enter an appropriate Description.
· From the Available Policies drop-down list, select the policies for which the synchronization of passwords must occur. Password synchronization will be enabled only for the users under the selected self-service policies.
· Click Save.
Assigning privileges to ServiceNow account to reset password:
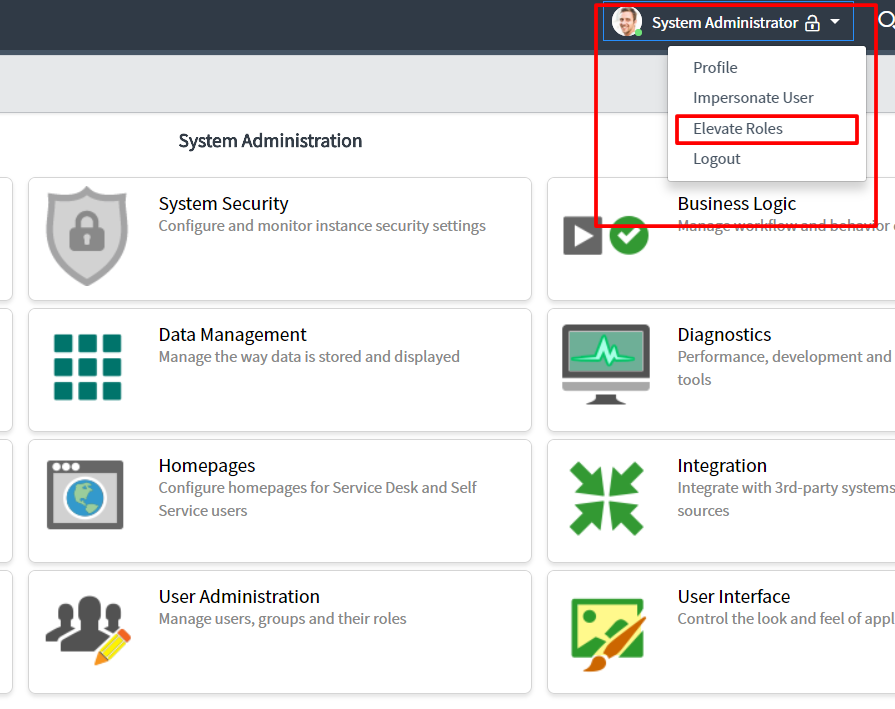
· Login to the ServiceNow web-console with admin credentials.
· From the System Administrator drop-down menu, select Elevate Roles.
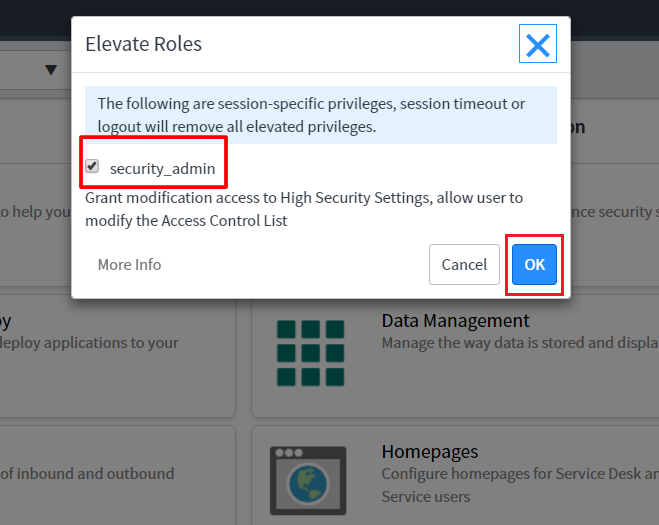
· Select the security_admin checkbox and click OK.
· Now select the Access Control tab from the System Security module.
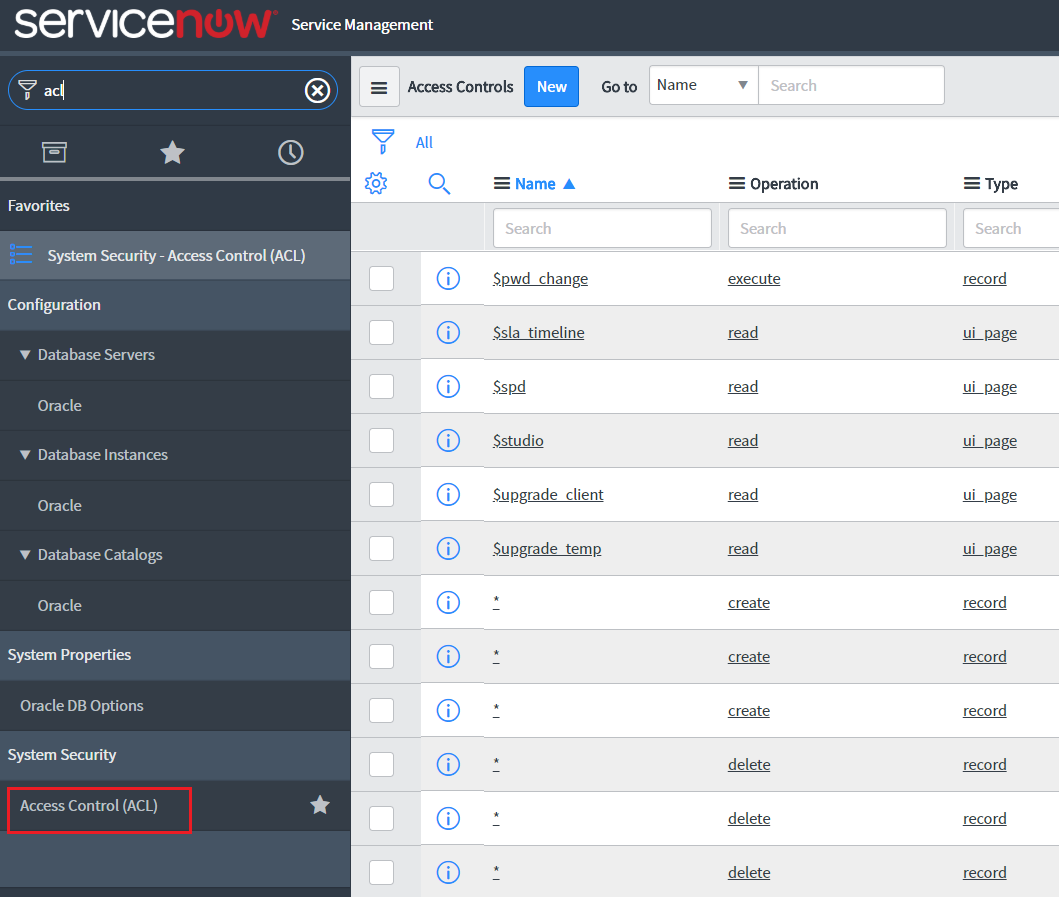
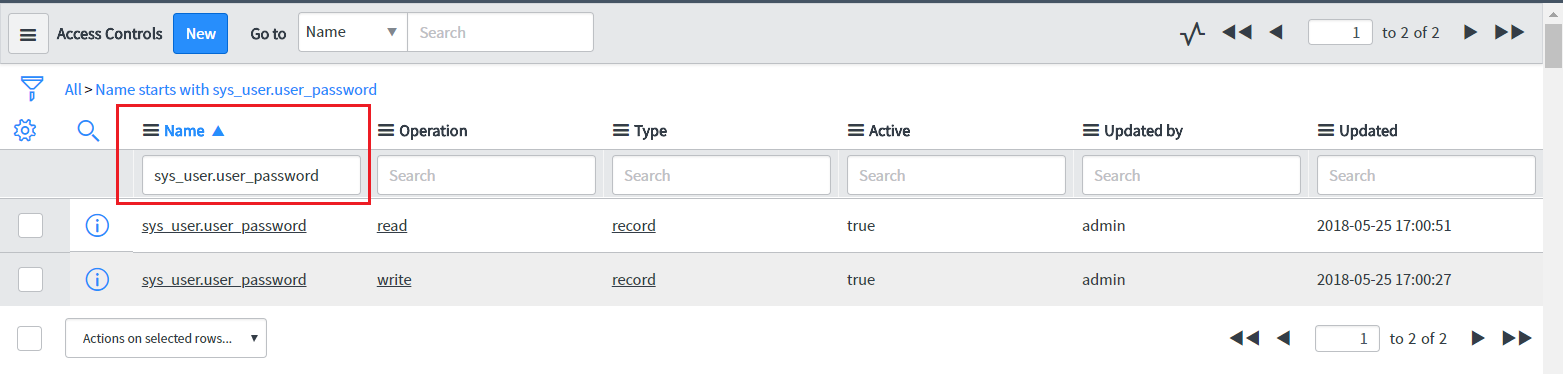
· In the Search field of the Name module, type sys_user.user_password. From the list displayed, select the sys_user.user_password field with read operation.
· Click Insert a new row to add a new role. Click Update.
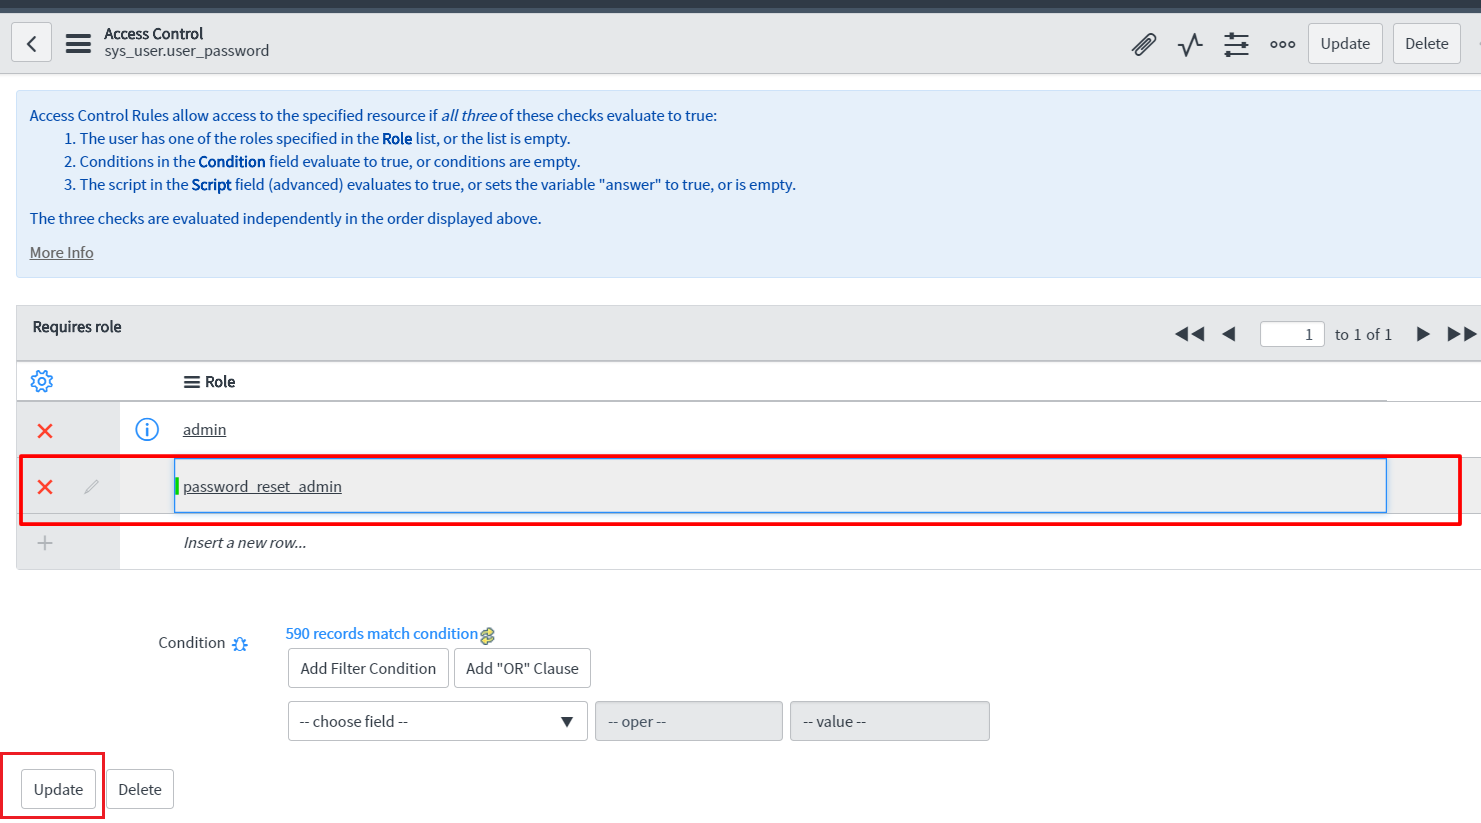
· Back in the Search list, select the sys_user.user_password field with write operation. Add a new role by selecting Insert a new row and Update the changes.
Assigning privileges to ServiceNow account to unlock account:
· In the Search field of the Name module, type sys_user.locked_out. From the list displayed, select the sys_user.locked_out field with read operation. Add a new role by selecting Insert a new row and Update the changes.
· Back in the Search list, select the sys_user.locked_out field with write operation. Add a new role by selecting Insert a new row and Update the changes.
Note: If you are using ServiceNow-Kingston please add user_admin role to the user.
Like this tip? Get the most of ADSelfService Plus by checking out more tips and tricks here.
