Did you know : How to configure Two-Factor Authentication for user logins with RSA SecurID?
ADSelfService Plus protects user accounts from identity thefts with its Two-Factor Authentication security methods. Apart from the conventional username and password authentication, it allows users to authenticate their accounts with three advanced OTP methods, viz., SMS and email based verification codes, Duo security authentication, and RSA SecurID.
Two-Factor Authentication via RSA SecurID
When two-factor authentication using RSA SecurID is enabled, during every login, users will be prompted for RSA SecurID passcodes after their domain credentials are validated. This passcode can be a security code generated by RSA SecurID mobile app or a hardware token or a security token received in their mobile or email. Users will be granted access to ADSelfService Plus, only when their passcodes are validated by RSA Authentication Manager.
Configuration
Configuring login two-factor authentication with RSA SecurID involves three steps.
Step 1: Add ADSelfService Plus server as an authentication agent.
- Log in to RSA admin console.
- Navigate to Access tab -> Authentication Agents.
- Under Authenticate Agents, click Add New.
- Now, add ADSelfService Plus server as an authentication agent.
- Click Save.
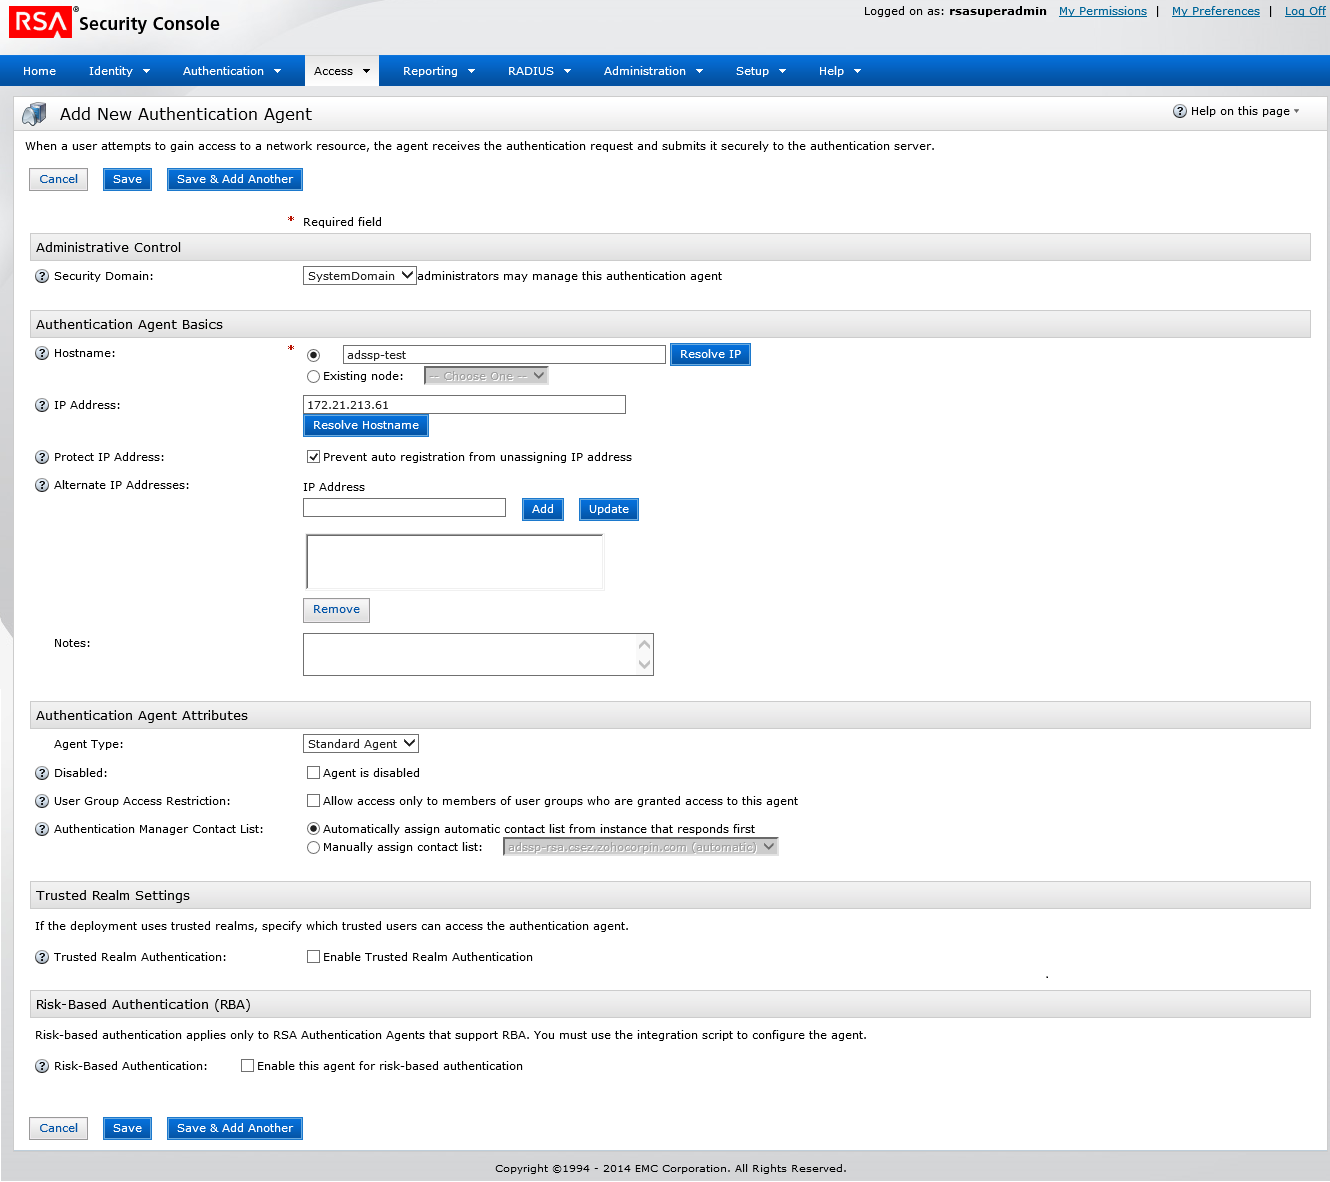
Step2: Configure ADSelfService Plus for RSA SecurID.
- Navigate to Access tab -> Authentication Agents-> Generate Configuration File.
- Click Generate Config File.
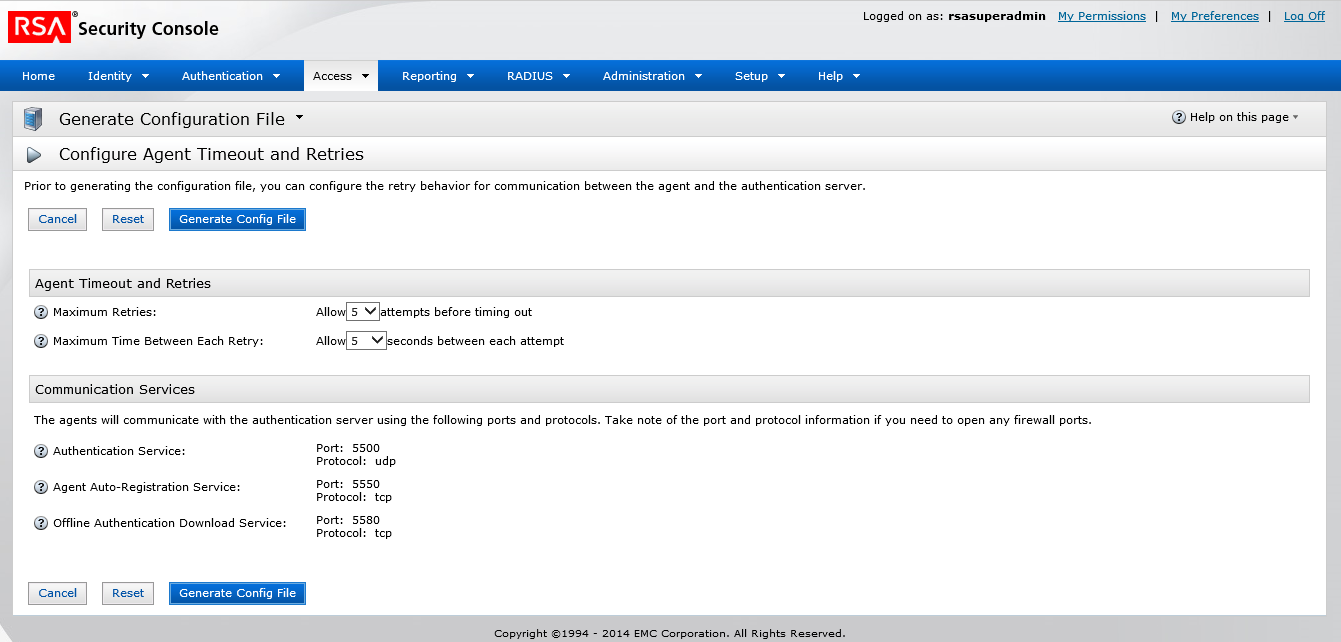
- Download AM_Config.zip (Authentication Manager config).
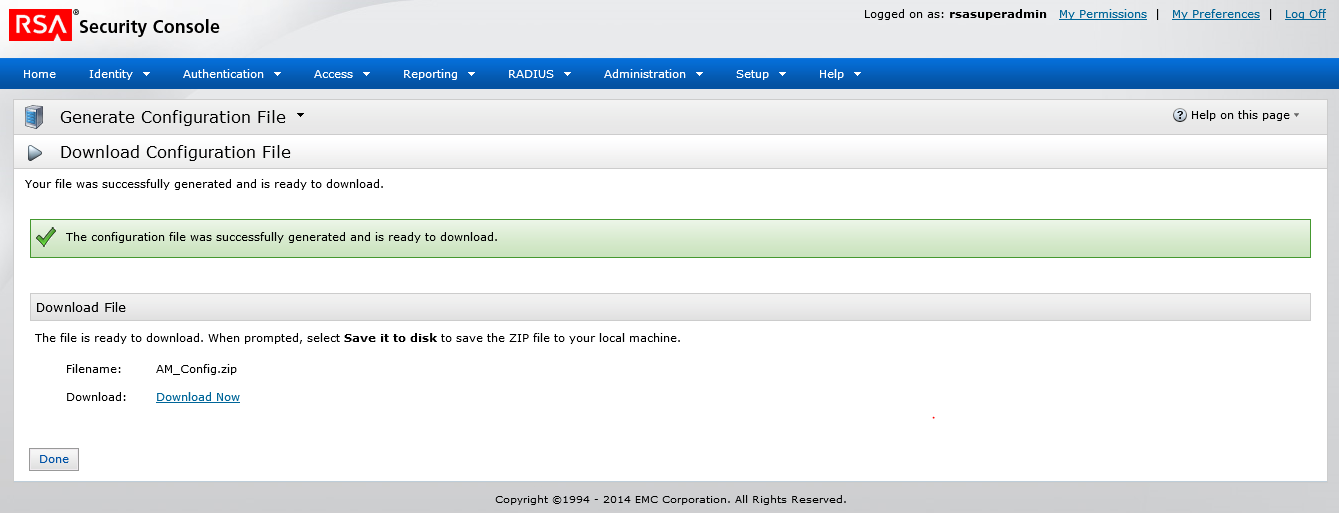
- Extract sdconf.rec file from the zip to <ADSelfService Plus-installation-dir>/bin. Copy the file named securid (node secret file ) as well.
Note: By default, the installation directory will be C:\ManageEngine\ADSelfService Plus.
Step 3: Enable Two-Factor Authentication via RSA SecurID.
- Log in to ADSelfService Plus using Administrator credentials.
- Navigate to Admin -> customize -> Logon settings.
- In the Logon Settings page that appears, click on Two-Factor Authentication tab.
- Check the Enable Two-Factor Authentication checkbox.
- Select the RSA SecurID radio button.
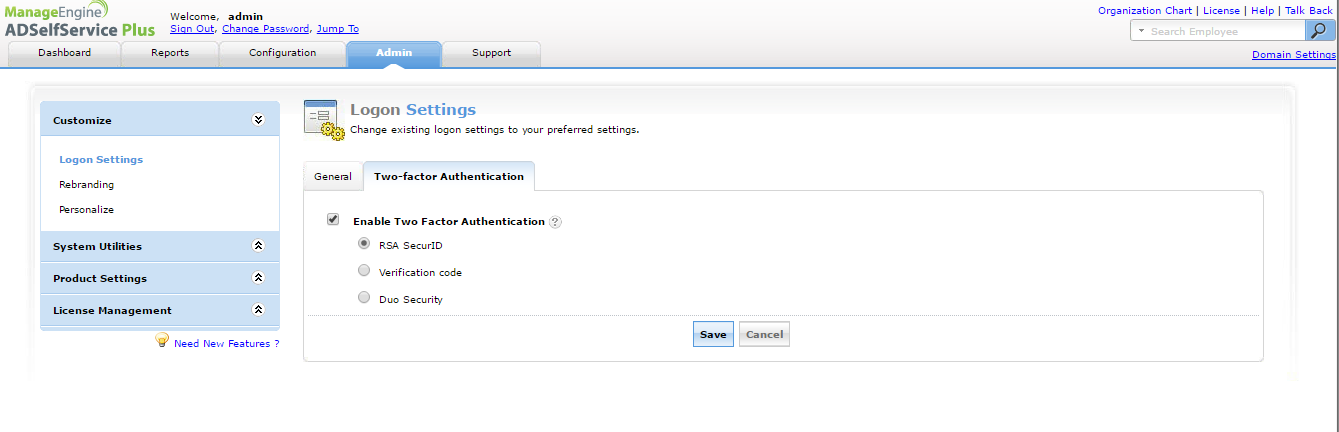
- Click Save.
Note: Each ADSelfService Plus user’s Active Directory/LDAP domain username must match his or her RSA username.
Once configured, users will be authenticated through RSA server, every time they try to login to ADSelfService Plus.