How to configure rules in user management templates to manage group memberships
A critical risk in access management that is often overlooked would be the existence of user accounts with more than the bare minimum of permissions needed. This vulnerability could turn such AD user accounts into easy entry points for intruders or insiders with malicious intent. For example, users could accidentally be provisioned to groups that have access to important resources, moved to a different team or even change roles within the same team resulting in a buildup of excessive permissions. A foolproof way to remove these risks is to use ADManager Plus' rule based user management templates to manage group memberships.
Steps to set up rules for managing group memberships based on roles
Logon to ADManager Plus
Navigate to Management > User Templates > User modification templates > Create New Template.
Enter a suitable Name and Description for the template and select the domain where this template will be used.
In case you wish to add values to any attribute, you can do so in the respective fields.
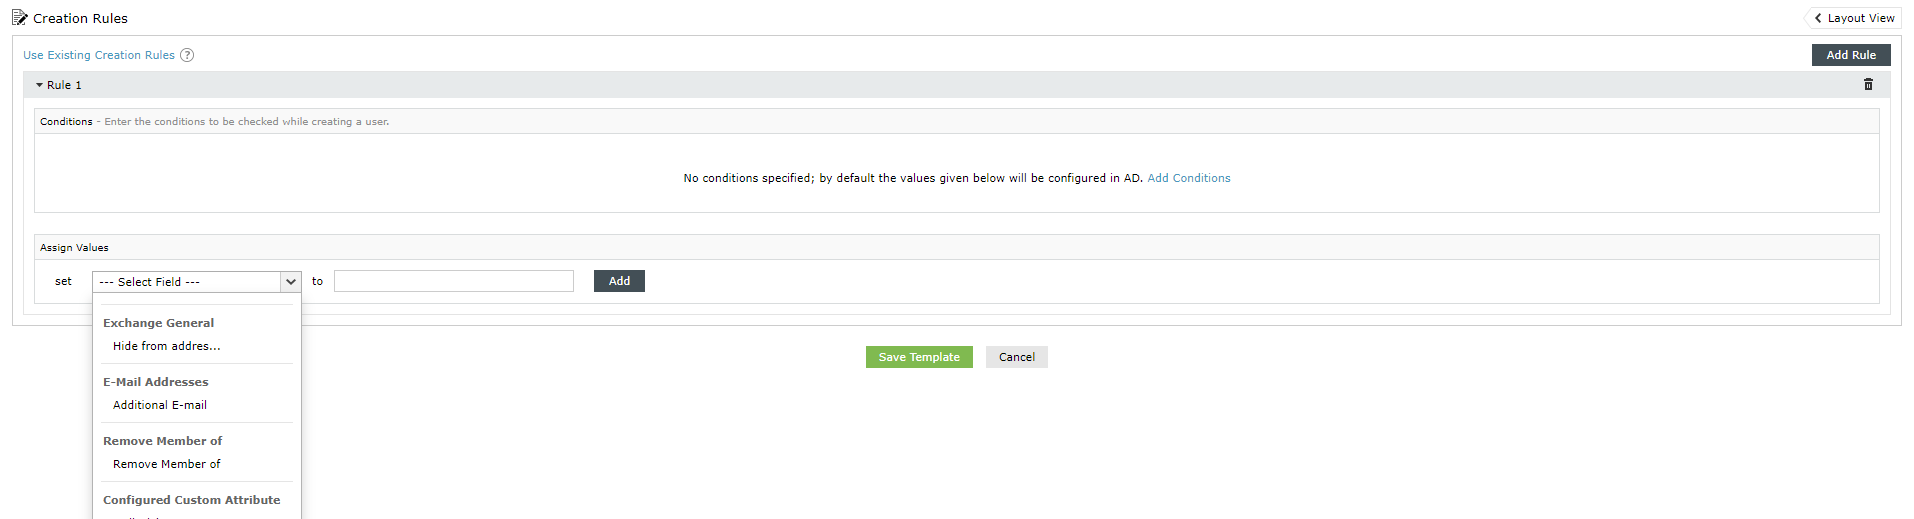
To add rules for managing group memberships, click on the Modification rules button on the top right corner. Then click Create New Rule.
Click on Add Conditions. In the 'conditions' section, select the field that has to be checked, the condition and also the value that it must be checked against. For example, if you want the rules to be based on the role for employees moving from the support team to the sales team, set the condition as Title contains sales AND office is Texas.
In the Assign Values section, select the fields that must be automatically modified and also the values that they must be updated with, if the conditions are satisfied. In this section set memberof to Sales_texas and remove member of to support_global groups.
You can specify a custom name for this rule by clicking on 'Rule 1' and adding the required name.
Click Save Template to save the changes.
Check out the previous posts on configuring disable or delete policy and updating access and permissions for accounts, in case you missed them earlier.
Tune in net week for another quick tip for efficient identity and access management.
Cheers,
