Adding your Microsoft Office 365 tenant to RecoveryManager Plus
This article will explain how you can add an Office 365 tenant to RecoveryManager Plus. Once you have added your tenant, you can configure backup schedules for your Azure Active Directory objects, Exchange Online mailboxes, and SharePoint Online and OneDrive for Business sites.
Before you configure an Office 365 tenant, make sure that you satisfy the prerequisites listed below.
Ensure that you have a working internet connection.
If you plan to install the product in a system running Windows 7 SP1 or Windows Server 2008, ensure you have Microsoft .NET version 4.5 and PowerShell version 2 installed in the system.
To check if Microsoft .NET Framework is installed, open Command Prompt from Run. Enter the following command
reg query HKEY_LOCAL_MACHINE\SOFTWARE\Microsoft\NET Framework Setup\NDP\v4\full" /v version
Check the displayed version. If the version is below 4.5 or if it’s not installed, install Microsoft .NET Framework 4.5 from here.
To check if PowerShell is installed, type PowerShell from Run. If PowerShell is installed, check for its version number by running the command $PSVersionTable.
If the version is below 2 or if it’s not installed, install PowerShell V 2.0 from here.
Depending on the environment you wish to backup, you will need the following credentials/details.
Exchange Online: This is the minimum level of permission required to add your Office 365 tenant to RecoveryManager Plus. Make sure you have the credentials of a member of the Organization Management role group.
SharePoint Online and OneDrive for Business: Make sure you have the credentials of a user who is a member of the Organization Management role group and has the SharePoint administrator role.
Azure Active Directory: Make sure you have the credentials of any user account who is a member of the Organization Management role group and the Client Id and Client Secret for your Office 365 tenant. To get your client ID and client secret, follow the steps listed here.
To add an Office 365 tenant for the first time,
Log into RecoveryManager Plus console as an administrator.
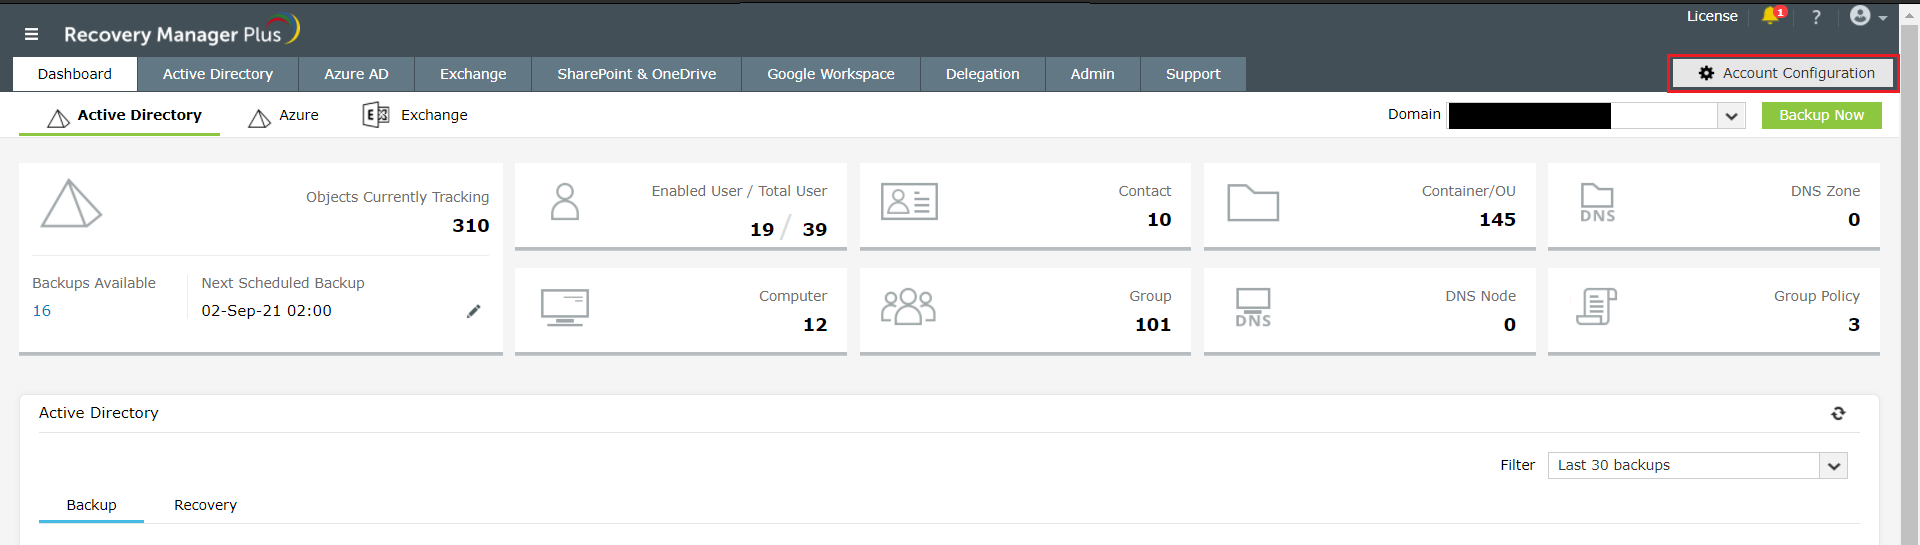
Click the Account Configuration button located at the top-right corner of the screen.
Select the Office 365 Tenant tab.
Enter the Account Name and Password of the Office 365 tenant.
The account name should be entered in the format "account@company.onmicrosoft.com".
You can also use a service account that has the necessary privileges as mentioned in the prerequisites.
Click the Test Connection link to check if the provided credentials are sufficient to establish a connection with the tenant.
Note: If multi-factor authentication is enabled for the account used, provide the app password in the Password field.
Choose the Office 365 environment in which the tenant was created from the drop-down box.
If you use Modern Authentication in your Office 365 environment and Legacy Authentication is disabled, you’ll need the Client ID and Client Secret to configure your Office 365 account. Select Modern Authentication and provide them in the respective fields.
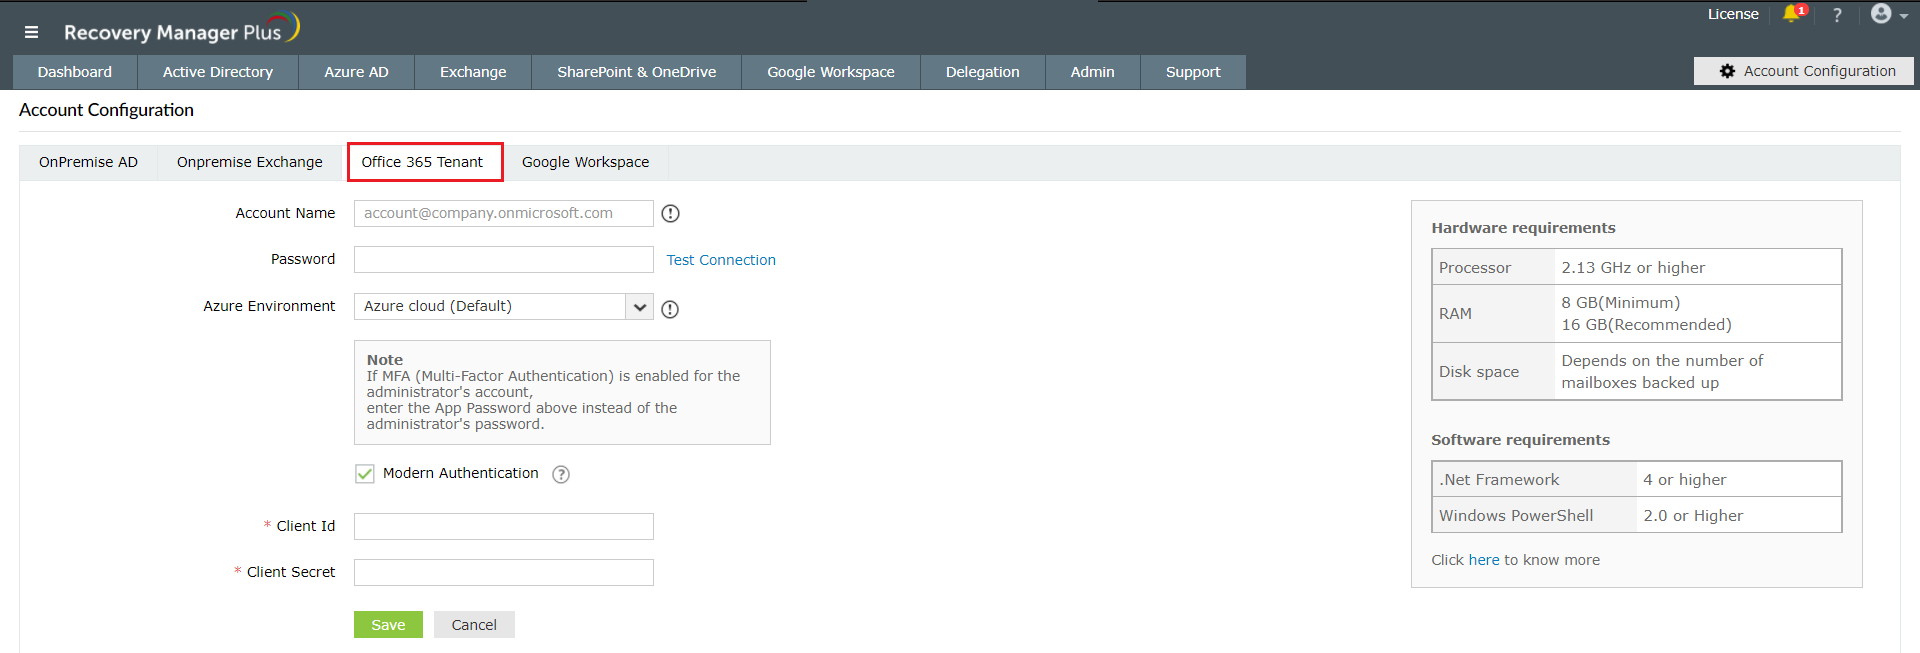
Click Save to add the tenant.
Your Office 365 tenant has been added to RecoveryManager Plus.
